EasyManua.ls Logo

H&S HSM250 - User Manual

H&S HSM250
86 pages
Print Icon
To Next Page IconTo Next Page
Loading...
IMPORTANT: Read this Owner’s Manual Completely before attempting to use this
equipment. Save this manual and keep it handy for quick reference. Pay particular
attention to the safety instructions we have provided for your protection. Contact your
distributor if you do not fully understand this manual.
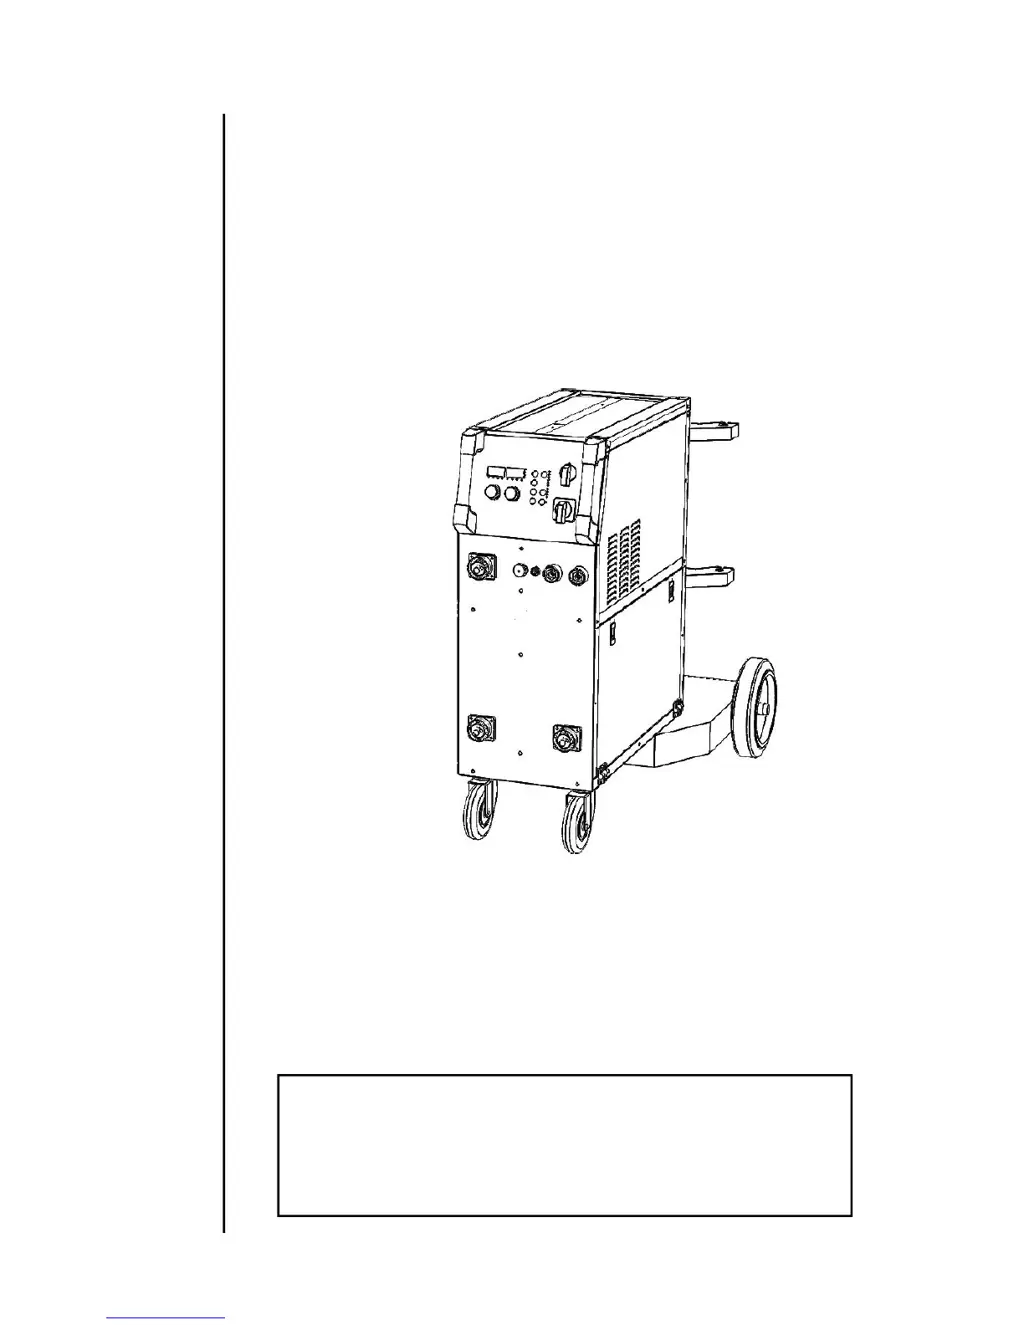
M250 DOUBLE-PULSE SYNERGIC
MULTI-MIG WELDING SYSTEM
OPERATORSMANUAL

Table of Contents

Questions and Answers

  • C
    Christina PhamAug 13, 2025
    How to fix excessive spatter when using my H&S Welding System?
    • R
      robertlevyAug 13, 2025
      Excessive spatter can occur due to several reasons. You might have the wire feed speed or voltage set too high, so try lowering them. Ensure you're using the correct polarity for the wire. Also, keep the torch closer to the work. Make sure the base metal and MIG wire are clean and free from contaminants like paint, grease, oil, dirt, and rust. Finally, verify that your gas flow is between 20-40 CFH (6-12 l/min) and that there are no restrictions or leaks in the gas lines, protecting the welding zone from wind and drafts.
  • A
    Andrew DavidAug 17, 2025
    What to do if my H&S Welding System has porosity issues?
    • S
      singletondanielleAug 17, 2025
      Porosity, or small cavities in the weld metal, can be caused by several factors. First, ensure you are using the correct gas and that the gas flow is properly set between 20-40 CFH (6-12 l/min), checking for leaks and blockages. Remove any moisture or contaminants from the base metal and use clean, dry MIG wire. Also, inspect the gas nozzle for clogs or damage and replace if necessary. Finally, check the gas diffuser and the MIG torch euro connect o-ring for damage, replacing them as needed.
  • J
    Juan HarperAug 21, 2025
    Why is my tungsten burning away quickly with my H&S Welding System?
    • S
      Samuel BrownAug 21, 2025
      Rapid tungsten burning can be due to several reasons. Ensure you are using pure Argon gas and that the gas supply is connected and flowing correctly. Check for any restrictions in the gas lines. Make sure the torch back cap is properly fitted with the O-ring inside the torch body. Verify that the torch is connected to the DC- output terminal and that you are using the correct type of tungsten. After welding, keep the shielding gas flowing for 10–15 seconds after the arc stops, approximately 1 second for each 10 amps of weld current.
  • K
    Kristi MoralesAug 25, 2025
    What causes inconsistent wire feed in my H&S HSM250, and how can I fix it?
    • M
      Maria BallAug 25, 2025
      An inconsistent wire feed can stem from various issues. Ensure you're adjusting the correct dials for MIG welding (wire feed and voltage). Verify the correct polarity is selected for the wire you're using. Adjust the wire feed speed and voltage settings as needed. If the MIG torch lead is too long, especially with small or soft wires, consider using a shorter lead. Check for kinks or sharp angles in the torch lead. Replace worn or incorrect contact tips and liners, ensuring the liner is the correct size. Clear any blockages in the inlet guide tube and align the wire in the drive roller groove. Use the correct size and type of drive roller, and replace worn rollers. Lastly, reduce the drive roller pressure if it's too high.
  • S
    sfloresAug 28, 2025
    What to do if the wire stubs during welding with my H&S HSM250?
    • M
      Michael HamiltonAug 28, 2025
      If the wire stubs during welding, it could be due to holding the torch too far from the workpiece; bring it closer and maintain a stick out of 5-10mm. The welding voltage might be set too low, so increase it. Alternatively, the wire speed could be too high, so decrease the wire feed speed.
  • B
    Bryan BushAug 31, 2025
    How to resolve lack of fusion with my H&S Welding System?
    • B
      brad15Sep 1, 2025
      Lack of fusion, where the weld metal doesn't completely fuse, can be due to a few reasons. Ensure the base metal is free from contaminants like paint, grease, oil, and dirt. You might not be using enough heat input, so select a higher voltage range and/or adjust the wire speed accordingly. Also, check your welding technique, keeping the arc at the leading edge of the weld pool, maintaining a gun angle between 5 and 15 degrees, and momentarily holding the arc on side walls if using a weaving technique.
  • C
    Crystal PittmanSep 5, 2025
    What causes excessive penetration when using my H&S Welding System?
    • G
      garciatroySep 5, 2025
      Excessive penetration, where the weld metal melts through the base metal, is typically caused by too much heat. To correct this, select a lower voltage range and/or adjust the wire speed to suit, and increase your travel speed.
  • I
    Isaac BarnesSep 8, 2025
    What causes lack of penetration in my H&S HSM250?
    • J
      James JohnsonSep 9, 2025
      Lack of penetration, or shallow fusion, can result from poor joint preparation if the material is too thick. Joint preparation and design needs to allow access to the bottom of the groove while maintaining proper welding wire extension and arc characteristics. Keep the arc at the leading edge of the weld pool and maintain the gun angle at 5 & 15° keeping the stick out between 5-10mm. It can also be caused by not enough heat input, so select a higher voltage range and /or adjust the wire speed to suit reduce travel speed. Also, make sure that the base metal is free from contaminants like paint, grease, oil, and dirt.

Summary

§1 Safety

§1.2 Machine Operating warnings!

Provides essential warnings for safe operation of the welding machine.

§3 Panel Functions & Descriptions

§3.2 Control panel of welding machine

Details the functions of indicators, buttons, and knobs on the control panel.

§4 Installation & Operation

§4.1 Installation & Operation for MMA;Stick Electrode Welding

Covers installation and operation for MMA/Stick welding, including setup and fundamentals.

§4.2 Installation & Operation for TIG Welding

Covers installation and operation for TIG welding, including setup and techniques.

§6 Welding Trouble Shooting

§6.1 MIG Welding - Trouble Shooting

Addresses common MIG welding problems like spatter, porosity, fusion, and penetration.

§6.2 MIG Wire Feed - Trouble Shooting

Addresses common MIG wire feed problems such as no feed or inconsistent feed.

§6.3 DC TIG Welding - Trouble Shooting

Addresses common DC TIG welding issues: tungsten, porosity, arc stability.

§6.4 MMA Welding - Trouble Shooting

Addresses common MMA welding problems: no arc, porosity, spatter, fusion, appearance.

§7 Maintenance & Troubleshooting

§7.2 Troubleshooting

Provides general troubleshooting advice and a chart for common machine issues.

H&S HSM250 Specifications

General IconGeneral
Output Current250A
Input Frequency50/60 Hz
Duty Cycle60% at 250A
Efficiency85%
Welding processMMA/TIG
Output Current Range250A
Cooling SystemAir-cooled