OPERATION
-50-
§4.3.8 Set-Up Installation for Spool Gun
(1) Insert the earth cable plug into the negative (-) socket on the front of the machine
and twist to tighten.
(2) Plug the Spool Gun into the euro-connect socket on the front panel and tighten.
IMPORTANT: When connecting the torch be sure to tighten the adaptor nut
completely tight. A loose connection can result in arcing between the gun and
machine connector and that causes serious damage to both the torch and
machine connections.
(3) Connect the Spool Gun control cable to the 9-pin receptacle on the front panel.
(4) Connect the gas regulator to the gas cylinder and connect the gas line to the
regulator.
(5) Connect the gas line to gas connector on the rear panel.
(6) Open the gas cylinder valve, set regulator. Check for Leaks!
(7) Connect the power cord of welding machine with the outlet on electrical box.
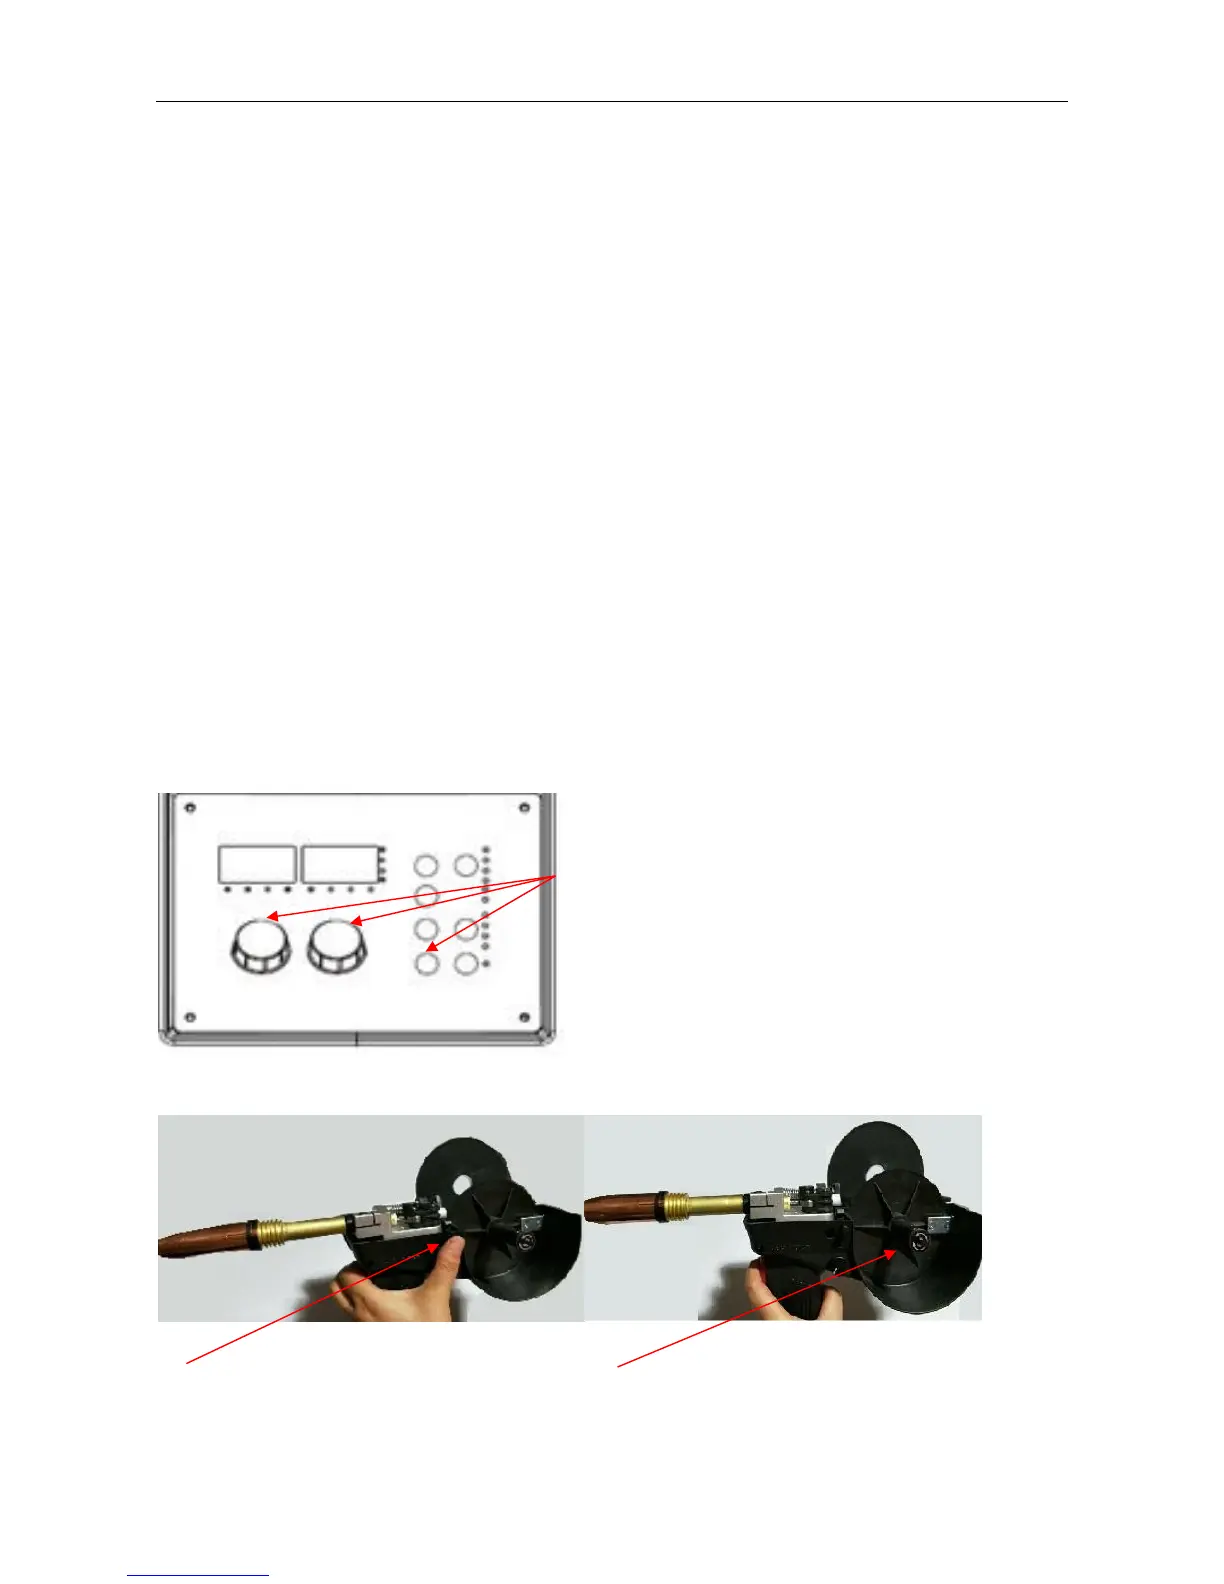
(9) Remove the spool cover by pressing (10) Place a spool of wire inside the
button and lifting off the cover. spool holder on post.
 Loading...