Functional Check
Follow the steps below to perform a quick functional check to your oscilloscope.
1. Power
Press the power key and the device starts. Press the power key again, and the device
will shut down. Before start it, please confirm that the battery has enough power.
The oscilloscope is equipped with a power adapter and the interface is Type-C. The
input AC power supply is 100~240V, 50~60Hz. The output is 5V@2A. The power
adapter can be used to supply the oscilloscope or charge the battery.
When connect the power adapter to the oscilloscope, if the battery is not installed
inside the oscilloscope, the power key backlight is red and flash; if the battery is
installed inside the oscilloscope and the battery power is not filled, the power key
backlight is red; if the battery is installed inside the oscilloscope and the battery power
is full, the backlight of the source key is extinguishes.
2. Observe the waveform
1) Set the switch on the probe to 1X and connect the probe to Channel 1 on the
oscilloscope. First, align the slot in the probe connector with the protuberance on the
CH1 BNC and push to connect; then, turn to right to lock the probe in place;
2)Connect the probe tip and reference lead to the generator output connector.
Recommended input ~2V@1KHz peak-peak square wave.
3)Press the [Auto] button and you should see within a few seconds a square wave of
about 2V peak-to-peak at 1KHz in the display. Repeat the steps to observe CH2.
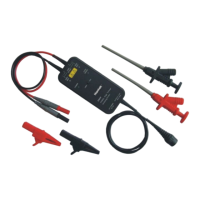
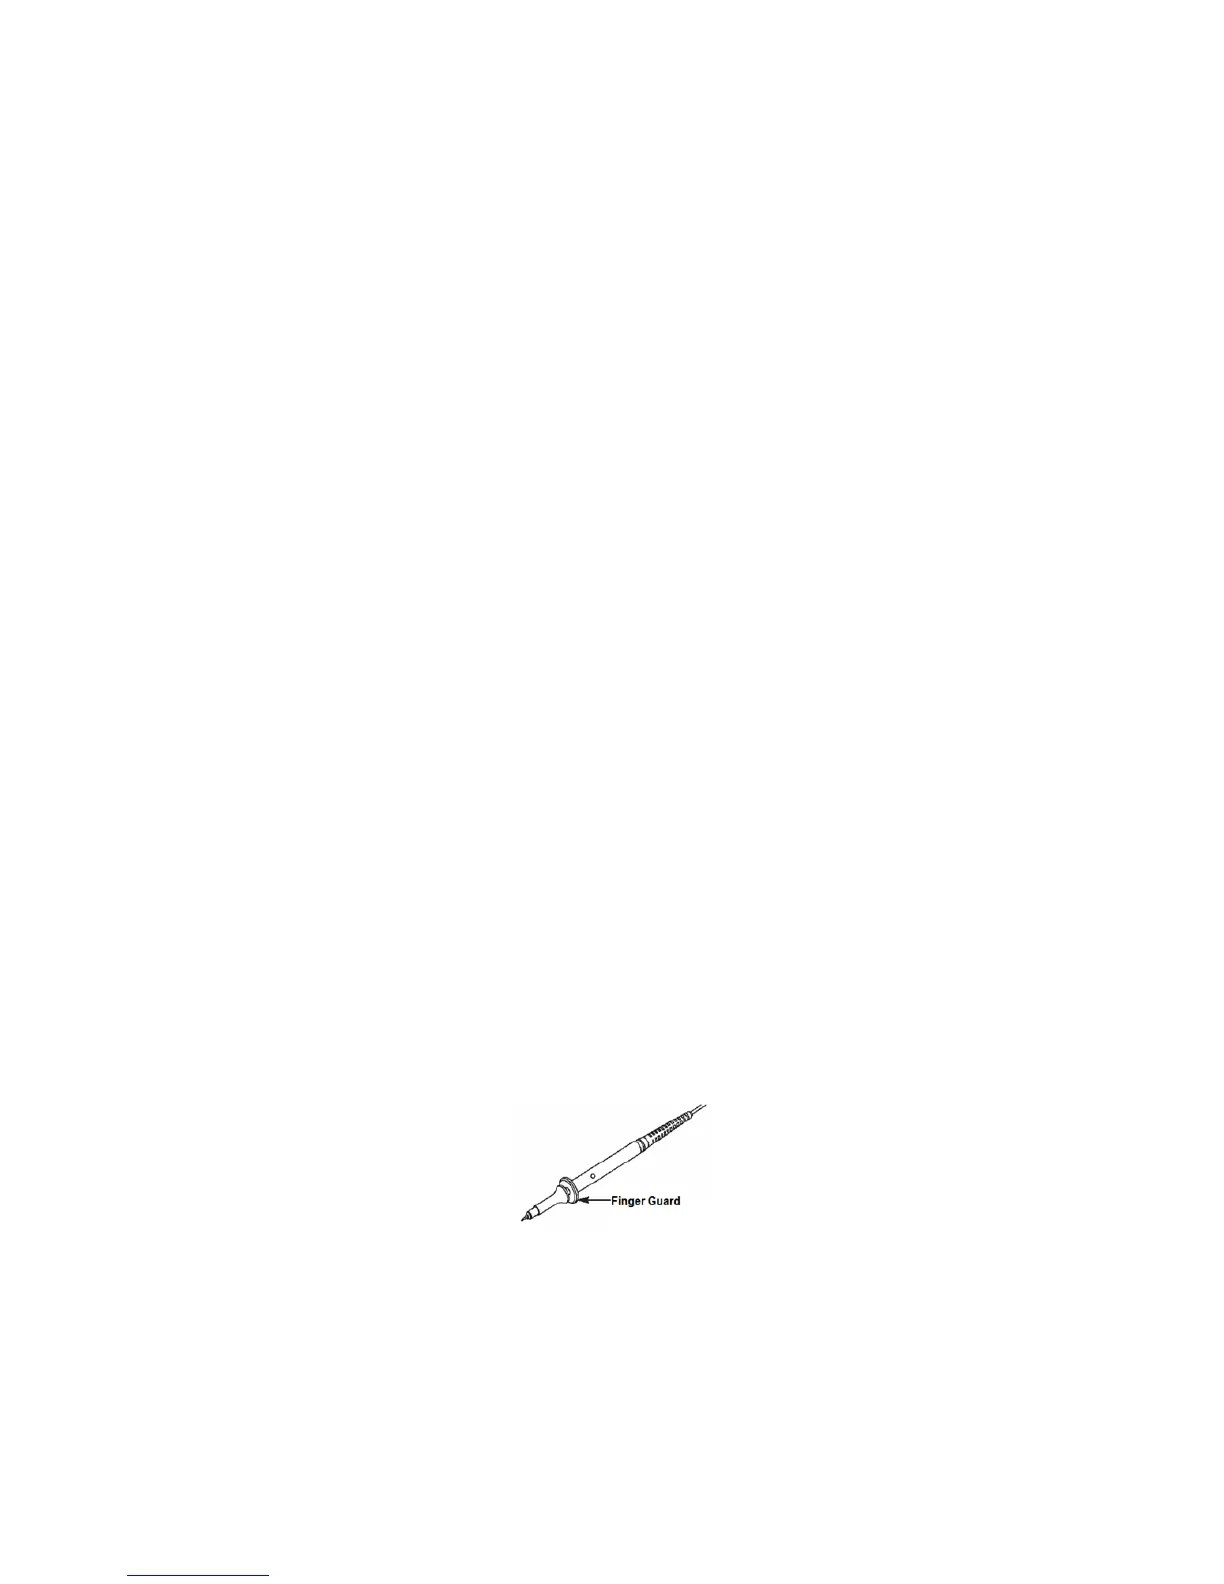
Probe Check
Safety
When using the probe, keep your fingers behind the guard on the probe body to avoid
electric shock. Do not touch metallic portions of the probe head while it is connected to a
voltage source. Connect the probe to the oscilloscope and connect the ground terminal to
ground before you start any measurements.
Manual Probe Compensation
Upon the first connection of a probe and an input channel, you should manually perform
this adjustment to match the probe to the input channel. Uncompensated or
miscompensated probes may lead to errors or faults in measurement. To adjust the probe
compensation, follow the steps below.
1. Press Channel button to enter channel setting menu, Set the Probe option
 Loading...