Trigger Source: Select the trigger source signal to CH1 or CH2. You can use the trigger
source options to select the signal that the oscilloscope uses as a trigger.
Trigger Mode: You can select the Auto or Normal mode to define how the oscilloscope
acquires data when it does not detect a trigger condition. Auto Mode performs the
acquisition freely in absence of valid trigger. It allows the generation of untriggered
waveforms with the time base set to 100ms/div or slower. Normal Mode updates the
displayed waveforms only when the oscilloscope detects a valid trigger condition. Before
this update, the oscilloscope still displays the old waveforms. This mode shall be used
when you want to only view the effectively triggered waveforms. In this mode, the
oscilloscope displays waveforms only after the first trigger.
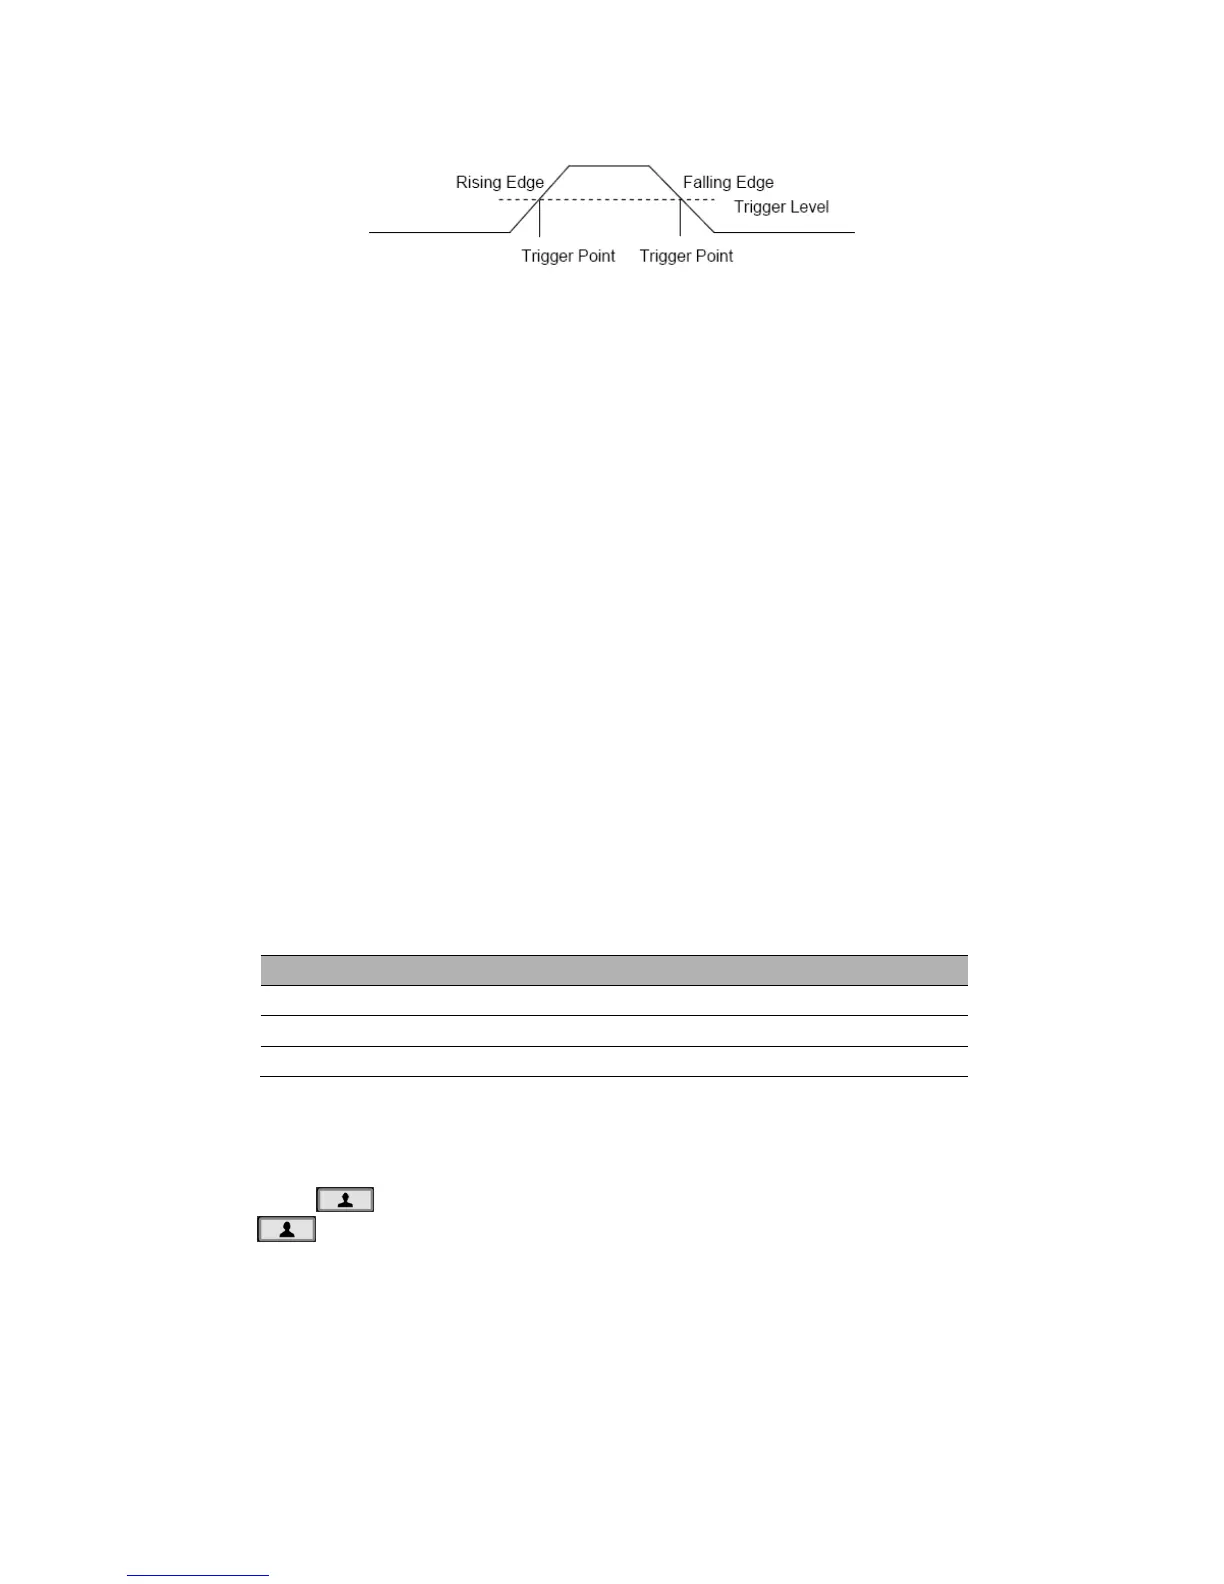
Trigger Level: It sets the amplitude level the signal must cross to cause an acquisition
when using the Edge or Pulse Width trigger. Press Trig button to enter, and press Up or
Down direction keys to change the trigger level.
Force Trigger: Used to complete an acquisition regardless of an adequate trigger signal.
This button becomes useless if the acquisition is already stopped.
Save Waveform
Press Menu button to enter, and select Save to enter store waveform menu. The
waveform can be saved to the oscilloscope inside, also can be recalled to view.
The Save Menu Table
To save the waveform, follow these steps:
1. Press F1, select the storage position of the waveform.
2. Press F2 to save the waveform data to the specified position. Also users can long
press button to enter, and select F4->F2 (Data Save) as shortcut keys. Press
button one time to save the current waveform data.
3. Press F3, recall the saved waveform. The waveform can be enlarged or reduced in
the Channel or Time menu by using the direction keys.
Attention:
1. Waveform storage can not only save the waveform of the current channel, but also
save the current state settings at the same time.
 Loading...