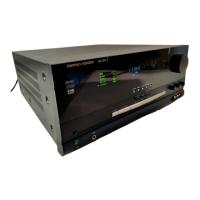
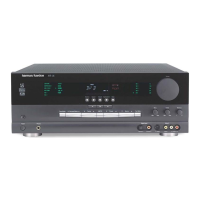
OPERATION
OPERATION 39OPERATION 39
Basic Operation
Once you have completed the initial setup and configu-
ration, the AVR 745 is simple to operate and enjoy. The
following instructions will help you maximize the enjoy-
ment of your new receiver:
Before using the AVR 745, we strongly recommend
that you program the TC 30 remote, following the
instructions provided in both the separate TC 30
Installation Guide and the wizards available when the
TC 30 is connected to the Internet through your com-
puter. While the TC 30 is preprogrammed to operate
the AVR 745 and Harman Kardon DVD players right
out of the box, programming the TC 30 for all the
components in your system and setting it up for the
activities that best match the way you use your home
entertainment system will greatly add to the enjoyment
of your total home entertainment system.
Turning the AVR 745 On or Off
• When using the AVR 745 for the first time, you must
press the
Main Power Switch
A
to turn the
unit on. This places the unit in a Standby mode, as
indicated by the amber illumination surrounding
the
Standby/On Switch
1
.
• To turn the AVR 745 on or off from the front panel,
press the
Standby/On Switch
1
.
• To turn the AVR 745 on using the TC 30 remote:
■ Press the Screen Button 6 next to one of the
Activities shown on the LCD screen. The prepro-
grammed Activities include the remote control
codes that not only turn on the AVR 745, but
also switch it to the input associated with the
Activity and turn on a compatible Harman Kardon
DVD player when it is part of the Activity. If you
have programmed the TC 30 for your own
Activities, other devices will turn on and operate
as specified in the Activity design.
■ Press the Devices Button 4 and then press
the
Screen Button 6 to the left of AVR.
When the options on the LCD screen change,
press the
Screen Button 6 to the right of
ON to turn the unit on or the one next to OFF
to place it in the Standby mode.
• When using the ZR 10 remote, press the
AVR
Selector
ç
to turn the unit on and select the
last source that was used. Press any of the
Input
Selectors
∂
, or source-specific buttons such
as the
Tuner Selector
é
, XM Radio Selector
Button
é
, or The Bridge/DMP Selector
Button
®
to both turn the AVR 745 on and
select that specific source.
Whenever the AVR is turned on, you will see all of the
front-panel indicators light up for a few seconds. This is
normal, and it is part of the unit’s power-on self-test
procedure.
NOTE: When an Input Selector or source-specific but-
ton on the ZR 10 remote
∂郮
is used
to turn the AVR 745 on, press the
AVR Selector
ç
to use the remote for control of the AVR 745.
To turn the unit off at the end of a listening session,
simply press the
Standby/On Switch 1 on the front
panel or the
Power Off Button 2
å
on the
remote. Power will be shut off to any equipment
plugged into the rear-panel
Switched AC Accessory
Outlet
G and the illumination around the Standby/
On Switch
1 will turn amber.
When the remote is used to turn the unit “off,” it is
actually placing the system in a Standby mode, as indi-
cated by the amber lighting around the
Standby/On
Switch
1.
• To set the AVR 745 to turn off after a predeter-
mined time period, press the
Devices Button
4, followed by the Screen Button 6 at the
top of the row of buttons on the left side of the
TC 30, to the left of the A/V receiver image on
the LCD screen. Next, press the
Page Left/Right
Buttons
8 to view PAGE 2 of the AVR
functions.
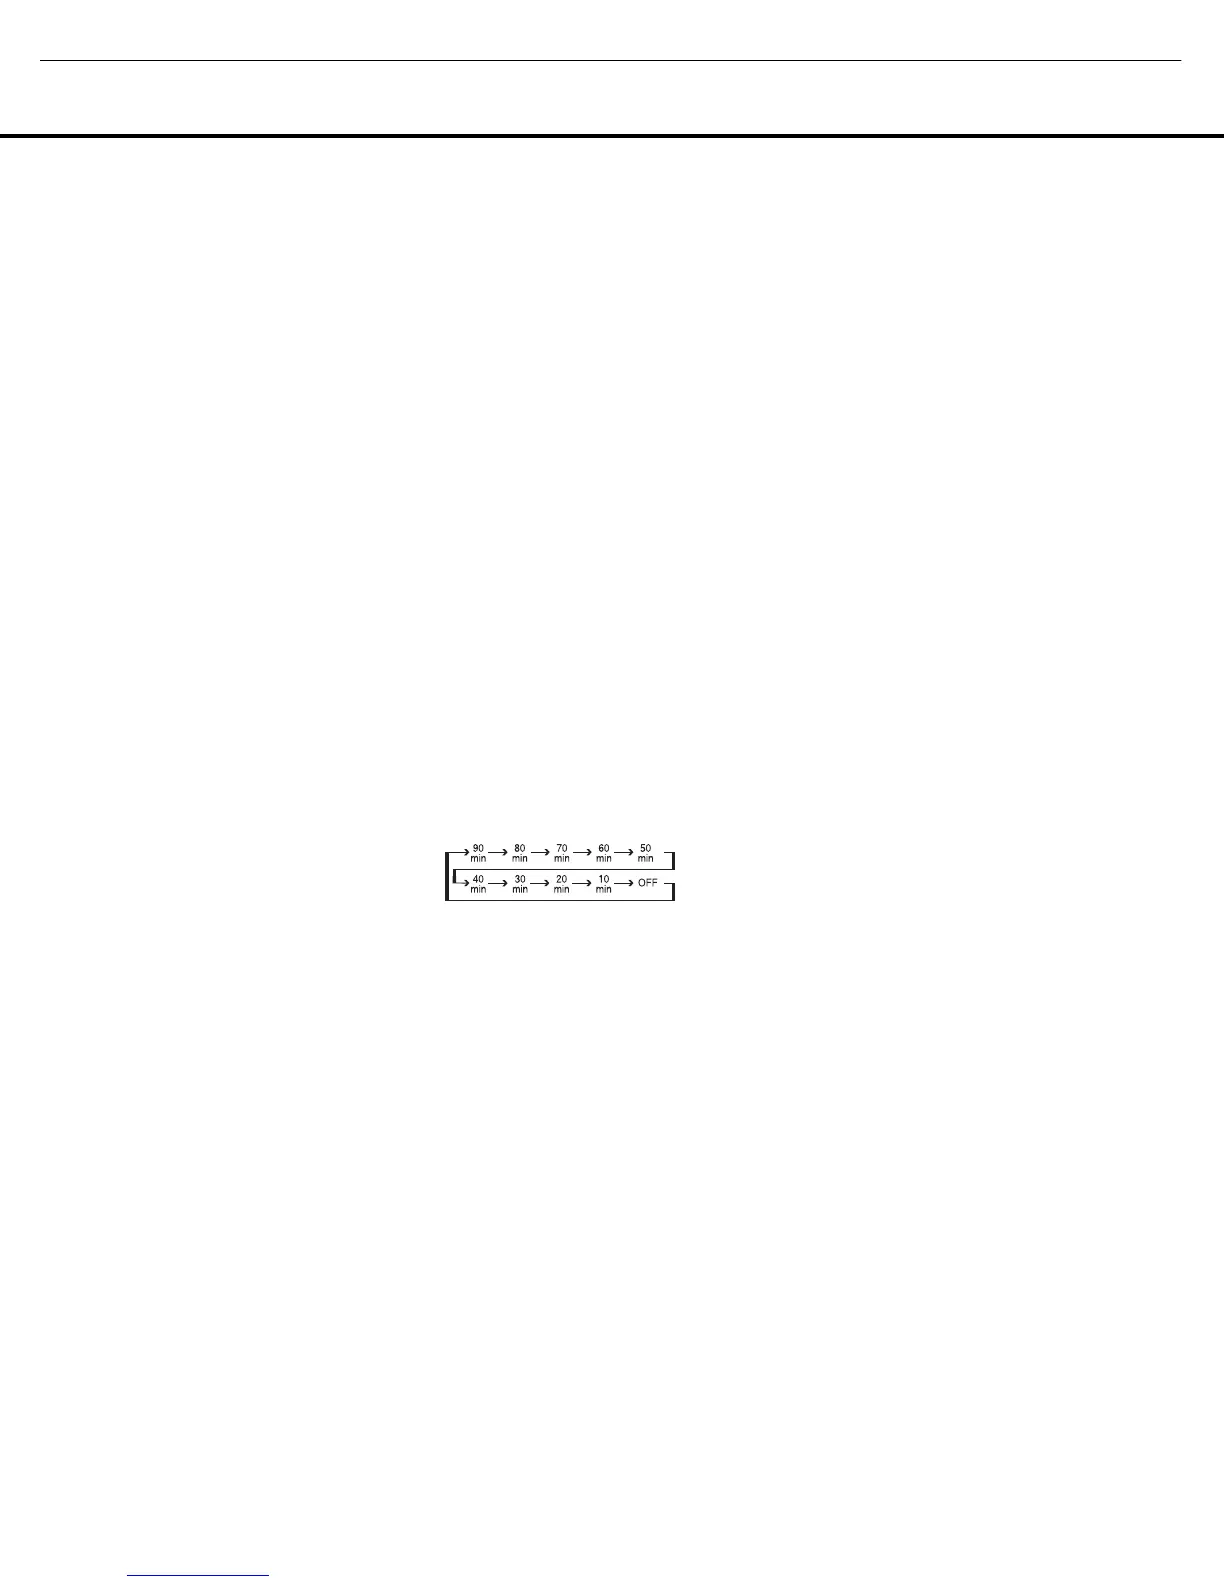
• To put the AVR in the Sleep mode, press the
Screen Button 6 to the right of the word
SLEEP in the LCD. Each press of the button
will decrease the time before the AVR shuts down
in the following sequence.
Once you have set the desired Sleep Time, the front-
panel display will automatically dim to half-brightness.
The display will return to full-brightness when any but-
ton on the front panel or a remote is pressed, and
then return again to half-brightness. To check on the
time remaining until the unit shuts down, follow the
instructions shown above to access the
Screen
Button
6 for Sleep and press it once.
To cancel the Sleep function, follow the instructions
shown above to access the
Screen Button 6 for
Sleep and press it first until the information display
returns to normal brightness and then again as many
times as needed until the words
SLEEP OFF
appear in the Lower Display Line D.
.
When you will be away from home for an extended
period of time, it is always a good idea to completely
turn the unit off with the front-panel
Main Power
Switch
A
.
NOTE: All preset memories are lost if the unit is left
turned off by using the
Main Power Switch
A
for
more than four weeks.
Source Selection
• To select an input source from the front panel, press
the
Input Source Selector Button 6. Each press
of the button will move the input selection through
the list of available choices. If the button is pressed
when the AVR is in the Standby mode, the first
press of the button will turn the unit on and select
the last used input.
• When the AVR is already turned on, you may select
the tuner directly by pressing the
Tuner Band
Selector
3. The first press will select the last
tuned frequency band and station. Each subsequent
press will change the band to the last tuned station
or XM preset.
• Two options are available for selecting an input
source using the TC 30 remote.
■ Pressing the Activities Button
3
will display
the list of preprogrammed activities. Press the
Screen Button 6 next to any activity to turn
the unit on, select the input source shown, and
perform any other steps that have been pro-
grammed into the activity.
■ T
o directly select a source, first press the Devices
Button
4 and then press the Screen Button
6 to the left of AV Receiver
at the
top of the list of options on the
LCD Screen
7
. To select an audio-only input source (Tuner,
CD, 6/8-Channel Direct, DMP/The Bridge or
Tape), press the
Screen Button 6 to the left
of
Audio Inputs. When the screen
display changes, press the
Screen Button 6
next to the desired input. To select an audio/video
input source (Video 1/2/3/4, DVD or HDMI 1/2)
press
Screen Button 6 to the right of A/V
Inputs
. When the screen display changes,
press the
Screen Button 6 next to the
desired input.
• To select an input using the ZR 10 remote, press
one of the
Input Selectors
∂
, or the source-
specific buttons for
Tuner
é
, XM Radio
ƒ
or
The Bridge
®
.
• When a new input is selected, the AVR will automat-
ically switch to the digital input (if selected), surround
mode, component video input, A/V sync delay and
Night mode configurations that were in effect the
last time that input was used.
• The front-panel
Video 4 Inputs
N
, Optical
Digital 3 Input
K
or the Coaxial Digital 3 Input
M
may be used to connect a device such as a
video game or camcorder to your home entertain-
ment system on a temporary basis.
• As the input source is changed, the new input name
will appear momentarily as an on-screen display in
the lower third of the video display (except when
720p or 1080i sources are in use). The input name
AVR 745 OM 5/15/06 5:00 PM Page 39
AVR745
harman/kardon

 Loading...