| www.harmar.com | 800-833-0478 © 2016 Harmar All Rights Reserved
14
INSTALLER
+
+
+
+
+
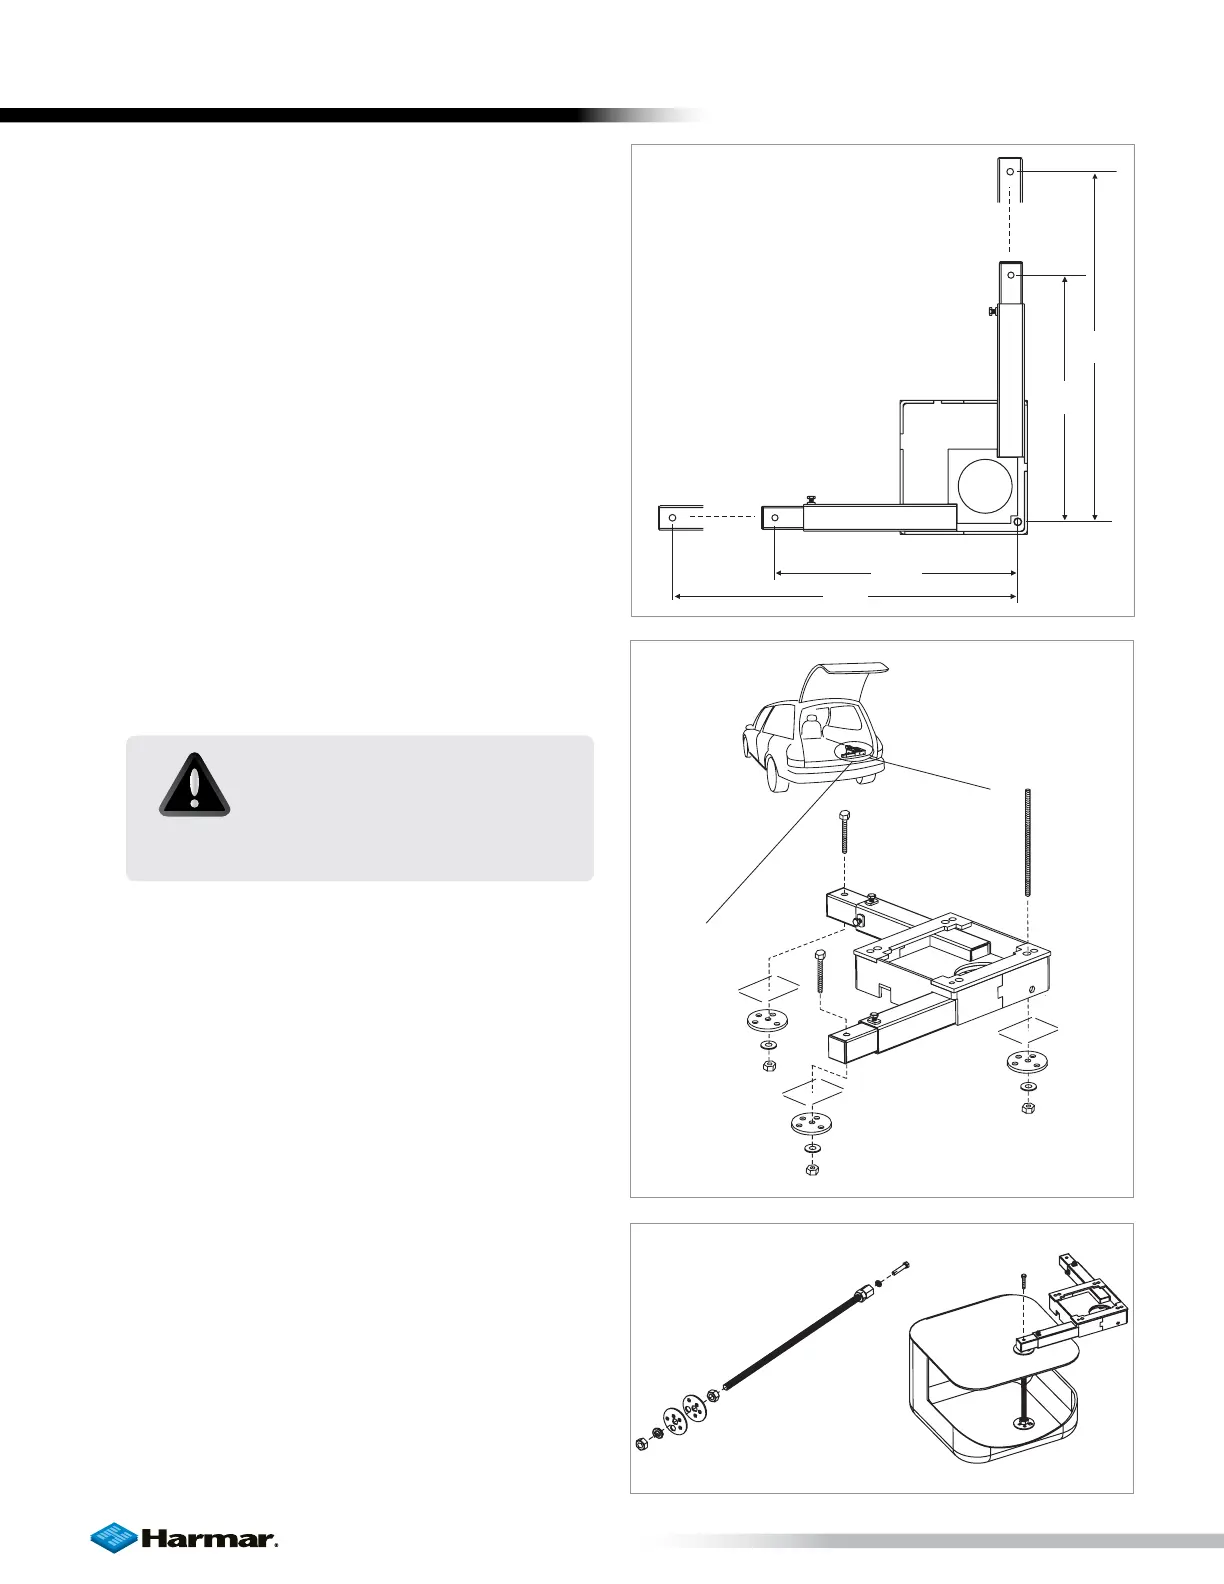
16”
16”
23”
23”
Telescoping Legs
(BA-00 shown)
Vehicle
Floor
Vehicle
Floor
Vehicle
Floor
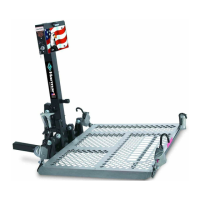
BA-00
STORAGE
WELL
LID
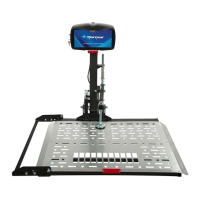
AT-01
BASE INSTALLATION:
FLAT FLOOR
After you know the lift position from the trial fit
procedure, you are ready to drill three 3/8” holes in
the locations you marked.
1. Drill Pilot Holes
• Choose a safe location to drill a single pilot
hole from above in one of the three marked
locations.
• Look under the vehicle and measure the
specified distance from the pilot hole.
• If all is clear in that area continue to drill in
remaining locations.
• Inspect all three pilot holes under the
vehicle.
• If all clear, drill 3/8” holes in pilot locations.
[Figure 14-1]
2. Fasten Base
When holes are drilled, fasten base to vehicle
floor using supplied hardware in the hardware
pack. Be sure to tighten all fasteners. [Figure 14-2]
Special Cases
Storage compartment or well can potentially affect
lift placement. Most of these situations can be
managed with the help of an All Thread Kit.
[Figure 14-3]
Spare Tire Storage
If the spare tire is stored under the floor, be sure
that the base can be bolted through a steel floor or
frame.
Figure 14-1
Figure 14-2
Figure 14-3
CAUTION!
Avoid vehicle wiring, fuel lines,
fuel tanks, spare tires, etc. when
drilling.
INSTALLATION