11
EN
DE
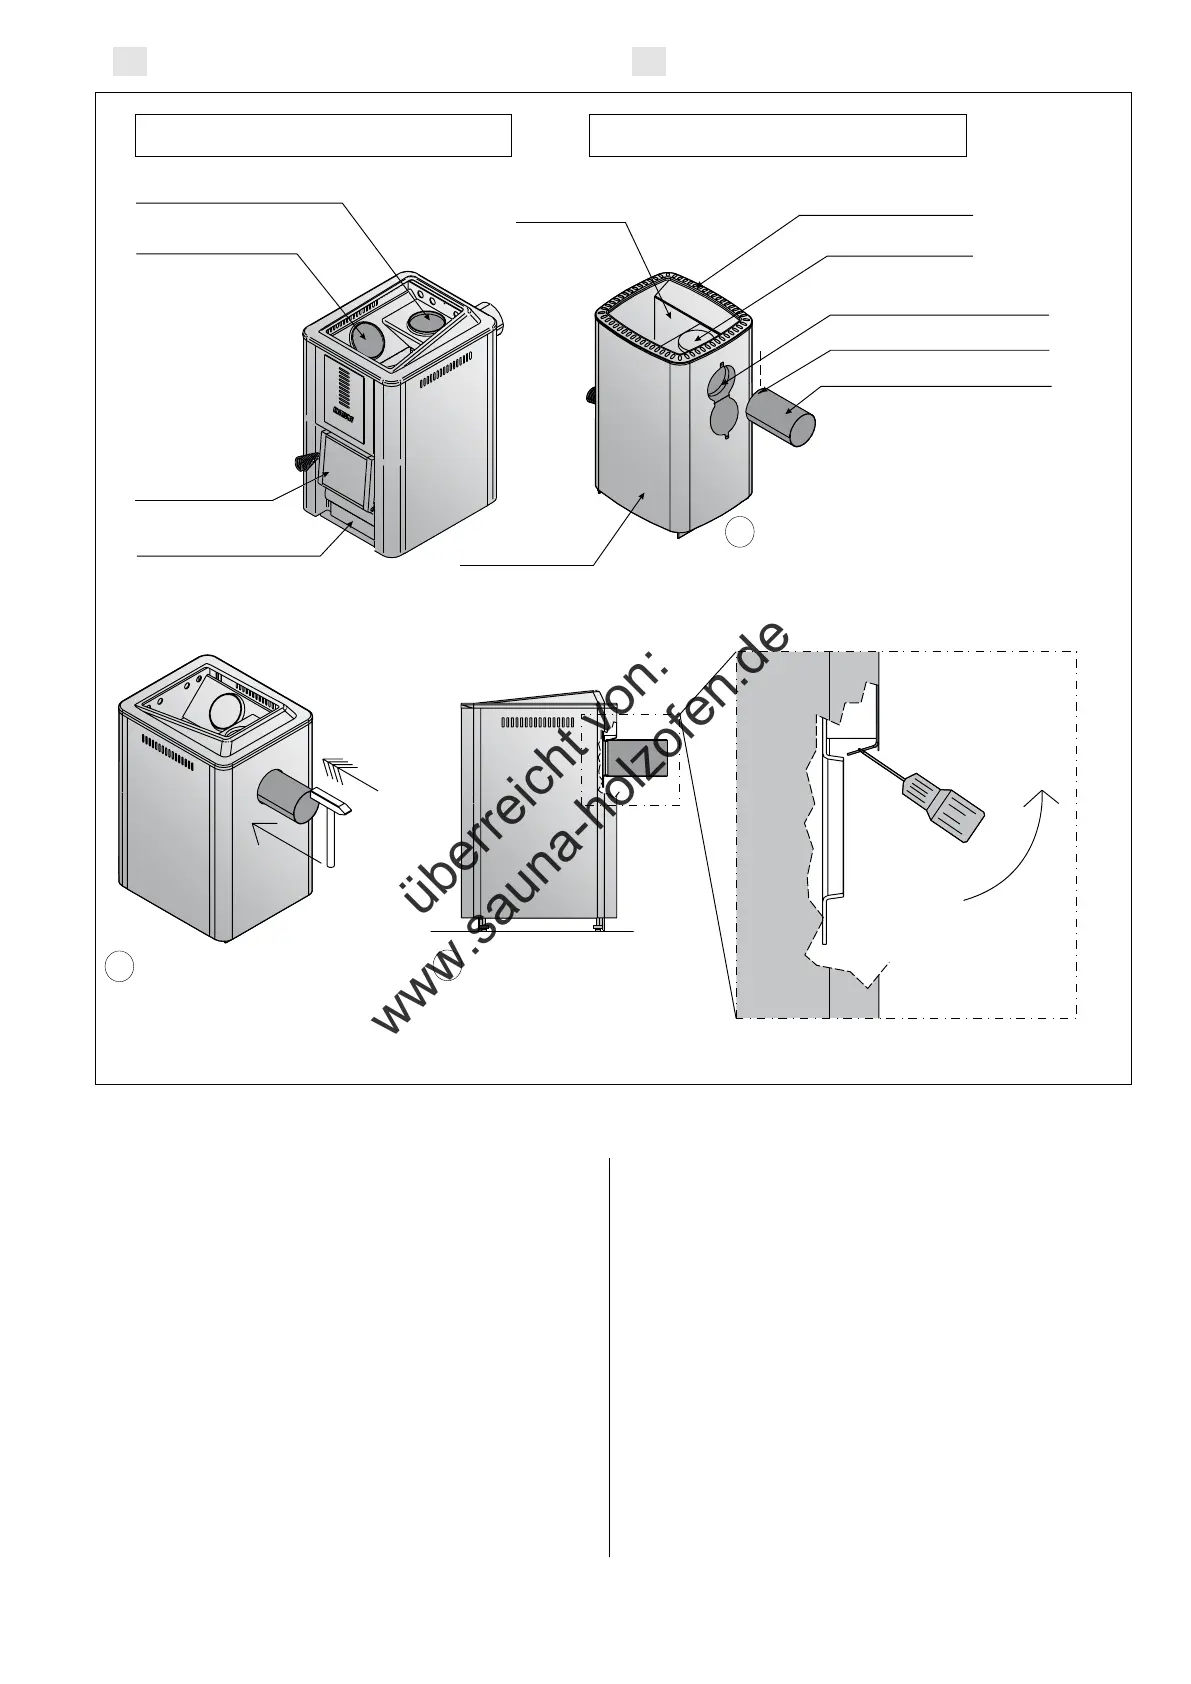
C. If the pipe does not connect
tightly, turn the bend inside
with a screwdriver!
Wenn das Rohr nicht dicht
angeschlossen ist, drehen Sie innen mit einem
Schraubendreher an der Krümmung!
B. Press the pipe inwards until it snaps
into place, tap gently with a hammer
if needed.
Drücken Sie das Rohr hinein, bis es
einrastet. Schlagen Sie es leicht mit
einem Hammer hinein, falls notwendig.
A. Place the pipe to the rear connection opening,
with the dent on the pipe upwards.
Bringen Sie das Rohr an der hinteren
Anschlussöffnung an, mit der Kerbe im
Rohr nach oben.
HARVIA 20 PRO, DIAGONALLY FROM THE FRONT
HARVIA 20 PRO, DIAGONAL VON VORN
HARVIA M3, DIAGONALLY FROM THE BACK
HARVIA M3, DIAGONAL VON HINTEN
UPPER CONNECTION OPENING /
OBERE ANSCHLUSSÖFFNUNG
SOOT OPENING /
RUßÖFFNUNG
GLASS DOOR /
GLASTÜR
ASH BOX /
ASCHEKASTEN
OUTER CASING /
AUßENMANTEL
STONE SPACE /
STEINKAMMER
AIR-FLOW SPOILER /
LUFTEINFÜHRUNG
BLOCKING PLUG /
STOPFEN
REAR CONNECTION OPENING /
HINTERE ANSCHLUSSÖFFNUNG
DENT UPWARDS /
KERBE NACH OBEN
CHIMNEY CONNECTING PIPE /
RAUCHFANG-ANSCHLUSSROHR
Figure 9. Mounting the flue connecting pipe when using the rear opening.
Abbilding 9. Montage des Abzugsanschlussrohres bei Verwendung des hinteren Anschlusses.
The adjustable legs (M10 hex screws), should
be unscrewed to an extent that allows them to be
adjusted using an open-end wrench (17 mm) when
the stove is in position (Figure 8). The screws of the
adjustable legs may scratch certain floor materials (tile,
for example), if the stove is moved on the floor.
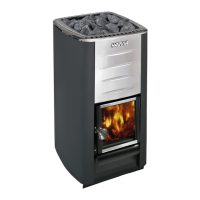
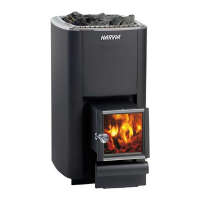
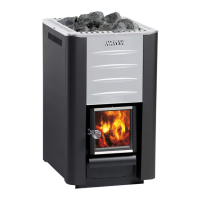
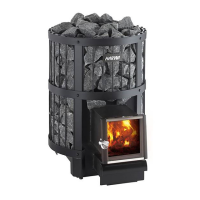
3.6.2. Connecting the stove to a chimney
All Harvia stoves have an opening for a smoke flue
in the back of the stove, and another on top of
the stove, at the back of the stone space. Stoves
supplied are equipped with a straight flue pipe and
a connection opening in the back.
3.6.3. Connecting the stove to a masonry flue via
the connection opening in the back
First, attach the flue connecting pipe (supplied with
the assembly) to the connection opening in the back.
Die verstellbaren Füße (M10-Sechskantschrauben)
sollten bis zu einem Ausmaß gelöst werden, das es
ermöglicht, sie mit einem Gabelschlüssel (17 mm)
einzustellen, wenn der Ofen an seinem Platz steht
(Abbildung 8). Die Schrauben der verstellbaren
Füße können bestimmte Bodenmaterialien zerkrat-
zen (Fliesen z.B.), wenn der Ofen über den Boden
geschoben wird.
3.6.2. Anschluss des Ofens an einen Rauchfang
Alle Harvia-Öfen haben an der Rückseite des Ofens
eine Anschlussöffnung für den Rauchfang und
eine weitere an der Oberseite, im hinteren Teil der
Steinkammer. Die Öfen werden mit der Möglichkeit
zur rückseitigen Installation und mit einem geraden
Abzugsanschlussrohr geliefert.
3.6.3. Anschluss des Ofens an einen gemauerten
Rauchfang über die Anschlussöffnung auf der
Rückseite
Schließen Sie als erstes das Abzugsanschlussrohr (mit
überreicht von:
www.sauna-holzofen.de

 Loading...