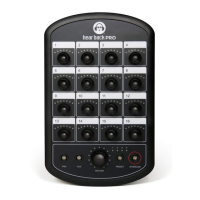
Hear Back PRO User Guide
128-CHANNEL MODE
Note: 128-Channel Mode is intended for diagnostics and
configuration. When you exit 128-Channel Mode, your
settings are lost. If you choose to keep your settings, don’t exit
128-Channel Mode. Submixing is not possible in 128-channel
mode.
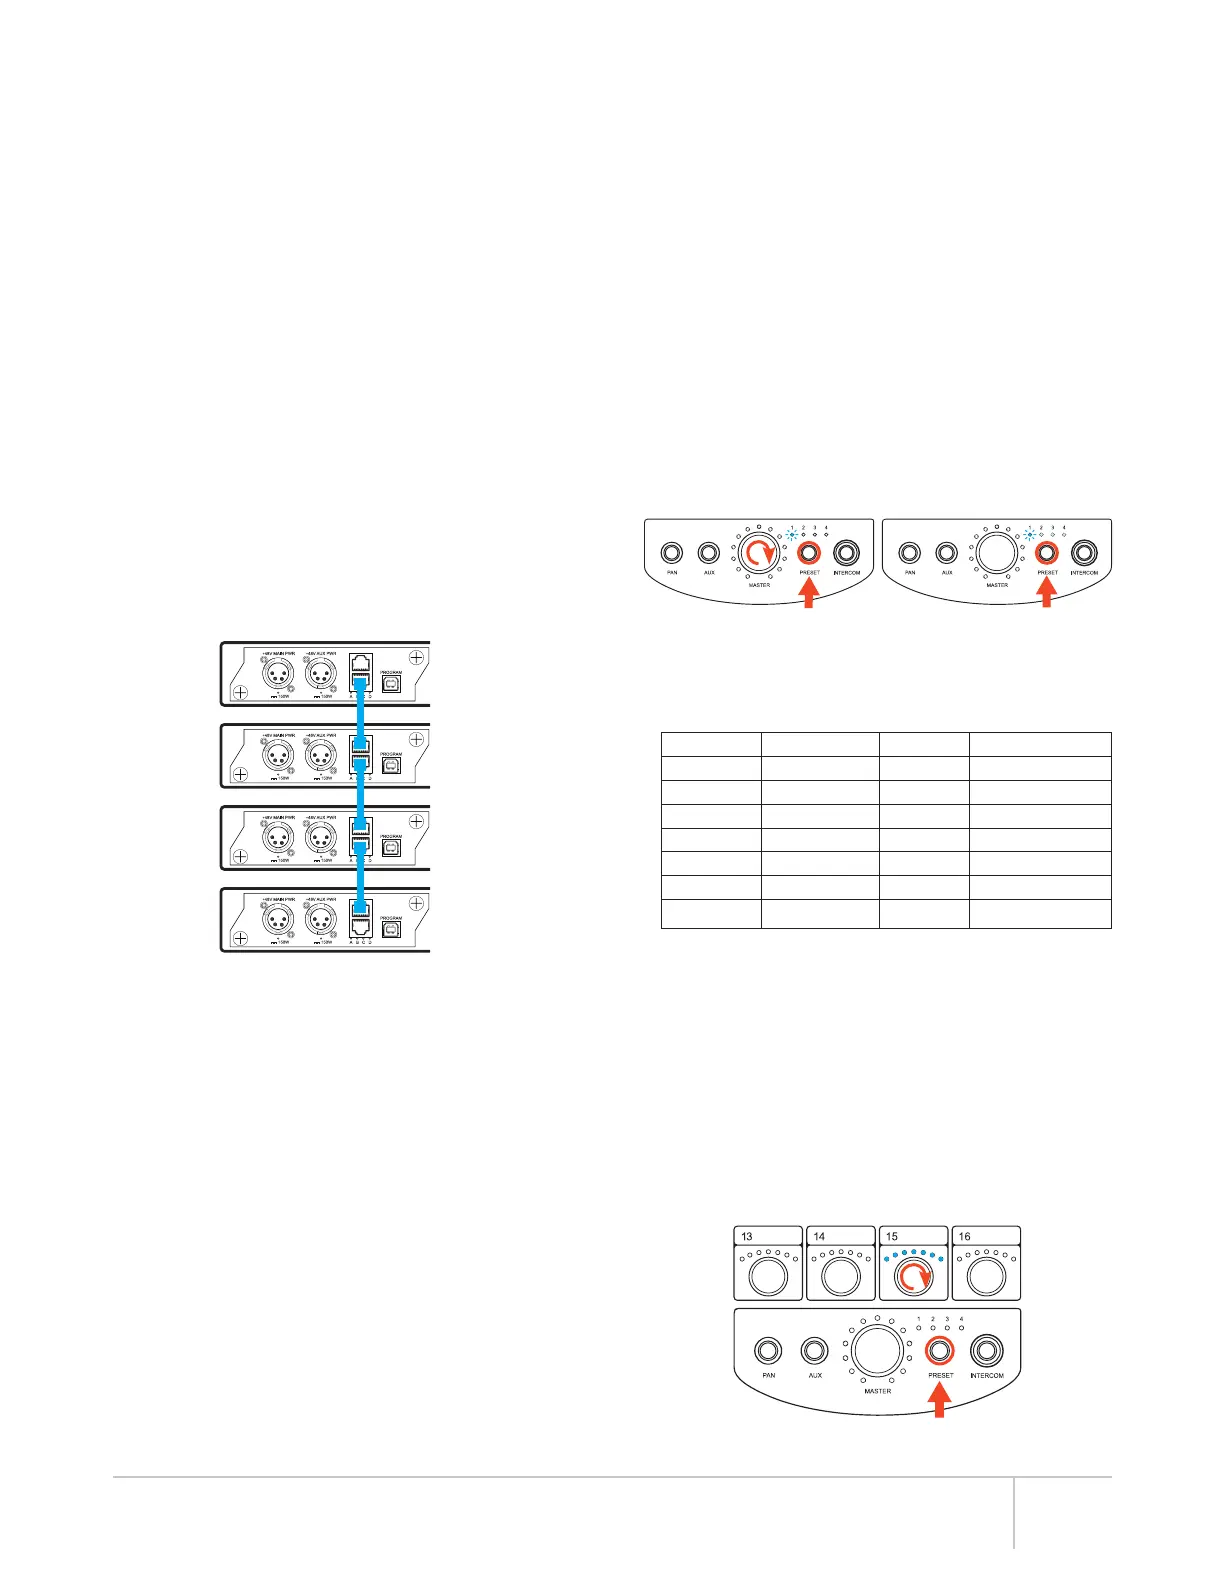
• Press and hold PRESET and spin the MASTER knob
• Selected preset LED will then flash ONCE per second and the
other preset LEDs will light up dimly showing the other Hubs
that are connected:
1 Hub connected: Presets 1 and 2 will illuminate
(indicates BANK 1 and 2 are available)
2 Hubs connected: Presets 1-4 will illuminate
(indicates BANKs 1 through 4 are available)
3 Hubs connected: Once you press PRESET to cycle through
the BANKS (Presets 1-4), you will return to Preset 1
but will now be flashing TWICE per second, indicating
you are in BANK 5. Continuing to press PRESET
will advance you to BANK 6 (Preset 2), then BANK 7
(Preset 3) and then BANK 8 (Preset 4), with BANKs 5-8
LEDs flashing TWICE a second.
• You have access to all available channels in a one-to-one
mapping.
• Step through the BANKs of channels (denoted by the Presets)
by selecting a Preset (example: If Preset 1 and 2 are lit, then
you have 32 channels to select from).
PRESET 1 Single Flash BANK 1 Channels 1-16
PRESET 2 Single Flash BANK 2 Channels 17-32
PRESET 3 Single Flash BANK 3 Channels 32-48
PRESET 4 Single Flash BANK 4 Channels 49-64
PRESET 1 Double Flash BANK 5 Channels 65-80
PRESET 2 Double Flash BANK 6 Channels 81-96
PRESET 3 Double Flash BANK 7 Channels 97-112
PRESET 4 Double Flash BANK 8 Channels 113-128
• Press and hold PRESET to exit back to 16-channel mode.
SUBMIX EDIT MODE
(WITHOUT USING THE iOS APP)
Submixes are 2 or more channels assigned to a single knob.
Use this mode to choose what channels are going to a specific
knob.
• To enter Submix Mode, press and hold PRESET then spin the
channel knob that you’re wanting to edit its submix or channel
assignment. LEDs will blink once. Release PRESET.
Example: Channel one sent to Knob 15 – Knob 15 LEDs are
lit. This indicates channel one is routed to Knob 15.
• Step through various BANKS by pressing the PRESET button.
OPERATING WITH FIRMWARE (FW) V5
INITIAL SETUP
If you are using from 1 to 32 channels you will only need one
Hear Back PRO Hub. If you are using 33 channels or greater you
will need multiple Hubs.
CHANNEL LOCATIONS:
Hub 1 – Channels 1-32
Hub 2 – Channels 33-64
Hub 3 – Channels 65-96
Hub 4 – Channels 97-128
Example: An engineer needs to send out up to 64 channels
of analog audio to its personal monitoring system. They would
need the following hardware:
2 x Hear Back PRO Hubs
8 x Hear Back PRO Analog Input Cards (4 in each Hub)
Each Hear Back PRO Analog Input Card supports 8 channels of
audio. Each Hub will then support up to 32 channels (4 x 8 = 32)
giving the engineer a total of 64 channels.
CONNECTING MULTIPLE HUBS
Note: Use only unshielded CAT5e or CAT6 Ethernet cables
1. Connect Hub 1 HBUS OUT to Hub 2 HBUS IN
2. Connect Hub 2 HBUS OUT to Hub 3 HBUS IN
3. Connect Hub 3 HBUS OUT to Hub 4 HBUS IN
INPUT SELECTOR SWITCH
The Input Selector switch is located on the front panel of the
Hear Back PRO Hub. This switch is now used to select which
card slot the clock source comes from.
• Select either A or B for Internal Clock Source
• Select HBUS for Mixer expansion (additional Network Cards
added to Hub)
Note: All Hubs need to set to the same sampling rate. If there’s a
mix of input cards (analog and digital) the digital card must be the
CLOCK MASTER, and then the analog will SLAVE to it. If there
are multiple digital cards - the digital audio must all come from
the same source and be word-clock synchronized or there will be
pops and clicks in the audio.
HUB POSITION INDICATOR
A Hub’s position (Hub number) can be seen when powering
ON Hubs or by switching between sources (A, B, or HBUS)
The LEDs on the Hub’s front panel will light up either WHITE or
BLUE. The WHITE LED indicates what the Hub’s position is in
the Hub chain (i.e. if LED 2 is WHITE then that Hub is Hub 2 in
that Hub chain).
11