INITIAL
TEST
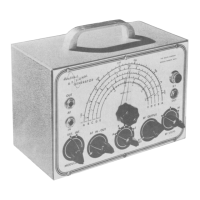
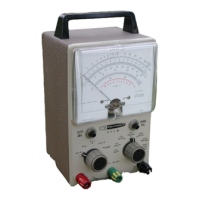
Refer
to Pictorial
5-1
for the following
steps.
NOTE:
If
you have not as yet purchased a 9-volt (NEDA Type
1604)
battery,
you
should
do so at this time.
(
)
Be sure the pushbutton switch is in the
Off
(up)
position.
( )
Connect
the
9-volt battery
to
the battery connector.
(
)
Turn the Osc Level control to minimum (fully clockwise).
(
)
Mount
the red,
1.6-3.4
MHz coil (#40-1689) into the
coil
socket on the
rear chassis apron.
(
)
Turn the Frequency dial
fully clockwise.
( )
Depress
the pushbutton switch
to
turn the
Dip Meter on.
NOTE: In
the following step, if
you do
not
obtain the desired meter indication,
turn the Meter pushbutton
switch to the Off position (up); then, refer
to
the "In
Case of Difficulty"
section
of
this Manual on Page
58.
( )
Slowly
turn the OSC LEVEL
control counterclockwise
to
increase
its
sensitivity.
The meter should indicate
some reading, which will increase as
the control is turned further counterclockwise.
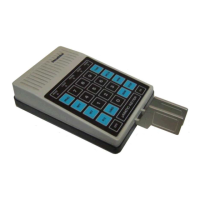
PUSHBUTTON
SWITCH
Page 29
PICTORIAL
5-1