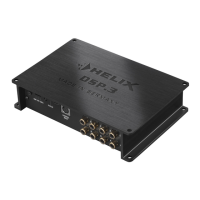
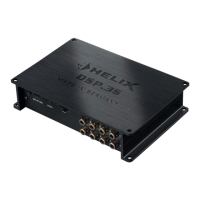
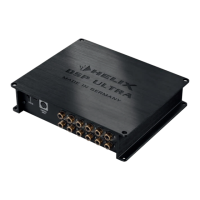
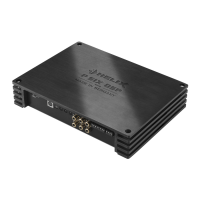
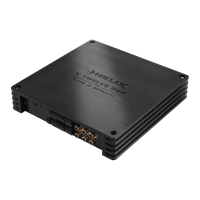
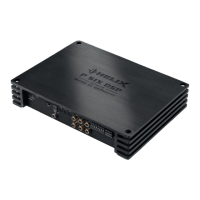
24
,W LV SRVVLEOH WR IUHHO\ FRQ¿JXUH WKH +(/,;
DSP PRO MK2 with our DSP PC-Tool software.
The user interface is designed for easy handling of
all functions and allows an individual adjustment of
each of the ten DSP channels. Prior to connecting
the signal processor to your PC visit our website
and download the latest version of the DSP PC-Tool
software.
Check from time to time for software updates. You
ZLOO¿QGWKHVRIWZDUHDQGWKHUHVSHFWLYHXVHUPDQX-
al on ZZZDXGLRWHF¿VFKHUFRP.
We strongly recommend to carefully read the user
manual (Sound Tuning Magazine) before using the
VRIWZDUHIRUWKH¿UVWWLPHLQRUGHUWRDYRLGDQ\FRP-
plications and failures.
Important: Make sure that the signal processor is
not connected to your computer before the software
and USB driver are installed!
In the following the most important steps how to
FRQQHFWDQGWKH¿UVWVWDUWXSDUHGHVFULEHG
1. Download the latest version of the DSP
PC-Tool software (available on our website
ZZZDXGLRWHF¿VFKHUFRP) and install it on
your computer.
2. Connect the signal processor to your computer
using the USB cable that is included in delivery.
If you have to bridge longer distances please
use an active USB extension cable with inte-
grated repeater and no passive extension.
3. Turn on the signal processor and start the soft-
ware after the Status LED lights up green. The
operating software will be updated automatical-
ly to the latest version if it is not up-to-date.
4. 1RZ \RX DUH DEOH WR FRQ¿JXUH \RXU +(/,;
DSP PRO MK2 with our intuitive DSP PC-Tool
software. Nevertheless, interesting and useful
hints can be found e.g. in our “Sound Tuning
Magazine”, which can be downloaded for free
from our website.
Caution: We highly recommend to set the vol-
ume of your car radio to minimum position during
¿UVW VWDUWXS $GGLWLRQDOO\ QR GHYLFHV VKRXOG EH
connected to the signal processor until general set-
tings in the DSP PC-Tool software have been made.
Especially if the DSP PRO MK2 will be used in fully
active applications, a wrong setup can destroy your
speakers right away.
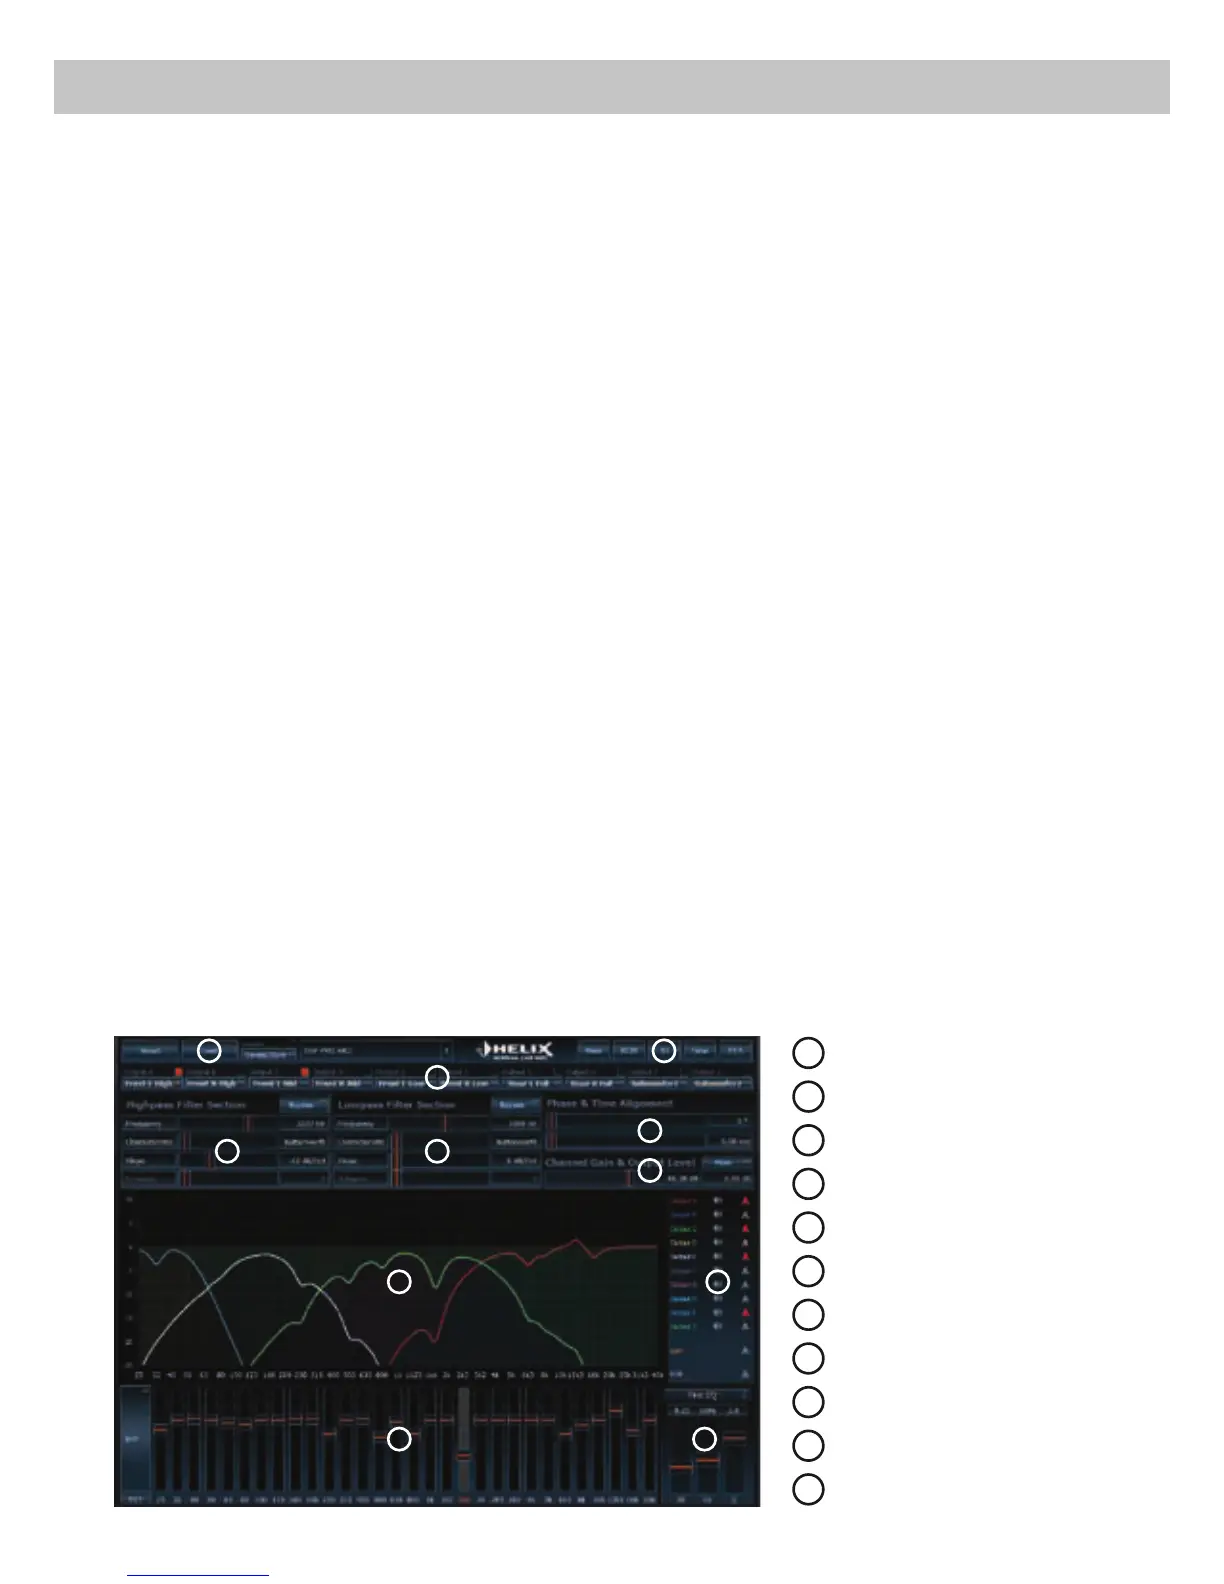
Connection to a PC
1
Load and save
2
Main menu
3
Channel configuration
4
Highpass filter
5
Lowpass filter
6
Time alignment
7
Output level
8
Frequency graph
9
Range of frequency graphs
10
Equalizer
11
EQ fine adjustment
8
1
6
3
4
7
5
2
9
10 11