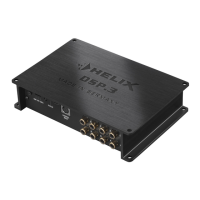
be necessary to directly connect input and output
ground or to tie both grounds together via a resistor.
Therefore the Ground lift switch has three positions:
- center position: input and output ground
separated.
- left position: input and output ground tied
together.
- right position: input and output ground
connected via 200 Ohms resistor.
8
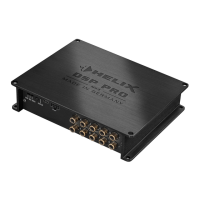
Control pushbutton
The Control pushbutton allows the user to switch
between the two setup memory positions. To switch
between the setups the button has to be pressed
and held for one second. Switching is indicated by
DVLQJOHUHGÀDVKRIWKHStatus LED. Pressing the
EXWWRQIRU¿YHVHFRQGVFRPSOHWHO\HUDVHVWKHLQWHU-
QDOPHPRU\7KLVLVLQGLFDWHGE\DFRQVWDQWÀDVKLQJ
of the Status LED.
Attention: After erasing the setups from memory
the HELIX DSP PRO MK2 will not reproduce any
audio output.
9
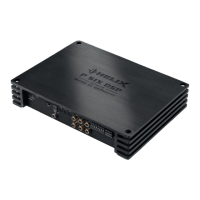
Status LED
The Status LED indicates the current active DSP
setup. Green means that setup 1 is load ed, orange
PHDQVWKDWVHWXSLVORDGHG$ÀDVKLQJUHGOLJKWLQ-
dicates that no setup is loaded. In that case please
load a new setup via the DSP PC-Tool software. If
the LED starts blinking orange, the internal tem-
SHUDWXUHSURWHFWLRQLVDFWLYH$W¿UVWWKHUHPRWHRXW-
put will be turned off. If the temperature still rises the
signal processor will shut down until it has reached
a safe temperature level again.
10
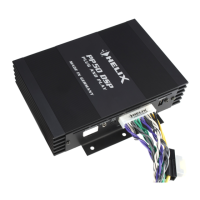
USB input
Connect your personal computer to the
DSP PRO MK2 using the provided USB cable.
7KH UHTXLUHG 3& VRIWZDUH WR FRQ¿JXUH WKLV VLJQDO
processor can be downloaded from the Audiotec
Fischer website ZZZDXGLRWHF¿VFKHUFRP.
Please note: It is not possible to connect any USB
storage devices.
11
Control Input
This multi-functional input is designed for HELIX ac-
cessory products like a remote control which allows
to adjust several features of the signal processor.
'HSHQGLQJRQWKHW\SHRIUHPRWHFRQWURODW¿UVWLWV
IXQFWLRQDOLW\KDVWREHGH¿QHGLQWKH³'HYLFH&RQ-
¿JXUDWLRQ0HQX´RIWKH'633&7RROVRIWZDUH
12
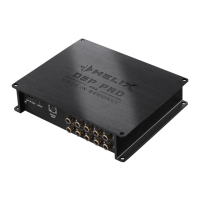
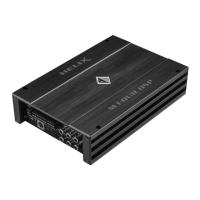
Line Output
FKDQQHO SUHDPSOL¿HU RXWSXW IRU FRQQHFWLQJ
SRZHUDPSOL¿HUV7KHRXWSXWYROWDJHLV9ROWVPD[
Please make sure that you always turn on/off exter-
QDODPSOL¿HUVXVLQJWKHUHPRWHRXWSXWRIWKHVLJQDO
processors Power Input. Never directly control the
external amps by a signal from the ignition switch
of your car! Additionally this output will be turned
off when the “Power Save Mode” of the signal pro-
cessor is active. The outputs can be assigned to
any of the inputs as desired using the DSP PC-Tool
software.
18
Initial start-up and functions