15
Congratulations!
General instructions
Dear Customer,
Congratulations on your purchase of this innovative
and high-qual ity HELIX product.
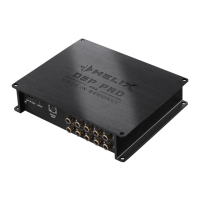
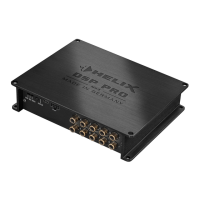
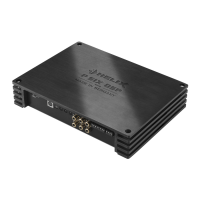
With the HELIX DSP PRO MK2, Audiotec Fischer is
setting new standards in the range of digital signal
processors.
We wish you many hours of enjoyment with your
new HELIX DSP PRO MK2.
Yours,
AUDIOTEC FISCHER
General installation instructions for HELIX
components
To prevent damage to the unit and possible injury,
read this manual carefully and follow all installation
instructions. This product has been checked for
proper function prior to shipping and is guaranteed
against manufacturing defects.
Before starting your installation, disconnect
the battery’s negative terminal to prevent
GDPDJHWRWKHXQLW¿UHDQGRUULVNRILQMXU\ For
a proper performance and to ensure full warranty
coverage, we strongly recommend to get this prod-
uct installed by an authorized HELIX dealer.
Install your HELIX DSP PRO MK2 in a dry location
ZLWKVXI¿FLHQWDLUFLUFXODWLRQIRUSURSHUFRROLQJRIWKH
equipment. The signal processor should be secured
to a solid mounting surface using proper mounting
hardware. Before mounting, carefully examine the
area around and behind the proposed installa-
tion location to insure that there are no electrical
cables or components, hydraulic brake lines or any
part of the fuel tank located behind the mounting
surface. Failure to do so may result in unpredictable
damage to these components and possible costly
repairs to the vehicle.
General instruction for connecting the HELIX
DSP PRO MK2 signal processor
The HELIX DSP PRO MK2 signal processor may
only be installed in vehicles which have a 12 Volts
negative terminal connected to the chassis ground.
Any other system could cause damage to the signal
processor and the electrical system of the vehicle.
The positive cable from the battery for the entire
sound system should be provided with a main fuse
at a distance of max. 30 cm from the battery. The
value of the fuse is calculated from the maximum
total current draw of the car audio system.
Use only the provided connectors or the option-
ally available Easy Plug Cable for connection
of the HELIX DSP PRO MK2. The use of other
cables can result in damage of the signal pro-
cessor, the head unit / radio or the connected
DPSOL¿HUVORXGVSHDNHUV
Prior to installation, plan the wire routing to
avoid any possible damage to the wire harness.
All cabling should be protected against possible
crushing or pinching hazards. Also avoid routing
cables close to potential noise sources such as
electric motors, high power accessories and other
vehicle harnesses.