24
,W LV SRVVLEOH WR IUHHO\ FRQ¿JXUH WKH +(/,;
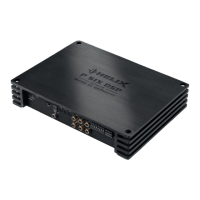
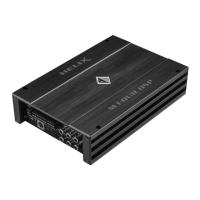
P SIX DSP MK2 with our DSP PC-Tool software.
The user interface is designed for easy handling of
all functions and allows an individual adjustment of
each of the 8 DSP channels. Prior to connecting the
DPSOL¿HU WR \RXU 3& YLVLW RXU ZHEVLWH DQG GRZQ-
load the latest version of the DSP PC-Tool software.
Check from time to time for software updates.
<RX ZLOO¿QGWKHVRIWZDUH DQG WKHUHVSHFWLYHXVHU
manual on ZZZDXGLRWHF¿VFKHUFRP.
We strongly recommend to carefully read the user
PDQXDOEHIRUHXVLQJWKHVRIWZDUHIRUWKH¿UVWWLPHLQ
order to avoid any complications and failures.
Important:0DNHVXUHWKDWWKHDPSOL¿HULVQRWFRQ-
nected to your computer before the software and
USB driver are installed!
To install the software follow the next steps:
1. Download the DSP PC-Tool software from the
ZHEVLWHZZZDXGLRWHF¿VFKHUFRP
2. Install the software on your computer. During
that process the required USB driver will be au-
tomatically installed as well.
3. After the software installation process is com-
SOHWHG \RX FDQ QRZ FRQQHFW WKH DPSOL¿HU WR
your PC with the provided USB cable. Don’t
extend the supplied cable by using any passive
USB extension cable. If you need to cover lo ng-
er distances between your PC and the HELIX
P SIX DSP MK2 then use an active USB repeat-
er cable.
7XUQ RQ WKH DPSOL¿HU DQG WKHQ VWDUW WKH VRIW-
ZDUH,IWKH¿UPZDUHLVQRWWKHODWHVWYHUVLRQLW
will automatically be updated.
<RX DUH QRZ UHDG\ WR FRQ¿JXUH WKH +(/,;
P SIX DSP MK2 according to your demands.
Comprehensive operating instructions
for the software can be downloaded from
ZZZDXGLRWHF¿VFKHUFRP
Caution: We strongly recommend not to connect
DQ\WKLQJWRWKHSUHDPSOL¿HURXWSXWVRUVSHDNHURXW-
puts of the HELIX P SIX DSP MK2 before the basic
FRQ¿JXUDWLRQRIWKHDPSOL¿HUKDVEHHQFRPSOHWHG
Ignoring this advice may result in damaging the
connected speakers, especially if you are running a
IXOO\DFWLYHFRQ¿JXUDWLRQ
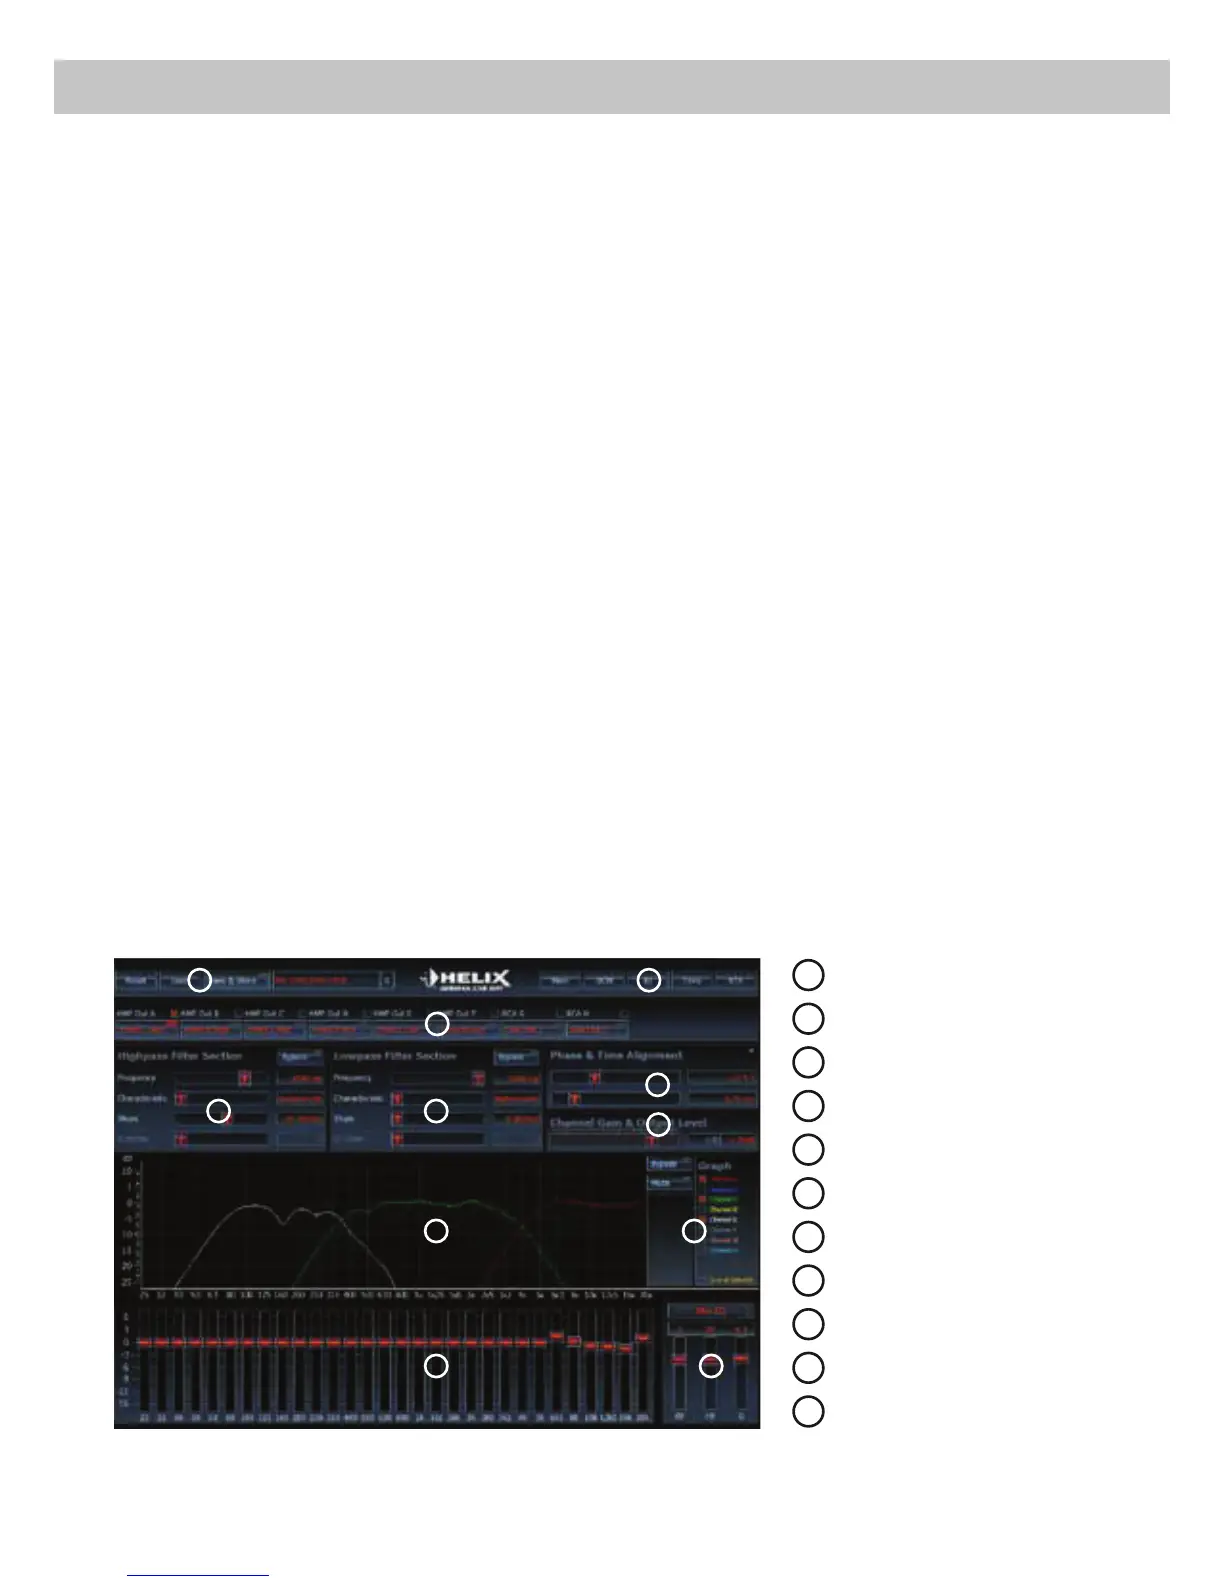
Connection to a PC
1
Load and save
2
Main menu
3
Channel configuration
4
Highpass filter
5
Lowpass filter
6
Time alignment
7
Output level
8
Frequency graph
9
Range of frequency graphs
10
Equalizer
11
EQ fine adjustment
8
1
6
3
4
7
5
2
9
10 11
 Loading...