18
7. Wait for the second buzzer signal (approx. 3
seconds) to confirm that the self-test was
successful.
8. The green LED on the transmitter control panel
will flash.This indicates that the transmitter is
working and is ready to use.
9. Disengage the E-stop pushbutton.
10. Push the green pushbutton "Start/horn" on the
transmitter.
11. Check that the crane/machine functions
correspond with the transmitter functions.
IMPORTANT: The crane/machine functions will
operate during this check. Be certain that there are no
obstacles near the crane/machine.
12. Push the "E-STOP" pushbutton on the
transmitter. Be sure that no functions can be
activated with the "E-STOP" pushbutton
depressed.
IMPORTANT: If any function of the radio remote
control activates with the "EMERGENCY STOP"
engaged, the radio remote control must not be used
until it is repaired by a certified technician.
13. Pull out the "EMERGENCY STOP" pushbutton.
14. Push the green pushbutton "Start/horn" on the
transmitter.
15. Both the radio remote control and the
crane/machine are now ready for operation.
IMPORTANT: To avoid accidental start-up, always
engage the E-stop pushbutton and switch the
transmitter "OFF" when not in use. When the
transmitter is not attached to the operator, the key
switch should be removed and stored in a secure
place.
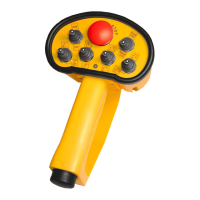
EMERGENCY STOP
For all emergency situations, push the E-Stop
pushbutton in. To restart the system, disengage the
E-Stop pushbutton and press the Start/Horn
pushbutton. Be sure any dangerous conditions are
corrected and follow the Start Up Procedure above.
SAFE MODE
When the transmitter battery voltage drops below
approximately 3.4 volts, the system automatically goes
into Safe Mode. A buzzer will sound to indicate a low
battery. At the end of the 30 seconds, the transmitter
sends the E-Stop signal and all crane/machine motion
commands are stopped.
To restart the system, a fully charged battery must be
inserted into the transmitter. Proceed with startup
instructions. Always place the discharged battery
directly into the charger.
JOYSTICKS OR PADDLE LEVERS
Joysticks and paddle levers are equipped with a spring
return to the center (OFF) position. If the
crane/machine motion is multi-speed, the farther the
lever is pushed, the faster the crane/machine motion
will move. Return the lever to the center position to
stop the crane/machine motion.
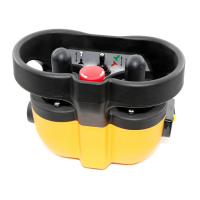
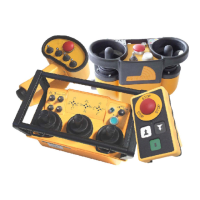
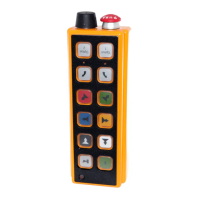
OPTION CONTROLS
Each transmitter can be equipped with a variety of
rotary switches, toggle switches or pushbuttons. Each
function is labeled. For specific operational
instructions, refer to the technical documentation
supplied with your transmitter, or contact Hetronic.
TRANSMITTER SHUTDOWN
To shut down the transmitter, turn the key switch to
OFF. Remove the key and place it in a secure location
to prevent unauthorized or unintentional use.
OPTICAL DISPLAYS AND ACOUSTIC
SIGNALS
The radio remote control system uses optical displays
and acoustic signals to show current working status.
Transmitter
1. Turn keyswitch to "ON".
2. One long acoustic signal (buzzer) sounds.
3. After the self-test routine, another buzzer sounds
to indicate that the system is ready to operate.
4. Then press the Start/Horn button to begin system
operation.
NOTE: If the Start/Horn button is pressed before the
second buzzer, the system will not start up.
During transmitter operation, a buzzer signal indicates
when the battery is nearly discharged. The transmitter
will operate for another 30 seconds before going into
E-Stop. Use this time to place the crane/machine in a
safe position.
WARNING: TO AVOID SERIOUS INJURY
OR DEATH. Switch the crane/machine "OFF"
if there is a fault or any problems with the
safety check. Contact Hetronic or your dealer
immediately to repair the system. NEVER
operate the crane/machine when the
"EMERGENCY STOP" function does not
operate properly.
Improper operation, maintenance or
adjustment may cause serious injury or
damage to equipment and may void the
warranty.