mounting hole of the expansion pipe on the wall should align with the mounting hole on the
mounting base.
For wooden wall mounting, you can just use the self-tapping screw to fix the mounting base.
The wall must be strong enough to withstand more than 3 times the weight of the camera and
the bracket.
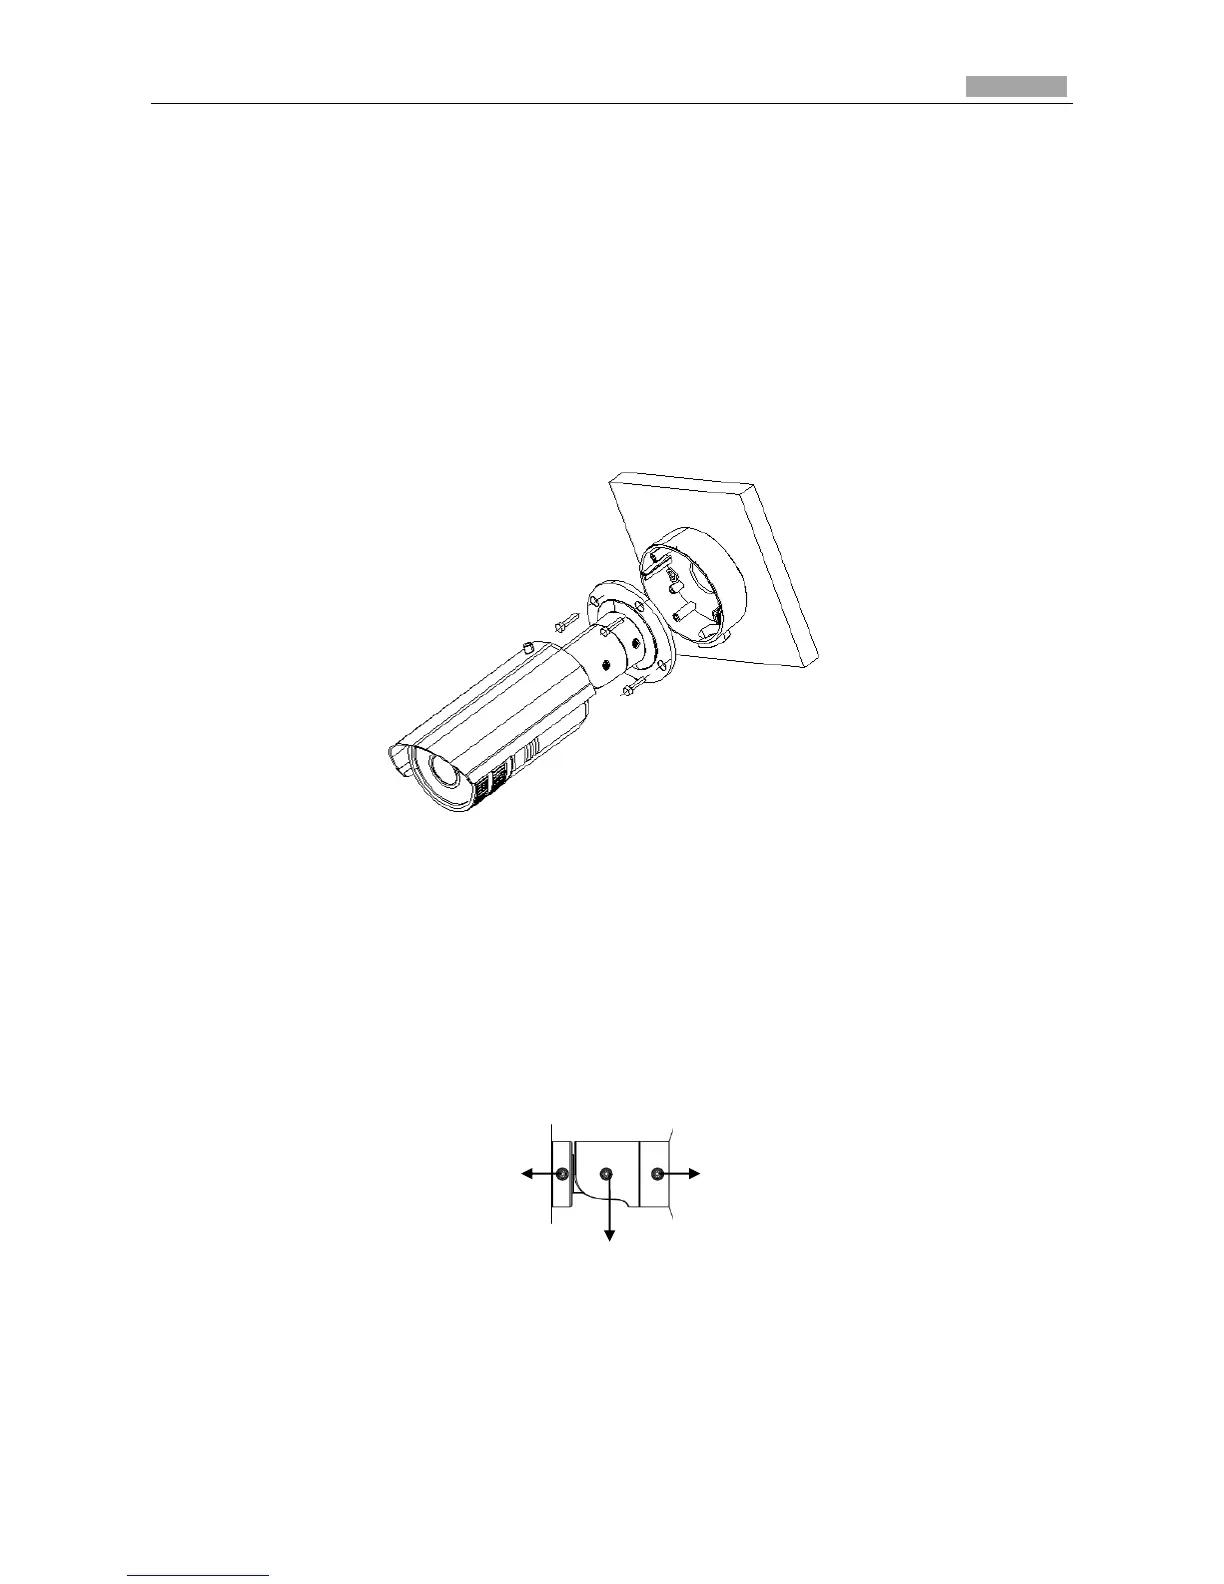
2. Attach the mounting bracket with the camera to the mounting base with the safety rope (not
shown in the figure below). Fix the mounting bracket with the camera to the mounting base
with screws.
Note: The “bottom” mark on the mounting base should align with the “bottom” mark on the
mounting bracket.
Figure 4-5 Secure the Camera
3. View the image of the camera over the network.
4. Loosen the screws on the bracket slightly.
Note: Please loosen the screws slightly until you can adjust the camera and do not remove the
screws from the bracket.
5. Adjust the camera to the desired surveillance angle and then tighten the screws on bracket to fix
the camera.
Figure 4-6 Adjust Image
6. Loosen the lock screw on the sun shield and move the sun shield until you can remove it.
Remove the sun shield.
 Loading...