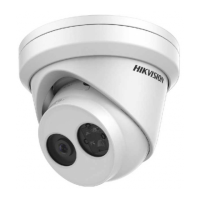
Figure 3-11 Route Cable through side outlet
3. After connecting the video cable and power cable, view the image of the camera on a monitor.
Loosen the fixed screws, and adjust the panning position and tilting position to get optimum
surveillance angle. Adjust W-T lever and F-N lever to get a perfect image.
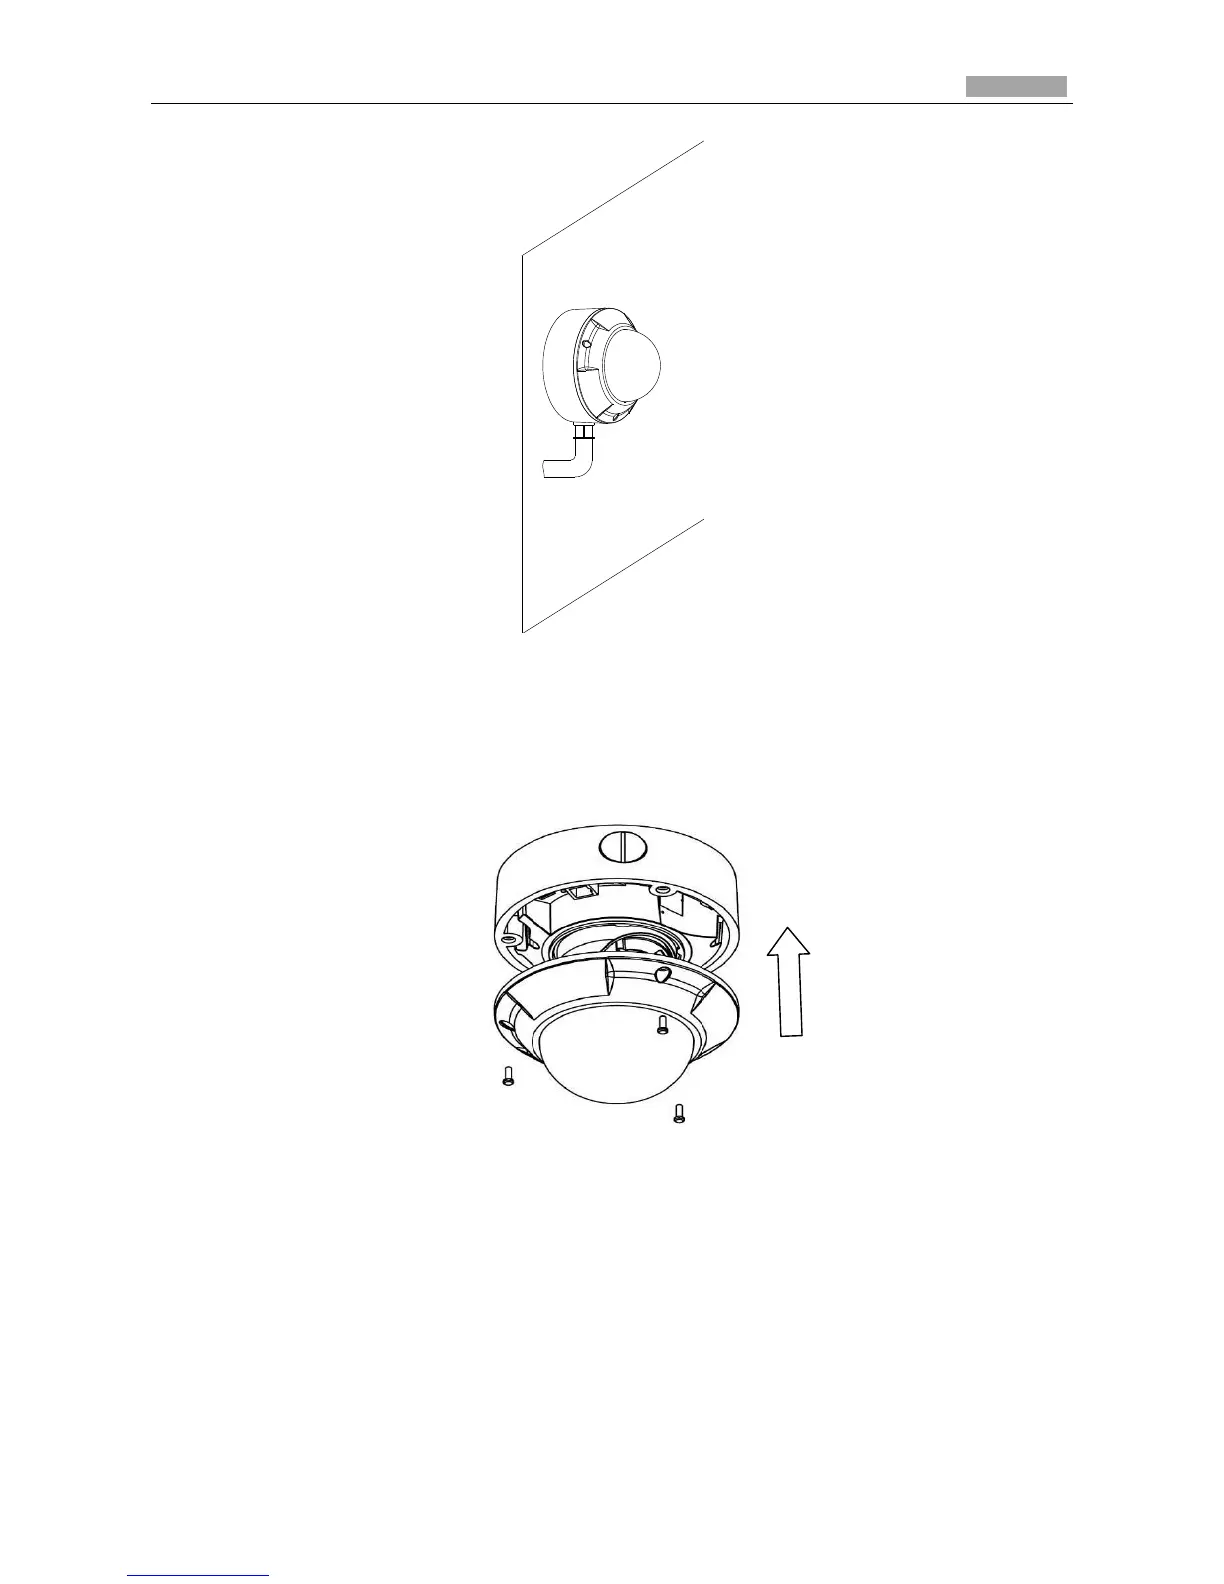
4. Tighten the screw after adjustment, and reinstall the lower dome to finish the installation.
Figure 3-12 Reinstall the Lower Dome
3.3 Dome Camera III
3.3.1 Appearance Description
Camera description: