mounting hole of the expansion pipe on the wall should align with the mounting hole on the
bracket.
For wooden wall mounting, you can just use the self-tapping screw to fix the bracket.
The wall must be strong enough to withstand more than 3 times the weight of the camera and
the bracket.
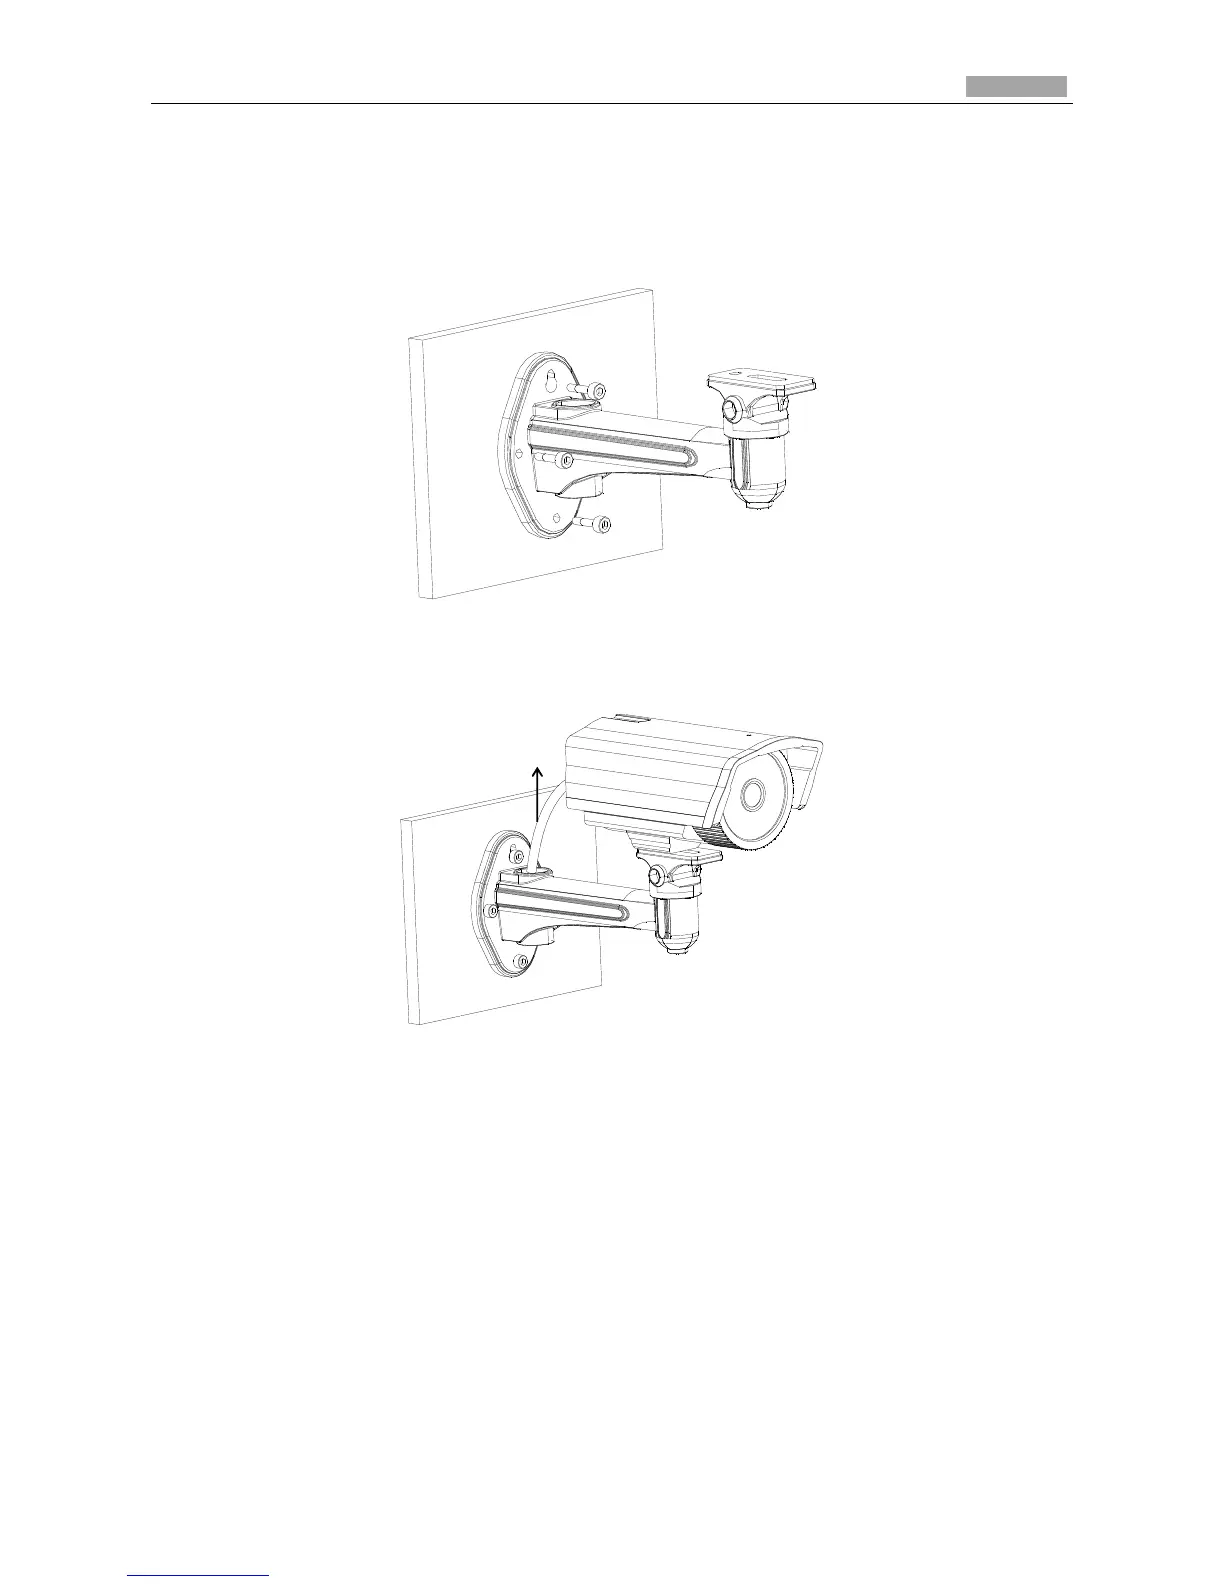
Figure 4-12 Install the Wall Mount
2. Secure the camera to the wall mount with set screws.
3. Route the cables for the camera as shown follows.
Figure 4-13 Mount the Camera
4. Loosen the panning lock screw, you can adjust the panning angle of the camera up to 360°
(Figure 2-17); Loosen the tilting lock screw, you can adjust the tilting angle of the camera up to
90° (Figure 2-18).