Make sure the wall can bear the weight which is at least 8 times of the speed
dome with accessories such as mount.
Steps:
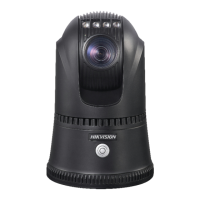
1. Install wall mount to the wall with hexagonal screwdriver and 4 M6 screws.
Figure 2-16 Install Wall Mount
Notes:
If you want to install the wall mount to the cement ceiling, install expansion
screws first, and keep the installation hole positions of the expansion screws
consistent with those of the wall mount.
If you want to install the wall mount to the woody wall, use self-tapping screws to
install the wall mount directly.
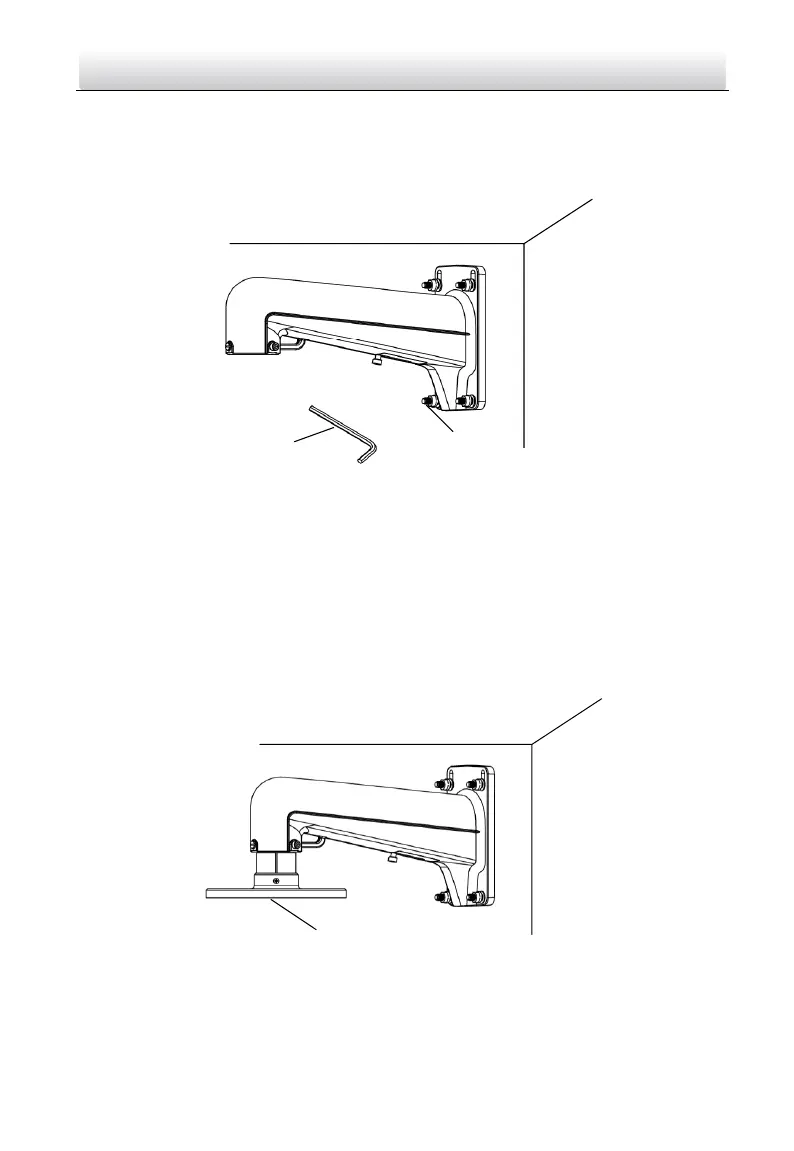
2. Loosen the 3 screws on the wall mount, insert the adapter mount, and fasten the
screws with hexagonal screwdriver.
Figure 2-17 Install Adapter Mount
3. Place 4 M6 screws in the screw holes on the base of the speed dome, and fasten
them with hexagonal screwdriver to fix the speed dome on the adapter mount.
 Loading...