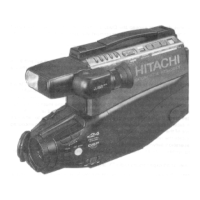
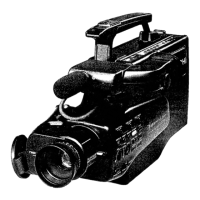
IDENTIFICATION AND OPERATION OF CONTROLS
29
• This button is used to record new video in place of existing video and audio. See page
32.
"REW" Button
Press this button during stop or fast forward mode, and fast-rewinding starts. " "
appears in the viewfinder. Press the button during playback of tape, and the tape is
played back in the rewind direction approximately 3 times faster than the normal speed
to confirm the recorded contents.
Press "PLAY" button to return to normal playback mode or press "STOP/EJECT"
button to stop tape movement.
NOTE: You can also visually scan backward when the camera/recorder is in record/pause
(stand-by) mode by pressing and holding this button.
"STOP/EJECT" Button
• The "STOP/EJECT" button is used to stop playback, rewind, and fast forward
operations. The "STOP/EJECT" button has no effect during record operation.
"F.FWD" Button
Press this button during stop or rewind mode, and fast-forwarding starts. " " appears
in the viewfinder.
Press the button during playback of tape, and the tape is played back in the forward
direction approximately 3 times faster than the normal speed to confirm the recorded
content.
Press "PLAY" button to return to normal playback mode or press "STOP/EJECT"
button to stop tape movement.
NOTE: You can also visually scan forward when the camera/recorder is in record/pause
(stand-by) mode by pressing and holding this button.
"PLAY" Button
Used for playback of tape recorded in the SP mode.
NOTE: When the camera/recorder is in the record/pause (stand-by) mode, pressing and
holding this button will play the tape at normal speed.
(REW, PLAY, F.FWD, and STOP/EJECT)
• These buttons are used for title making buttons when the "TITLE" button is pressed.
(See "TITLE RECORDING" on page 28.)
• These buttons may be also used to set the date and time during pause (stand-by)
mode. (See "DATE/TIME SETTING" on page 20.)