14
Important information: Replacing existing controls
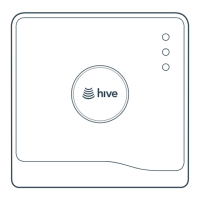
If there’s an existin sinle zone timer or wireless receiver, you should replace
it with the Hive receiver. Hive receivers are backplate compatible with a
number of common boiler controls that may already be fitted in the home.
If the existin controller doesn’t have a compatible backplate, remove it
completely and wire in the Hive receiver in its place. If needed you can use
a stand-off plate (SP, supplied separately) to create space to accommodate
existin wirin, or use a decoration plate (DP) when replacin a larer controller.
If the existin controller does have a compatible backplate, simply remove the
front panel of the existin controller and snap the Hive receiver front panel on
in its place.
• Single channel receiver compatibility: WR1 receiver, UT2 and EMT2 timers
• Dual channel receiver compatibility: UP2 and EMP2 prorammers
Important information: Replacing an existing thermostat
If you’re replacin an existin wired thermostat, you should ensure that the
pre-existin wires and connections are made safe. This can be achieved by
disconnectin or bridin out the wired thermostat in the wirin centre or
boiler. Where cables are left at the wireless thermostat position, they should
be housed and terminated within an enclosure to prevent access. If you’re
replacin an existin wireless thermostat, decommission it by detachin it
from the wall and removin its batteries.