Maintenance
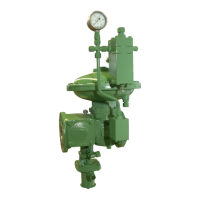
HON 380 gas pressure regulator with HON 673/674 controller 47
8.6 Performing maintenance on regulator unit
Topic Page
Performing maintenance on regulator unit RE1 47
Performing maintenance on regulator unit RE2 51
Performing maintenance on regulator unit RE0 56
8.6.1 Performing maintenance on regulator unit RE1
Make sure that the following requirements are met:
The system is not pressurized, see Starting maintenance (see page 41).
WARNING! Mortal danger associated with pressurized components.
Observe the following cleaning instructions:
Before assembly, all parts must be cleaned in order to remove any foreign
particles (swarf) and soiling.
If screws, bolts, or washers are replaced with identical new parts, any oil on
these new parts must first be removed.
Proceed as follows:
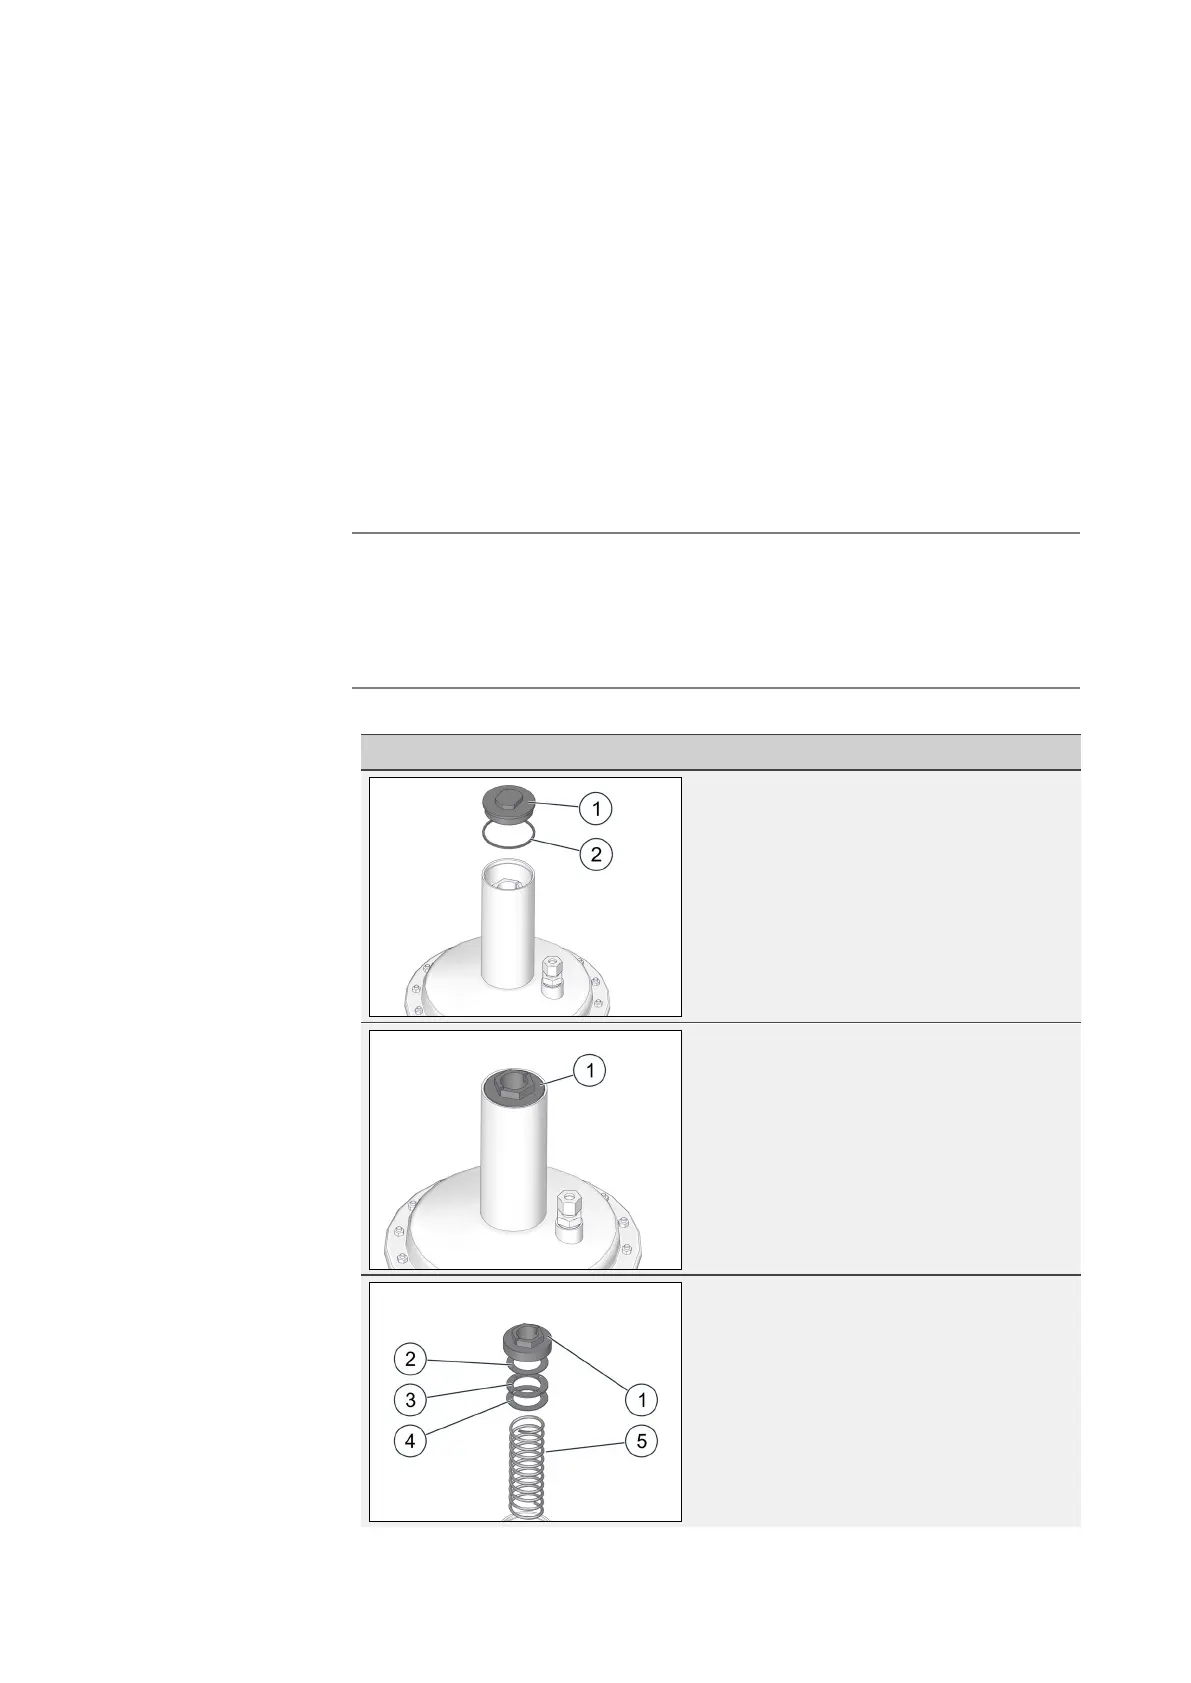
Figure Step Description
1 Unscrew the cap (1).
Remove the gasket (2).
2
Slowly screw out the spring adjuster
(1).
CAUTION! The diaphragm housing
cover is spring-loaded. Risk of injury
due to springing up when the spring
adjuster is unscrewed.
3 Take out the following parts:
Spring adjuster (1)
Bearing washer (2)
Bearing collar (3)
Bearing washer (4)
Pilot spring (5)
nance on regulator
unit
 Loading...