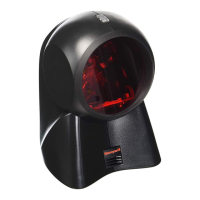
Cable Installation and Removal
Installation
1. Insert the cable’s modular connector into the socket on the imager.
2. Pull gently on the cable strain relief to ensure the cable is installed.
Note: If the cable is not fully latched, the imager may power intermittently.
Figure 3. Installing the Cable
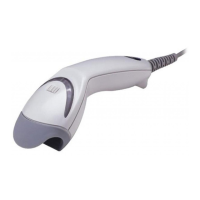
Removal
Turn the host power off and disconnect the power supply from the cable before
attempting to disconnect the cable from the imager.
1. Locate the small pinhole on the imager near the cable connection point.
2. Bend a paperclip into the shape shown below.
3. Insert the paperclip into the pinhole and apply pressure to release the
connector lock.
4. Pull gently on the strain-relief of the cable to remove the cable from the
imager.
Figure 4. Disconnecting the Cable
MS7580-124-EAS Model Note
See page 39 for additional cable installation/removal instructions specific to the
MS7580-124-EAS Genesis with integrated RF EAS antenna.
 Loading...