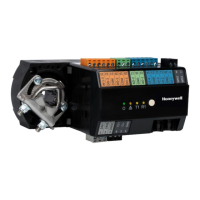
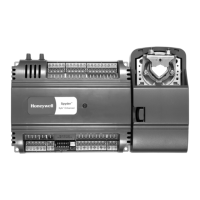
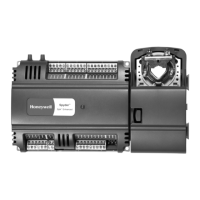
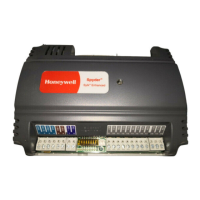
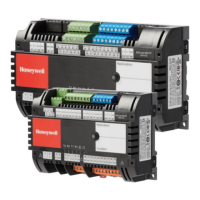
SPYDER MODEL 7 VAV CONTROLLER INSTALLATION INSTRUCTIONS
31-00475-01 14
POWER SUPPLY
General Information
To prevent a risk of injury due to electrical shock and/or
damage to the device due to short-circuiting, low-
voltage and high-voltage lines must be kept physically
separate. To prevent a risk of short-circuiting and
damage to your Spyder Model 7, do not reverse the
polarity of the power connection cables and avoid
ground loops (connecting one field device to several
controllers).
Before wiring the controller, determine the input and
output device requirements for each controller used in
the system. Select input and output devices compatible
with the controller and the application. Consider the
operating range, wiring requirements, and
environmental conditions while selecting input and
output devices.
Determine the location of controllers, sensors,
actuators, other input and output devices, and create
wiring diagrams for illustrations of typical controller
wiring for various configurations.
The application engineer must review the control job
requirements. This includes the sequences of operation
for the controller and the system as a whole. Usually,
some variables must be passed between the controllers
that are required for optimum system-wide operation.
Typical examples are the TOD, occupied, unoccupied,
outdoor air temperature, and demand limit control
signal. Understanding these interrelationships early in
the job engineering process is vital for proper
implementation while configuring the controllers.
NOTE:
All wiring must comply with applicable electrical
codes and ordinances. Refer to job or manufac-
turers’ drawings for details. Local wiring guide-
lines (for example, IEC 364-6-61 or VDE 0100)
may take precedence over recommendations pro-
vide in these installation instructions.
To comply with CE requirements, devices having a
voltage of 50-1000 VAC or 75-1500 VDC, but
lacking a supply cord, plug, or other means for
disconnecting from the power supply must have
the means of disconnect incorporated in the fixed
wiring. This type of disconnect must have a con-
tact separation of at least 1/8 in. (3 mm) at all
poles.
Power Wiring
All wiring must comply with applicable electrical codes
and ordinances, or as specified on installation wiring
diagrams. Controller wiring is terminated to the screw
terminal blocks located on the device.
The 24 VAC power from an energy limited Class II power
source must be provided to the controller. To conform to
Class II restrictions (U.S. only), the transformer must not
be larger than 100 VA.
NOTE:
A single transformer can power more than one
controller. The same side of the transformer
secondary must be connected to the same power
input terminal on each controller. Fig. 14 on page
15 shows the power wiring details for multiple
controllers. Controller and configuration are not
necessarily limited to three devices, but the total
power draw, including accessories, cannot exceed
100 VA when powered by the same transformer
(U.S. only).
NOTE:
Power must be off prior to connecting or removing
connections from the 24 VAC power (24 V~ / 24
V0), and 20 VDC power terminals.
Use the heaviest gauge wire available, up to 18
AWG (1 mm
2
), with a minimum of 22 AWG (0.3
mm
2
), for all power wiring.
IMPORTANT:
When connecting power, ensure that one leg of
the 24 VAC secondary circuit and the grounded
terminal on the device are connected to a known
earth ground at the panel or enclosure. Limit the
distance of the power wire run between the device
and the transformer to 15 ft. (4.5 m and restricted
for same room installation).
 Loading...