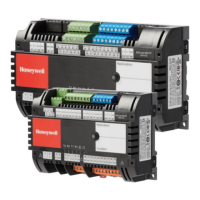
SPYDER MODEL 7 VAV CONTROLLER INSTALLATION INSTRUCTIONS
31-00475-01 22
BACNET IP CONTROLLER
DHCP IP Configuration
A new controller from the factory has DHCP enabled by
default.
• For the first 15 seconds after powering the controller,
a search for a DHCP server will be performed to
acquire an IP address.
Link-local addressing
• If a DHCP server is not found, the controller will
switch to Auto IP mode, in which it follows link-local
addressing for address resolution.
• It will acquire an IP address in the range 169.254.1.0
- 169.254.254.254. The controller will use the last
two characters of its serial number as the last octet
for starting address search. For example, if the serial
number ends with 36 (Conversion HexToDec = 54),
the IP address is set to 169.254.1.54).
• If the controller has link-local addressing, the
controller will periodically (every 1 minute) search for
the DHCP server. If a server is found, the controller
will acquire a new IP address from the server and
start using it immediately.
Static IP Configuration
Static IP address can be configured using WEBs-N4
workbench.
1. Navigate to IP configuration under IP settings.
2. Select the IP address as Static.
3. Select Enabled as True.
4. Configure a valid IP address.
Fig. 23 Static IP Configuration
Refer to the Spyder Model 5 and Spyder Model 7 System
Engineering Guide - 31-00282 for more information on
configuring the IP address.
Connect to a IP Network
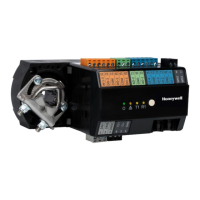
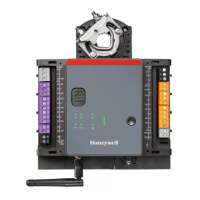
Spyder Model 7 BACnet IP VAV controller
communicates over wired IPV4 network using Ethernet
connection via one of two RJ45 ports.
WiFi (Future Release)
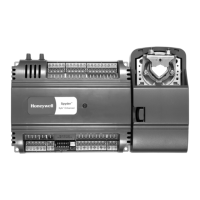
The Spyder Model 7 VAV controllers have a local rubber
antenna included in the packaging. If the Spyder Model
7 VAV controllers are mounted inside a cabinet or
enclosure, and you are using the local antenna, use an
enclosure made of a non-metallic material to achieve a
reliable wireless signal.
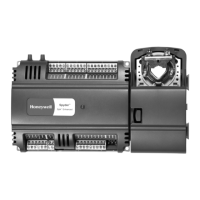
Replace the local antenna with the remote antenna
when an extended range is needed or when the Spyder
Model 7 VAV controller is mounted in a metal cabinet or
enclosure. The remote antenna has a cable that
connects to the Spyder Model 7 VAV controller, and the
antenna is mounted outside the cabinet or closure.
When the Spyder Model 7 VAV controller is mounted
inside a metal enclosure, the remote antenna helps
achieve a strong wireless signal.
Install the Local Antenna
1. Insert local antenna terminal nut into the SMA
(SubMiniature version A) connector.
2. Tighten by turning the base of the antenna clock-
wise.
Fig. 24 Installing a Local Antenna
Install the Remote Antenna
1. Uninstall the local antenna by turning the base of
the antenna counter-clockwise.
2. Place the remote antenna where the signal recep-
tion is good.
3. Safely route the remote antenna wire terminal nut
to the Spyder Model 7 VAV controller.
4. Insert the wire terminal nut into the SMA (SubMin-
iature version A) connector.
 Loading...