14 Smart Temperature Transmitter STT250 – Operator Manual
4.6 Mounting
4.6.1 DIN Rail Mounting
If the STT250 is to be installed on DIN Rail then the main considerations are electrical
connections and mechanical fixing. Electrical connections are identical to the bench
test instructions (see page 7) except that compensation cable is likely to be used with
thermocouples. Mechanical fixing of the module is by means of the snap-in DIN Rail
Clips which are screwed to the bottom lugs of the module.
INSTALLATION WITH "G" DIN
RAIL RIGHT VIEW
INSTALLATION WITH TOP HAT/
" " DIN RAIL RIGHT VIEW
46188464-201
31
(1.22)
41.4
(1.63)
"G" DIN RAIL
TOP HAT/ " " DIN RAIL
PROTECTIVE CAP
44.4
(1.75)
Figure 6: DIN Rail Mounting
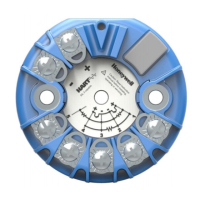
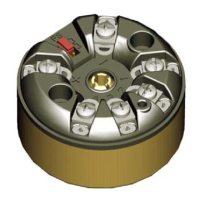
4.6.2 Mounting Module in Housing
The STT250 module can be installed in a variety of housings suitable for direct head
mounting, 2'' (50mm) pipe mounting or wall mounting.
Ensure that the installation location is suitable for reliable transmitter operation (e.g.
for high temperature applications, a thermowell extension is recommended to
minimize failure rates due to high ambient temperatures near the transmitter).
 Loading...