Smart Temperature Transmitter STT250 – Operator Manual 31
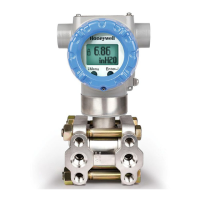
• Step 2 - Press and hold side button on meter. Release the button when "CAL"
appears on the display. The meter will now carry out a zero (LRV) calibration and
revert to normal operation. Press "OUTPUT", "CLEAR" to revert transmitter to
continuous output operation.
• Step 3 - Change output mode value to 100% by pressing "OUTPUT", "1", "0", "0",
"ENTER".
• Step 4 - Press and hold side button on meter. Release button when "CAL"
appears on the display. The meter will now carry out a span (URV) calibration and
revert to normal operation. Press "OUTPUT", "CLEAR" to revert transmitter to
continuous output operation. Return loop to Automatic operation.
ATTENTION - If "bAd" appears on the meter display after Step 2 or 4 then the
4 mA or the 20 mA signal was not within the meter's acceptable accuracy range and
calibration was aborted. Check the mA values and repeat calibration steps as
required.
 Loading...


