11 - 2
• Order replacement cables from Honeywell or from an authorized distributor.
• When ordering a replacement cable, specify the cable part number of the
original interface cable.
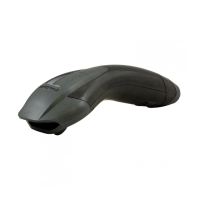
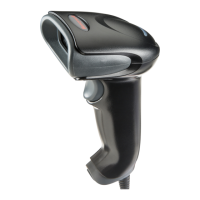
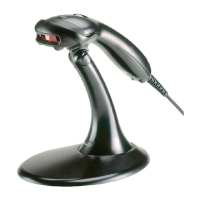
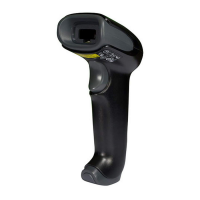
Replacing an Interface Cable
1. Turn the power to the host system OFF.
2. Disconnect the scanner’s cable from the
terminal or computer.
3. Locate the small hole on the underside of
the scanner’s handle. This is the cable
release.
4. Straighten one end of a paper clip.
5. Insert the end of the paper clip into the small
hole and press in. This depresses the
retention tab, releasing the connector. Pull
the connector out while maintaining
pressure on the paper clip, then remove the
paper clip.
6. Replace with the new cable.
Insert the connector into the opening and press firmly. The connector is
keyed to go in only one way, and will click into place.
Troubleshooting a Voyager Scanner
The scanner automatically performs self-tests whenever you turn it on. If
your scanner is not functioning properly, review the following Troubleshoot-
ing Guide to try to isolate the problem.
Is the power on? Is the laser aimer on?
If the laser aimer isn’t illuminated, check that:
• The cable is connected properly.
• The host system power is on (if external power isn’t used).
• The button works.
Is the scanner having trouble reading your symbols?
If the scanner isn’t reading symbols well, check that the scanner window is
clean and that the symbols:
• Aren’t smeared, rough, scratched, or exhibiting voids.
• Aren’t coated with frost or water droplets on the surface.
• Are enabled in the scanner or in the decoder to which the scanner
connects.
Is the bar code displayed but not entered?
The bar code is displayed on the host device correctly, but you still have to
press a key to enter it (the Enter/Return key or the Tab key, for example).
 Loading...