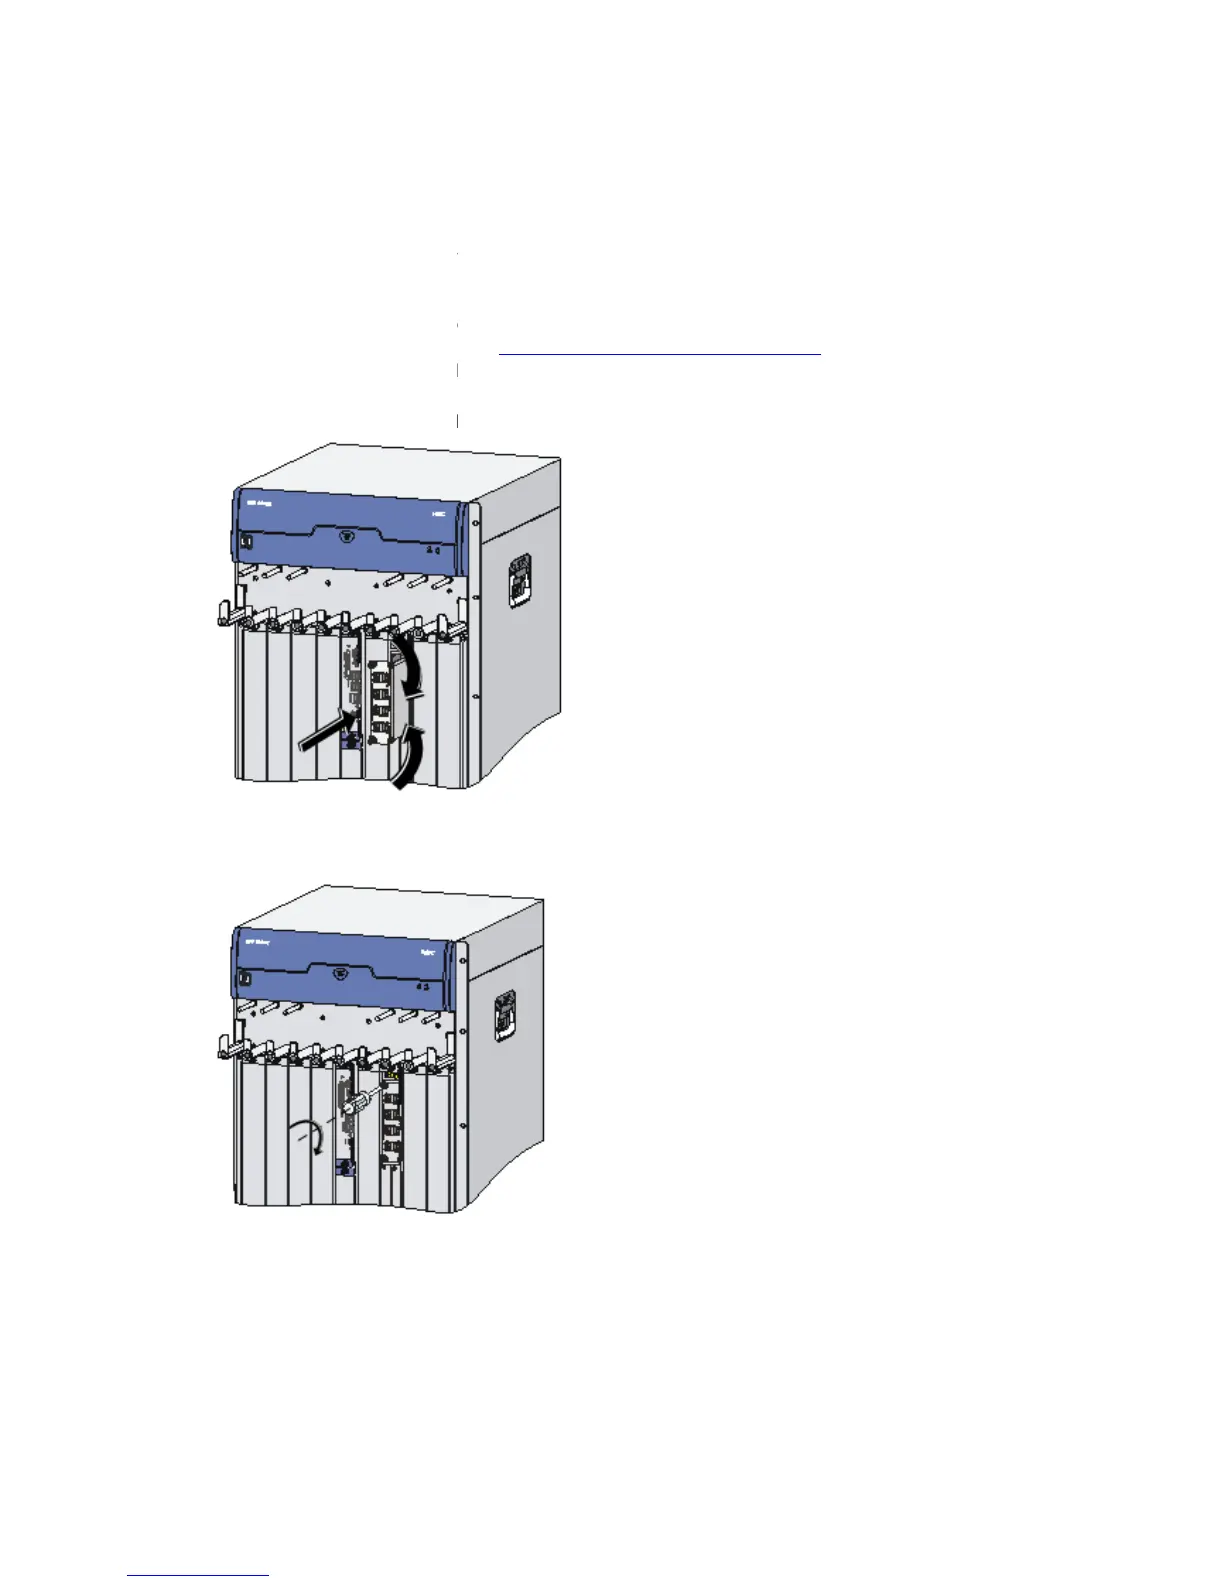
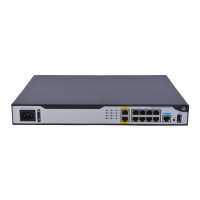
Installing and Removing a HIM
Follow these steps to install a HIM:
Face the front panel of the router.
Locate the slot where you will install the HIM.
Remove the two blank panels from the position where you will install the HIM. For how to
the blank panels, refer to “
Gently push the HIM (with the components facing left) into the HIM slot along the slide rails,
and then push the ejector levers inward to lock the HIM in position.
Fasten the captive screws on the HIM clockwise with a flat
Fasten the captive screws
Power on the router if the router is off.
After the HIM is initialized, the following information will be displayed on the configuration
#Apr 26 15:35:28:493 2008
Trap 1.3.6.1.4.1.2011.2.23.1.12.1.13<hwSubcardInsert>: frameIndex is 0, slotIndex
%Apr 26 15:35:28:493 2008
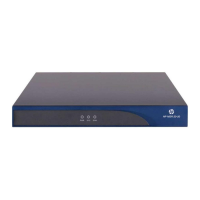
Installing and Removing a HIM
Follow these steps to install a HIM:
Face the front panel of the router.
Locate the slot where you will install the HIM.
Remove the two blank panels from the position where you will install the HIM. For how to
the blank panels, refer to “
Installing and Removing a Blank Panel
Gently push the HIM (with the components facing left) into the HIM slot along the slide rails,
and then push the ejector levers inward to lock the HIM in position.
Fasten the captive screws on the HIM clockwise with a flat
Fasten the captive screws
Power on the router if the router is off.
After the HIM is initialized, the following information will be displayed on the configuration
#Apr 26 15:35:28:493 2008
HP DEV/1/SUB CARD INSERTED:
Trap 1.3.6.1.4.1.2011.2.23.1.12.1.13<hwSubcardInsert>: frameIndex is 0, slotIndex
%Apr 26 15:35:28:493 2008
HP DEV/4/SUBCARD INSERTED:
Remove the two blank panels from the position where you will install the HIM. For how to
Gently push the HIM (with the components facing left) into the HIM slot along the slide rails,
After the HIM is initialized, the following information will be displayed on the configuration
Trap 1.3.6.1.4.1.2011.2.23.1.12.1.13<hwSubcardInsert>: frameIndex is 0, slotIndex