EasyManuals Logo
Home>HP>Laptop>Omnibook XE3

HP Omnibook XE3 Service Manual

HP Omnibook XE3
116 pages
To Next Page IconTo Next Page
To Previous Page IconTo Previous Page
Page #50 background imageLoading...
Page #50 background image
2-28 Removal and Replacement HP Omnibook XE3 (Technology Codes GE and GD)
4.
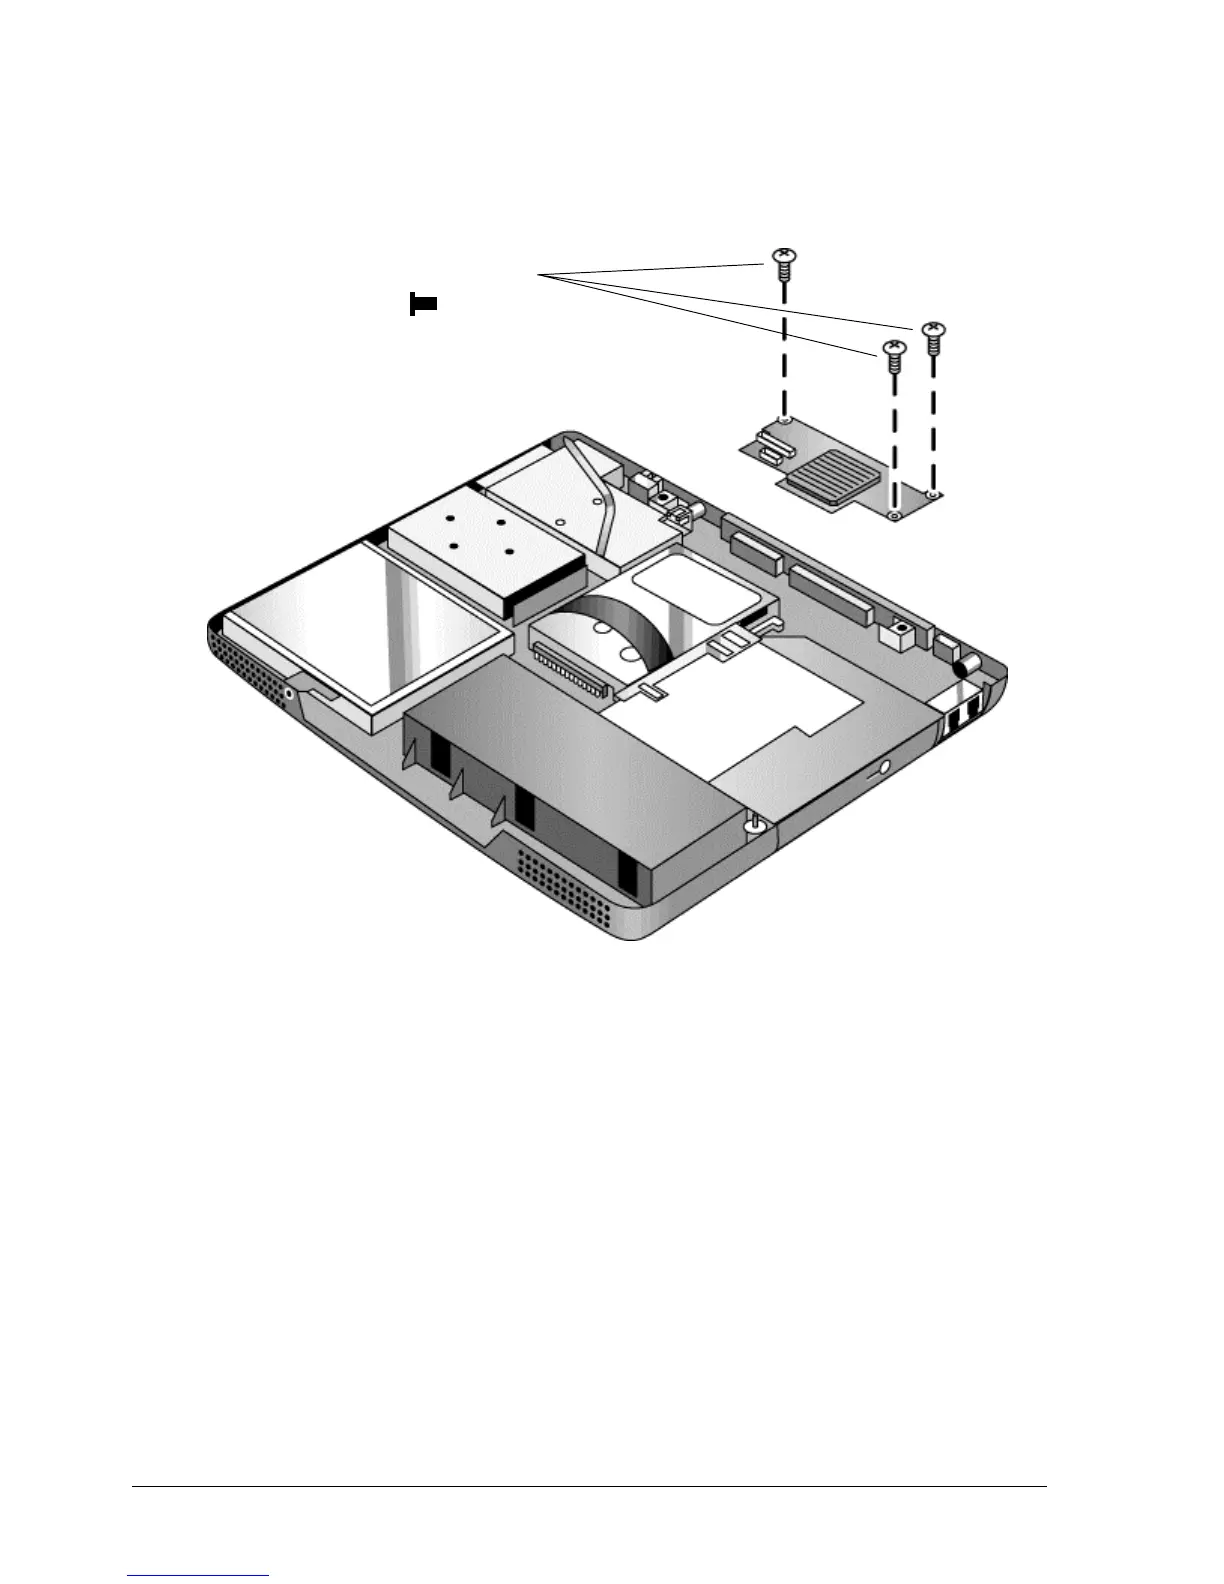
Remove all three retaining screws from the PCA, and carefully lift it off of the connectors
underneath it.
Figure 2-19. Removing the Video PCA
Reassembly Notes
Set the DIP switches on the new PCA to match the settings from the PCA you are replacing and
the notebook’s display type. See the settings tables on page 2-20.
Make sure the protective pads on the PCA are intact, and replace if needed.
Make sure the PCA is firmly set on its connectors.
Screws,
M2.5x4 mm
(
3
)

Table of Contents

Other manuals for HP Omnibook XE3

Questions and Answers:

Question and Answer IconNeed help?

Do you have a question about the HP Omnibook XE3 and is the answer not in the manual?

HP Omnibook XE3 Specifications

General IconGeneral
BrandHP
ModelOmnibook XE3
CategoryLaptop
LanguageEnglish

Related product manuals