4-2
Replacing Components
Replacing Power Supplies
Replacing Power Supplies
If your HP ProCurve 5400zl Switch is configured with redundant power
supplies, you will not suffer any loss of traffic or performance if a power
supply fails. Replace the failed component as soon as possible. One of the
Internal Power LEDs on the management module will blink simultaneously
with the switch Fault LED indicating which power supply failed.
Although these procedures show the 6-slot chassis, the procedures are the
same for the 12-slot chassis.
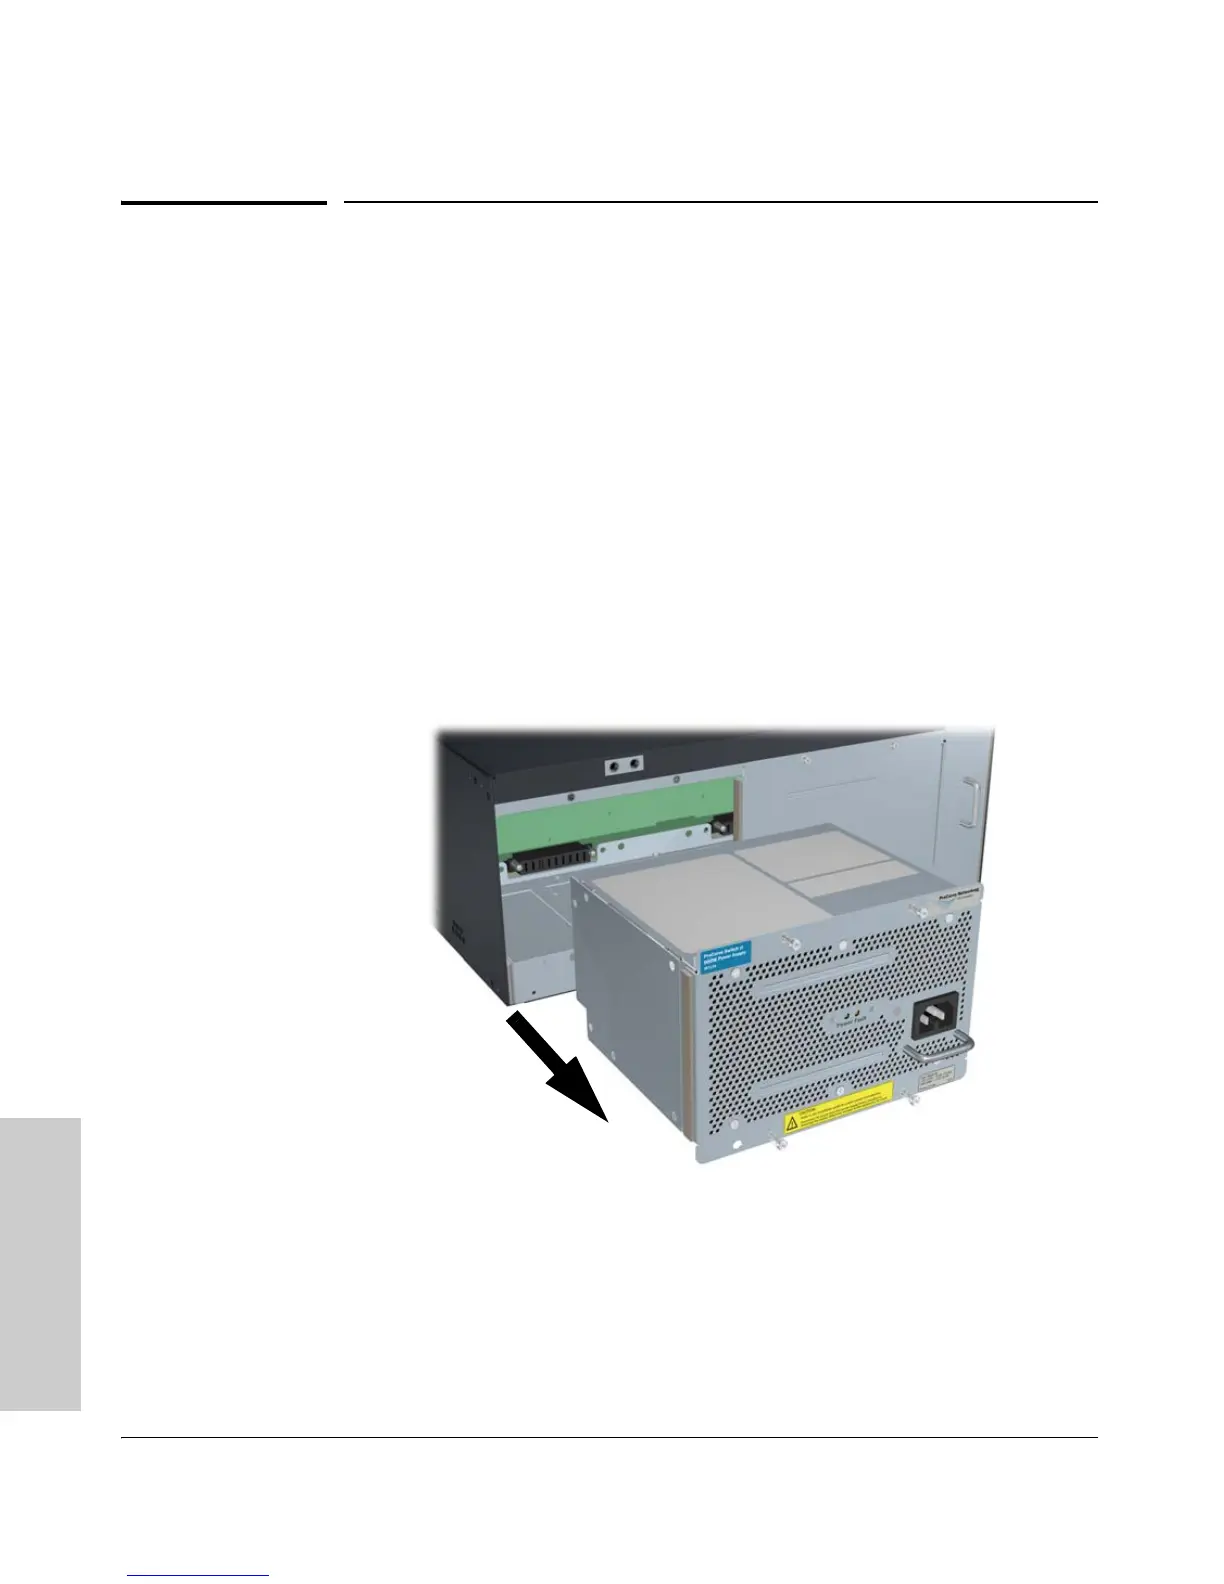
To remove an AC power supply:
1. Ensure the AC power supply is not plugged into an AC power source on
the failed power supply.
2. Using either a flat-bladed or Torx T-10 screwdriver loosen the retaining
screws and remove the failed power supply.
Figure 4-1. Power Supply Removal
 Loading...