Tape Drive Installation and Replacement
38 1U Rackmount Tape Enclosure Reference Guide
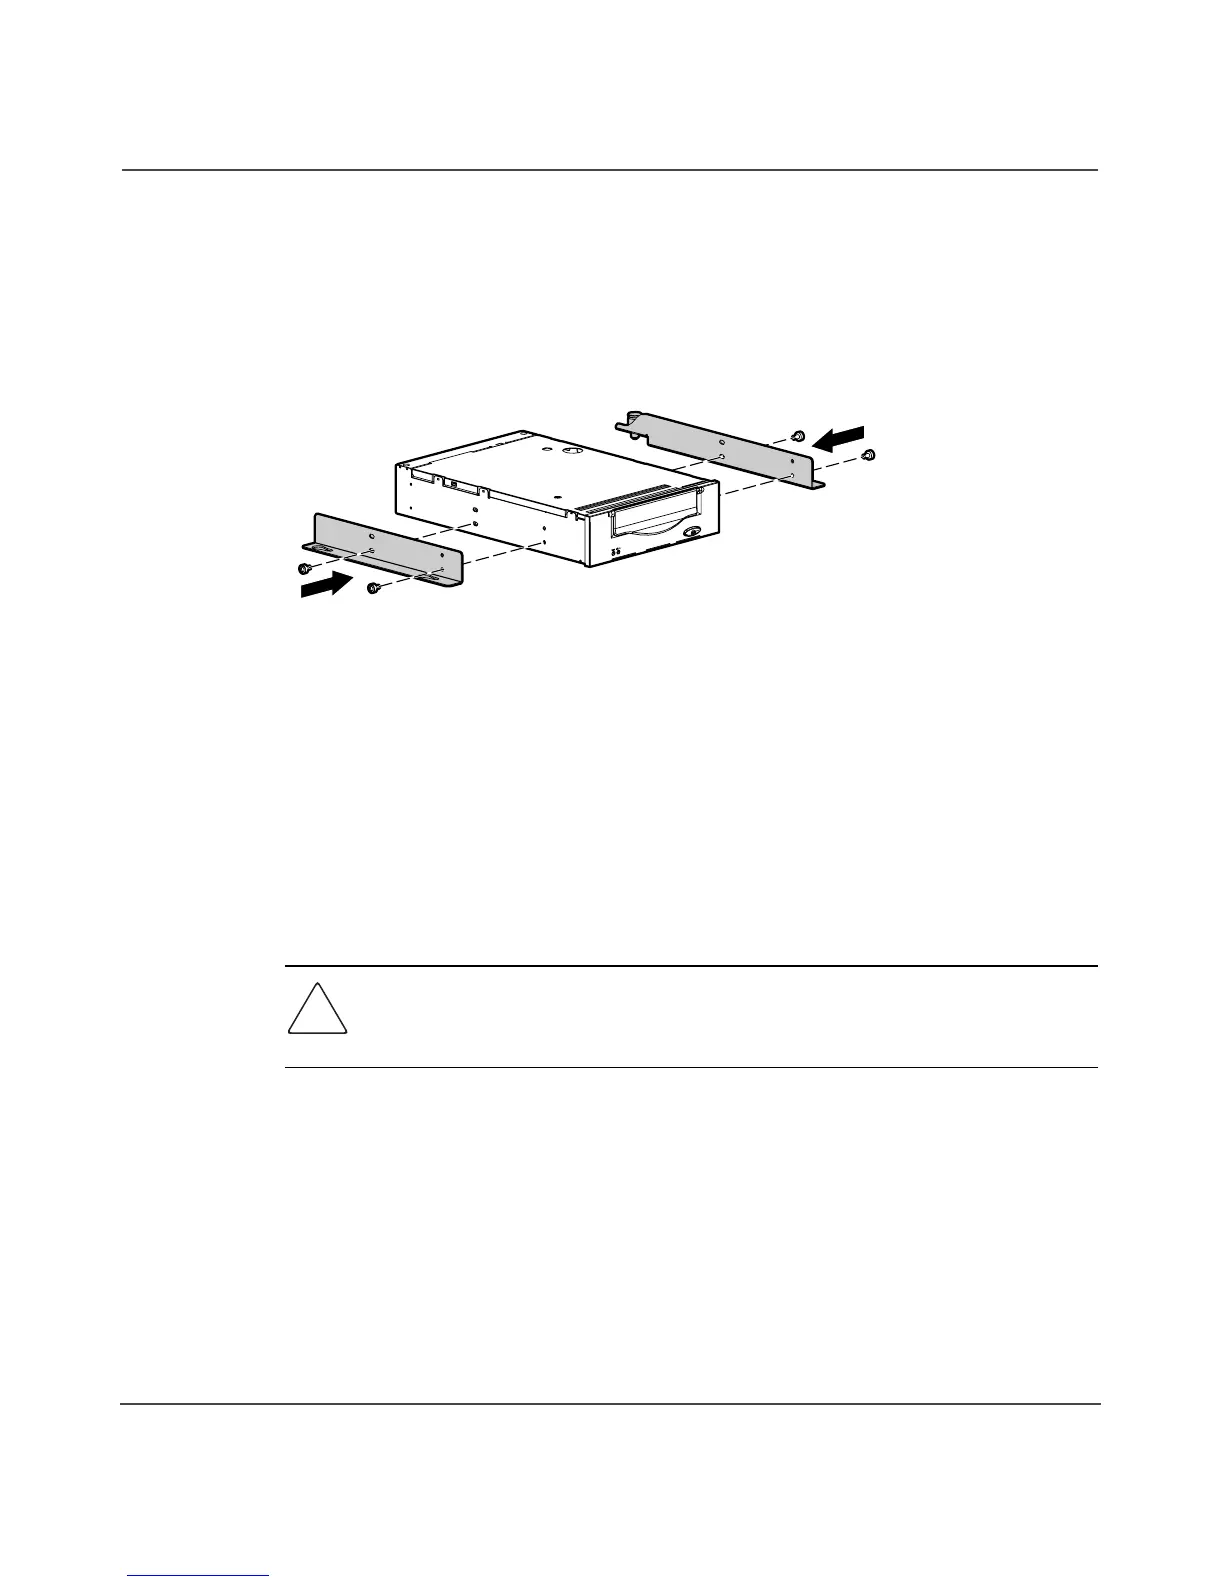
9. Install the left and right mounting brackets to the sides of the new tape drive
using the screws removed in step 8. See Figure 28.
Figure 28: Installing the drive mounting brackets
10. If you are not using the remote SCSI ID switch on the tape enclosure, set the
SCSI ID with jumpers on the back of the new drive. Refer to the
documentation for your tape drive for information about setting the SCSI ID.
11. If you are using the remote SCSI ID switch on the tape enclosure, remove all
the jumpers from the back of the new drive. The switch will connect to the
pins normally programmed by the jumpers.
Caution: To prevent possible damage to the tape enclosure or to cause the
rack to become unstable, you must provide support under the enclosure when
installing a drive.
12. Position the keyhole slots in the left and right mounting brackets over the
mounting posts attached to the enclosure. While supporting the enclosure
from the bottom press down 1 so that the drive is flat against the bottom of
the enclosure. See Figure 29. Slide the drive 2 toward the back of the
enclosure until the spring-loaded pin snaps into place 3, locking the drive into
the enclosure.
15127