EasyManuals Logo

HP Z210 Series User Manual

HP Z210 Series
68 pages
To Next Page IconTo Next Page
To Previous Page IconTo Previous Page
Page #66 background imageLoading...
Page #66 background image
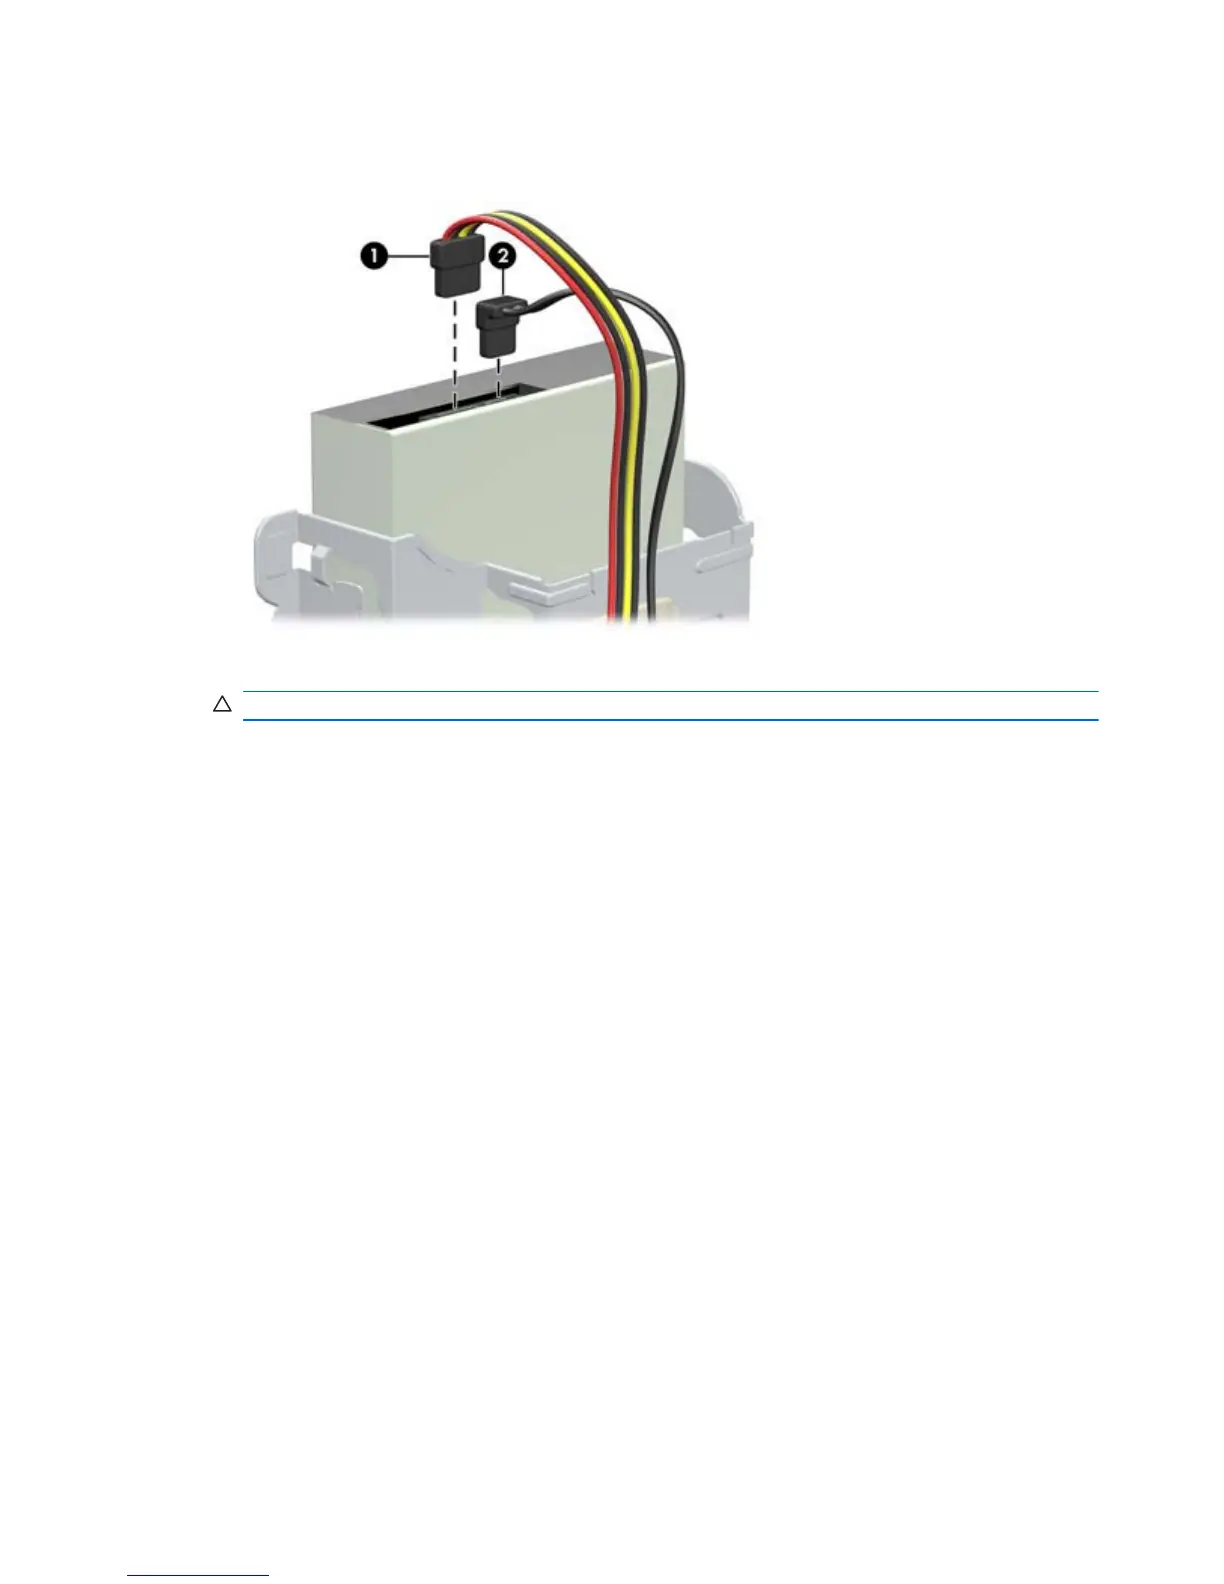
8. Connect the power cable (1) and data cable (2) to the rear of the optical drive.
Figure 10-10 Connecting the power and data cables
9. Carefully rotate the drive cage back down to its normal position.
CAUTION: Be careful not to pinch any cables or wires when rotating the drive cage down.
10. Replace the front bezel with any bezel blanks removed as applicable.
11. Replace all components that were removed in preparation for component installation.
58 Chapter 10 Installing optical disk drives ENWW

Table of Contents

Other manuals for HP Z210 Series

Questions and Answers:

Question and Answer IconNeed help?

Do you have a question about the HP Z210 Series and is the answer not in the manual?

HP Z210 Series Specifications

General IconGeneral
ChipsetIntel C206 Chipset
NetworkingIntegrated Intel 82579LM Gigabit Ethernet
Processor OptionsIntel Xeon E3-1200 series, Intel Core i3, i5, i7 processors
MemoryUp to 32 GB DDR3
Storage OptionsSATA HDD or SSD
Graphics OptionsIntegrated Intel HD Graphics, NVIDIA Quadro, AMD FirePro
Operating SystemRed Hat Enterprise Linux
Form FactorConvertible Mini-Tower
Optical DriveDVD-ROM, DVD+/-RW
AudioIntegrated HD audio
Expansion SlotsPCIe x16, PCIe x1, PCI
PortsUSB 2.0, USB 3.0, serial, parallel, PS/2
Power Supply400W 90% efficient

Related product manuals