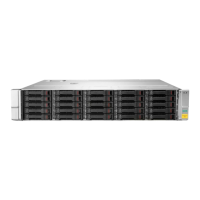
Table 2: Example slot order, SFF drive enclosure
20 (...) 21 (...) 22 (...) 23 (...) 24 (Do not use)
15 (...) 16 (...) 17 (...) 18 (...) 19 (...)
10 (...) 11 (...) 12 (...) 13 (...) 14 (...)
5 (SSD) 6 (SSD) 7 (SSD) 8 (...) 9 (...)
0 (SSD) 1 (SSD) 2 (SSD) 3 (SSD) 4 (SSD)
Installing the SFF drives
Prerequisites
• Determine an installation plan for allocating and loading the drives based on the provided guidelines,
number of drives, and drive types to install.
• To avoid damaging any circuitry, wear an ESD grounding strap.
• Prepare a surface with an ESD safe mat for staging components for installation.
Procedure
1. Unpack the component and place on an ESD safe mat.
2. Remove the slot-filler blanks from where you will be installing the pairs of drives.
IMPORTANT: For proper airflow and cooling, a slot-filler blank must remain installed in all
unused drive bays.
3. Install the pair or pairs of drives.
a. On the drive, press the release button to open the handle.
b. With the latch handle of the drive fully extended, align and slide the drive into the bay until the
handle begins to engage (1).
c. To seat the drive into the drive bay, close the handle (2).
Figure 15: Installing an SFF drive
Unpacking the factory-integrated-in-rack option: Process overview 23
 Loading...
