Operating the tape drive
Front panel overview
Figure 3: Tape drive front panel (external drive)
1. Eject button 2. Ready LED
3. Drive LED 4. Tape LED
5. Clean LED 6. Encryption LED
7. Power button (external drives only)
Understanding the LEDs
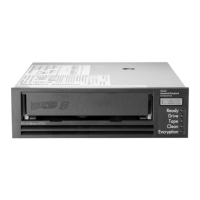
Figure 4: Tape drive front panel (internal drive)
1. Ready — green
• On: the drive is ready for use or there was a failure during self-test
• Off: the drive power is off
• Flashing: the drive is reading/writing data or rewinding/loading/unloading a cartridge
2. Drive — amber
Operating the tape drive 17
 Loading...
