Complete network configuration
Initial StoreOnce network configuration
Assuming you have only configured LAN port 1 (eth0) at this point, you will have a network configuration
that contains a single Port Set on a 1 GbE network containing one Subnet. This is typically the network
connection for the StoreOnce Management Console. You can either edit the configuration or create a new
one to cater for the requirements of your networking environment.
For example:
• You may wish to use a bonded Port Set for the StoreOnce Management Console.
• HPE StoreOnce 3100 System: You may wish to configure the remaining 1 GbE ports for dedicated
backup and/or replication and StoreOnce Catalyst Copy.
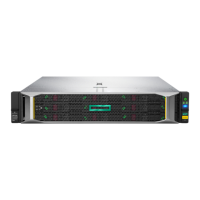
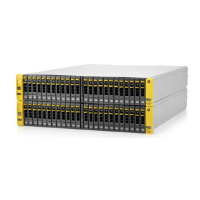
• HPE StoreOnce 3500 Series, HPE StoreOnce 5100 System and HPE StoreOnce 5500 System: You
have the same 1 GbE configuration possibilities as the HPE StoreOnce 3100 System, but you may
also have 10 GbE Network cards installed.
• You may wish to configure VLAN subnets.
• You may wish to configure dual stack subnets (IPV4 with IPv6)
Make sure you understand your hardware and networking environment before creating the configuration.
More information
Optional PCIe cards on page 76
More about network configuration on page 79
Creating a StoreOnce custom network configuration
overview
The following steps provide an overview of the process that is valid for both the StoreOnce GUI and
StoreOnce CLI..
Procedure
1. Create the configuration (or copy an existing one) and specify the DNS servers, as required.
2. Create the first Port Set and save the configuration. At this point you may decide to set up Subnets for
the Port Set, or to continue to set up all required Port Sets before defining Subnets for each Port Set.
3. Create the required Subnets for each Port Set and save the configuration.
4. Validate the configuration.
5. If validation fails, correct errors. If it passes, either activate immediately at the prompt. Or save the
configuration and activate subsequently from the Custom Network Configuration List.
Complete network configuration 55
 Loading...
