Preparing for Basic Configuration
Structure of the StoreOnce guide
This guide assumes that the user has followed the instructions on the printed Start Here poster to install
the HPE StoreOnce System in the Data Center and establish an initial 1 GbE network connection for the
StoreOnce Management Console.
IMPORTANT:
All tasks described in this guide require an admin user logon.
The guide is divided into two sections. The first section is task based and describes how to log in to the
StoreOnce GUI to complete basic configuration tasks. The second section provides reference information
for the hardware and physical connection to Ethernet or Fibre Channel.
Overview of StoreOnce configuration tasks
Table 1: Configuration checklist
Task Refer to
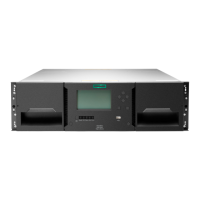
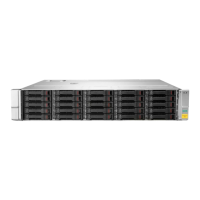
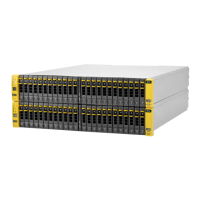
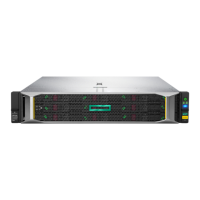
1 The Start Here poster describes a basic installation
with connection to LAN port 1, which is valid for all
products. Make sure you understand what is
factory installed and configured on your system
and any further cabling requirements. Available
options for network and Fibre Channel connectivity
will depend upon the type of model.
Hardware overview reference section on
page 68
2 Make sure all reference material is available.
Other sources of information for HPE
StoreOnce Systems on page 10
3 StoreOnce 5500 only: Review SAS cabling
requirements.
SAS cabling for HPE StoreOnce 5500
Systems on page 12
4 Boot up the system and, if you are using a Network
Management application, such as Insight Remote
Support, configure iLO. (You can also configure
iLO after configuring the StoreOnce System.)
Powering up and setting up iLO4 on page
20
5 Log on to the StoreOnce Management Console
and check system, storage and optional hardware
status.
Logging in to the HPE StoreOnce System
and checking status on page 28
6 Configure licenses.
Configuring licenses on page 34
7 Configure time zone and NTP server.
Setting time zone and configuring NTP
server on page 39
8 Configure users.
Creating user accounts and changing
default passwords on page 41
Table Continued
Preparing for Basic Configuration 7
 Loading...
