AP7052DN&AP7152DN
Hardware Installation and Maintenance Guide
Huawei Proprietary and Confidential
Copyright © Huawei Technologies Co., Ltd.
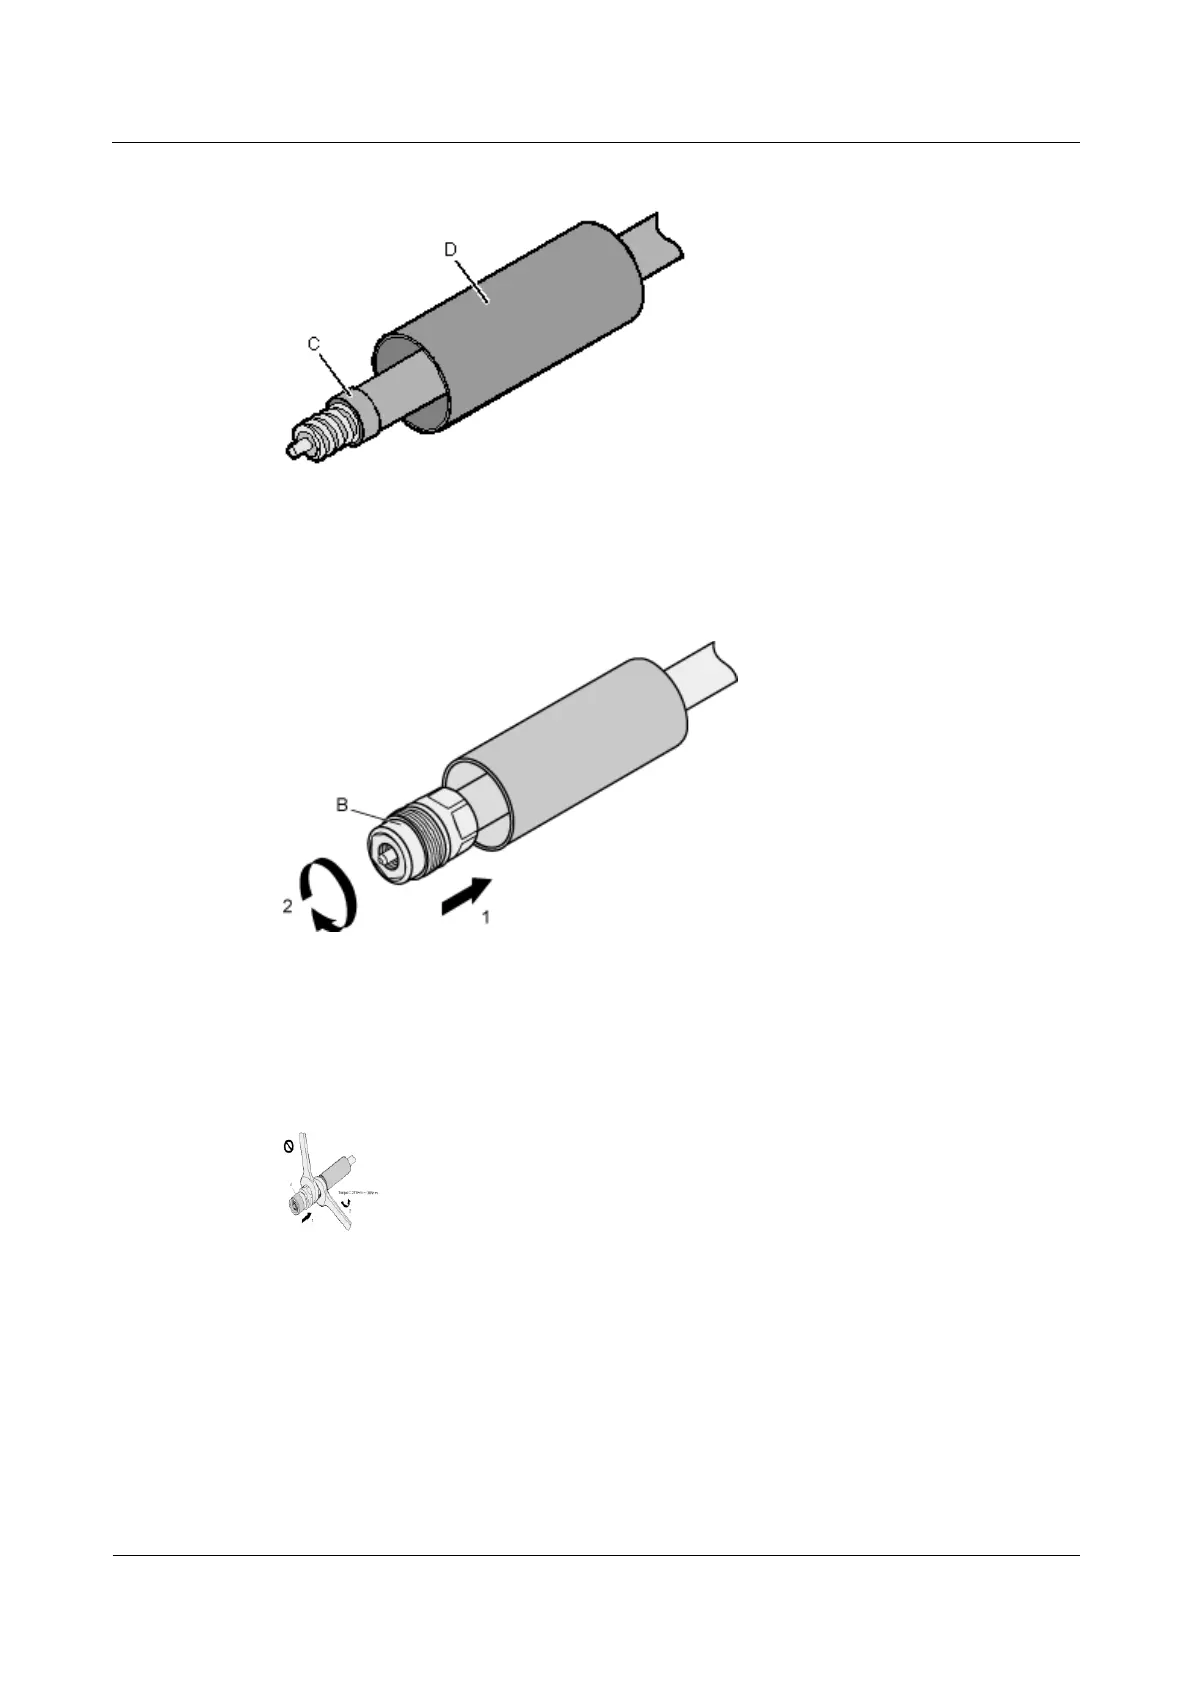
Figure 5-91 Installing the heat-shrink tubing and the O-ring seal
Step 4 Put the back shell of the connector onto the feeder cable. Tighten the back shell to the end of
the feeder cable, as shown in Figure 5-92.
Figure 5-92 Putting the back shell of the connector onto the feeder cable
Step 5 Mount the body of the connector onto the feeder cable so that the inner conductors of the
connector and feeder cable are connected. Use a spanner (27 N•m to 30 N•m torque
recommended) to fasten the body and back shell, as shown in Figure 5-93.
Figure 5-93 Fastening the body and back shell
Step 6 Push the heat-shrink tubing towards the connector, as shown in Figure 5-94. Then, heat the
tube.