NOTICE
l The interface side of a wall-mounted router must face down to protect interfaces from
water.
l Screws must be installed solid in the wall; otherwise, the wall-mounted router may fall
down after cables are connected.
l Ensure that there are no flammable or explosive materials near the router and no
obstructions within 100 mm around the router.
l Install the router at an appropriate height to ensure that the indicators can be observed
easily.
Tools and Accessories
l Measuring tape
l Marker
l Hammer drill
l Claw hammer
l Phillips screwdriver
l Wall anchors and mounting screws (separately purchased)
Procedure
Step 1 Use a measuring tape to determine positions of two mounting holes, keep the two positions
aligned, and mark the positions with a marker.
NOTE
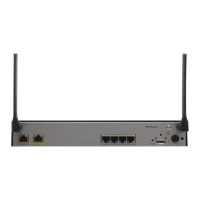
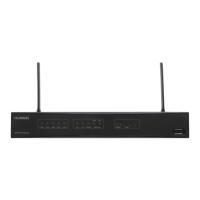
l The distance between two installation holes of the AR100 series, AR129CGVW-L, AR129CVW,
AR129CV, AR169CVW-4B4S or AR169CVW router is 120 mm.
l The distance between two installation holes of the AR161EW, AR161EW-M1, AR169EW or
AR169EGW-L router is 185 mm.
Huawei
AR100&AR120&AR150&AR160&AR200&AR1200&AR
1600&AR2200&AR3200&AR3600 series Enterprise
Routers
Hardware Installation and Maintenance Guide
4 Installing AR100/AR120/AR150/AR160/AR200 Series
Routers
Issue 05 (2018-07-30) Huawei Proprietary and Confidential
Copyright © Huawei Technologies Co., Ltd.
14
 Loading...