Huawei Technologies Proprietary
4-3
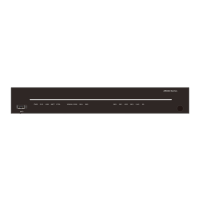
Router model Dimensions
AR 28-40 Router (H x W x D)
44.4 x 442 x 413 mm (1.7 x 17.4 x 12.4
in.)
AR 28-80 Router (H x W x D)
88.2 x 442 x 413 mm (3.5 x 17.4 x 16.3
in.)
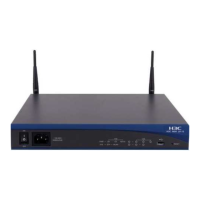
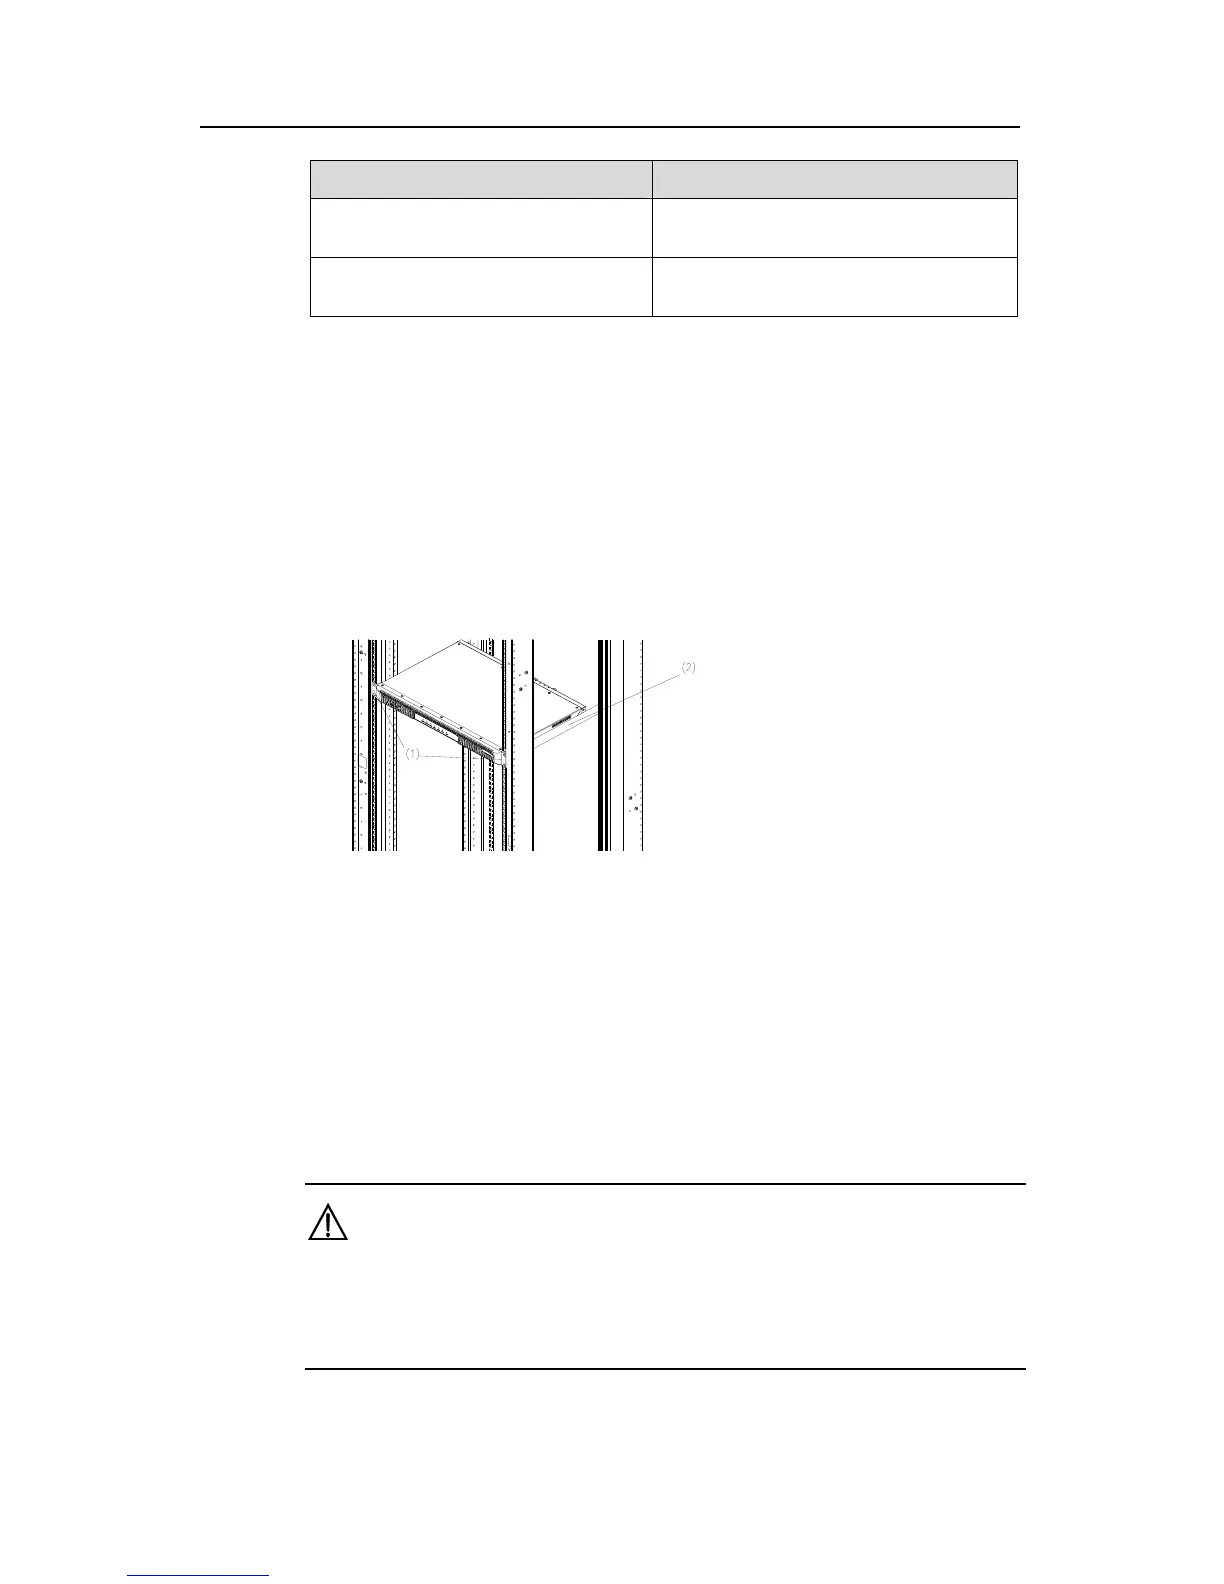
As shown in
Figure 4-2, follow the steps below to install the router:
Step 1: Check the grounding and stability of the rack. Use the screws to fix the
mounting ears at both sides of the front panel or the rear panel of the router.
Step 2: Put the router in a rack tray. Depending on the actual situation, slide the router
along the chassis guides to an appropriate place.
Step 3: Fasten the mounting ears with the recess screws to fix the router in the rack
horizontally and firmly. The specifications of recess screws should satisfy the
installation requirements and the surface of the screws should be anti-rust.
1) Mounting ear 2) Guide
Figure 4-2 Installing the router in a rack
4.3 Installing MIM Modules
For the installation of MIM modules, see Low-End and Mid-Range Series Routers
Interface Card and Interface Module Manual.
4.4 Connecting the PGND Wire
Warning:
The normal connection of the PGND wire is an important guard against the lightning
and interference. Therefore, the user must first correctly connect the PGND wire before
installing and using the device.
 Loading...