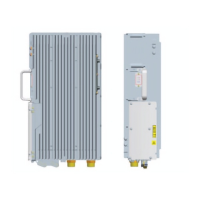
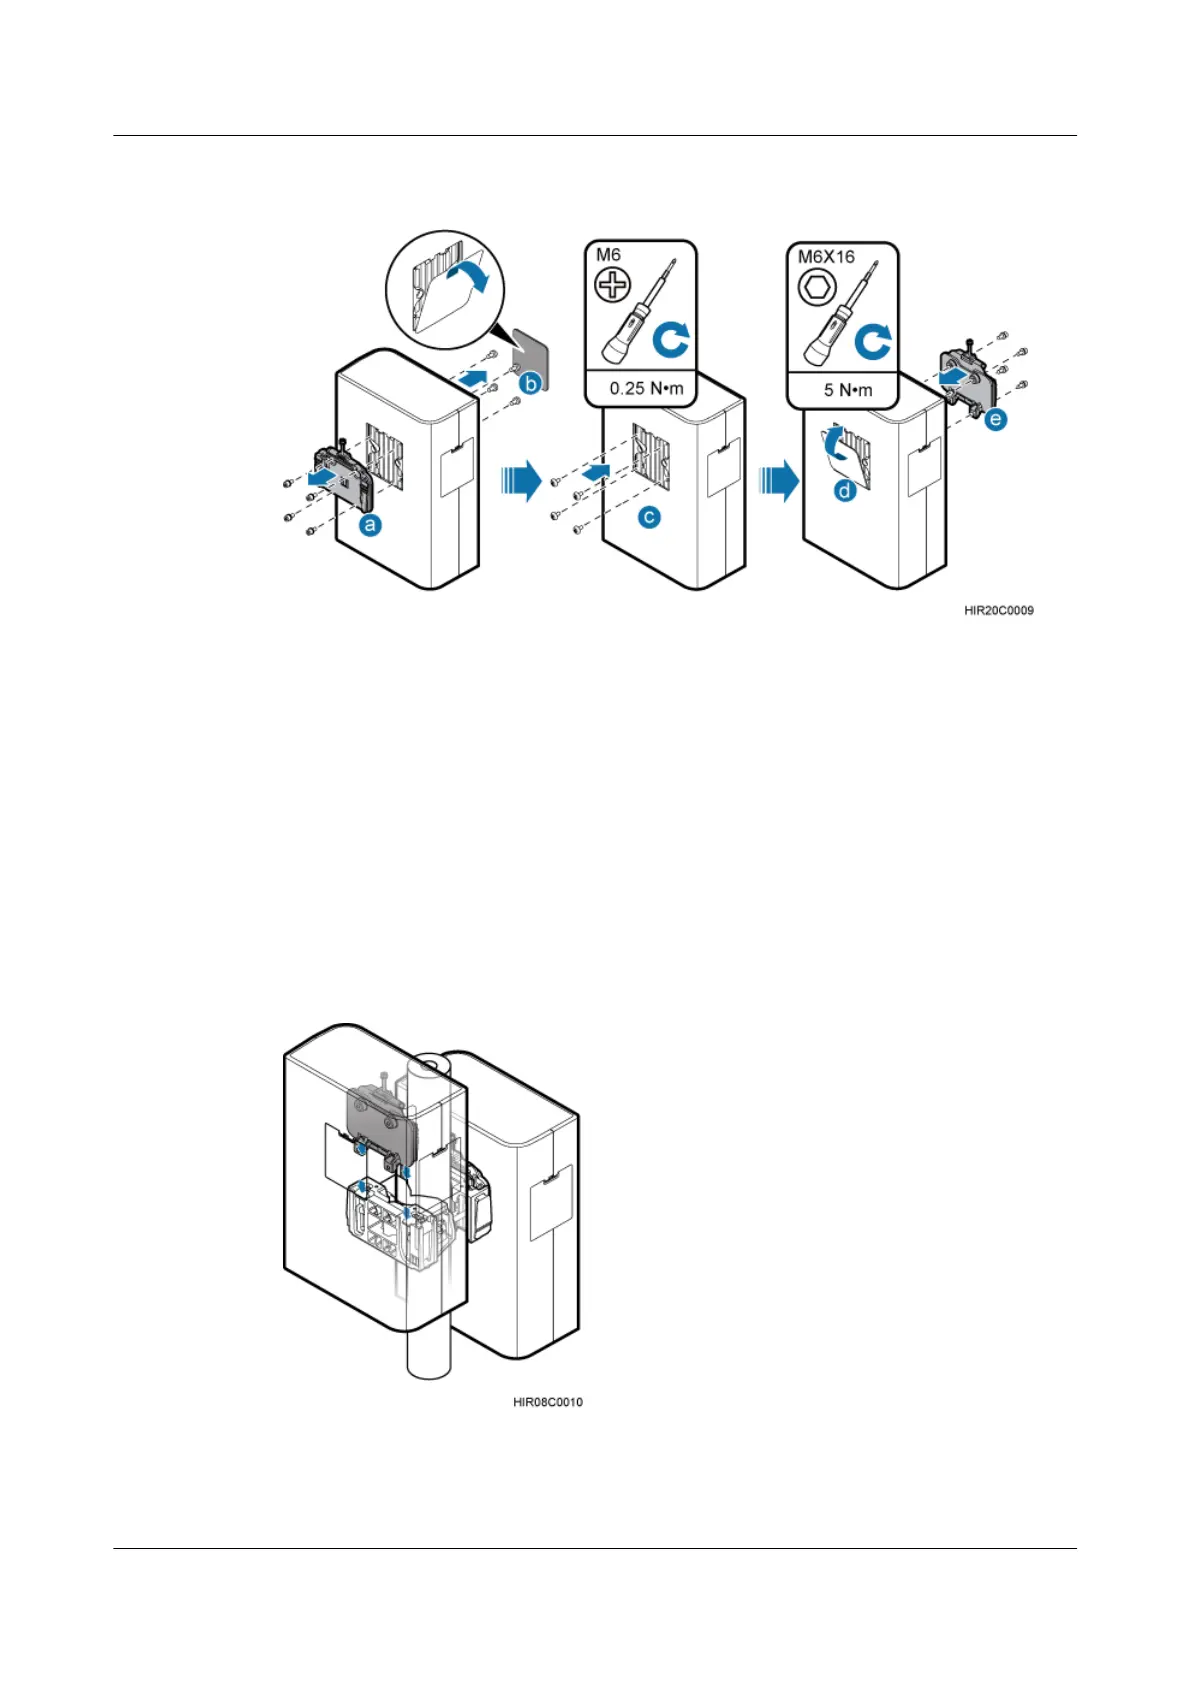
Figure 6-14 Interchanging the cover plate in the front and the attachment plate at the rear of the
second RRU
1. Remove the attachment plate from the RRU rear using an inner hexagon screwdriver.
2. Remove the cover plate from the RRU front, and use a Phillips screwdriver to remove the
plastic screws from the RRU.
3. Install the plastic screws onto the RRU rear, and tighten the screws to 0.25 N·m (2.21 lbf·in.)
using a torque screwdriver.
4. Install the cover plate onto the RRU rear.
5. Install the attachment plate onto the RRU front, and tighten the stainless steel screws on
the attachment plate to 5 N·m (44.25 lbf·in.) using a torque screwdriver.
Step 4 Install the second RRU on the main mounting bracket, as shown in Figure 6-15.
Figure 6-15 Installing the second RRU on the main mounting bracket
----End
RRU3232
Installation Guide 6 Installing the RRU
Issue 05 (2011-10-20) Huawei Proprietary and Confidential
Copyright © Huawei Technologies Co., Ltd.
37
 Loading...