18Cable Installation
NOTES
The cables should be routed through an established routing system on the boat, in an
area with minimal interference. Inspect the selected route carefully to ensure that there
are no sharp edges, obstacles, or obstructions that may damage the cables. Avoid pinch
points created by stowing or deploying the trolling motor.
You must ensure your MEGA Live 2 ethernet and power wires are installed in a location
where they will not be cut or ripped by the trolling motor articulating or rotating. Wires
damaged by improper installation are NOT covered by the product warranty.
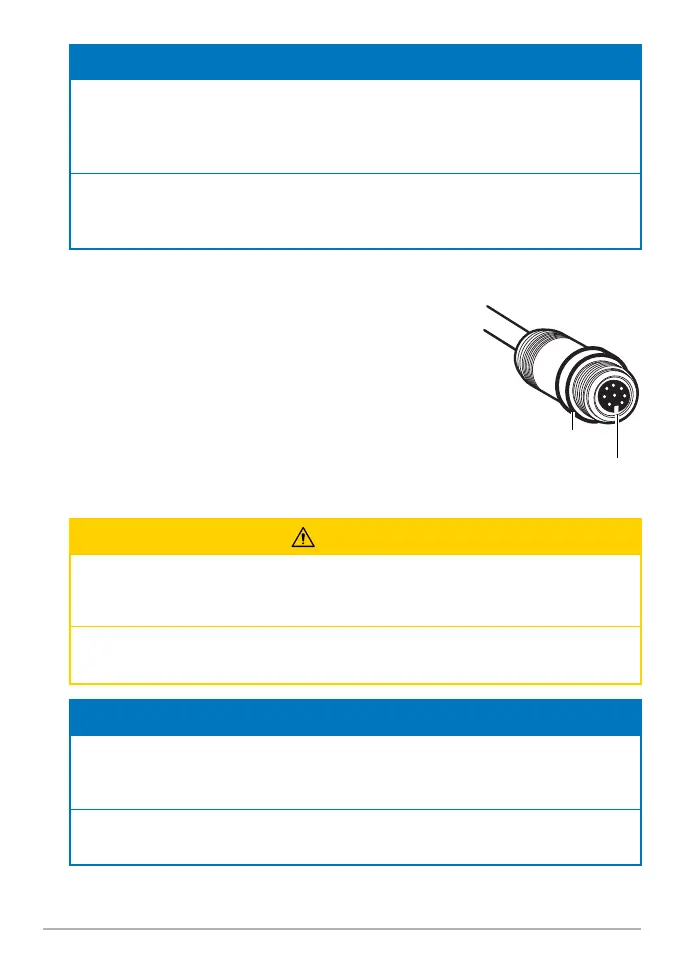
6. Ethernet: Insert the Ethernet Cable into the Ethernet
port on the fi sh fi nder. Hand-tighten the screw nut.
7. Power: Route the power cable to the main switch or
fuse panel (usually located near the console). If you
must connect to a battery, connect to a battery switch
(not included).
CAUTION
The MEGA Live 2 transducer should be connected to a main switch, fuse panel, or
battery switch. Humminbird does not recommend connecting to a battery without a
fuse and a switch.
Some boats have 24 or 36 Volt electric systems, but the MEGA Live 2 transducer
MUST be connected to a 12 VDC power supply.
NOTES
Humminbird is not responsible for over-voltage or over-current failures. The MEGA Live 2
transducer must have adequate protection through the proper selection and installation
of a 2 Amp fuse.
A 10' (3 m) power cable is included to supply power to the MEGA LIVE 2 transducer.
You may shorten or lengthen the cable using 12 gauge multi-stranded copper wire.
Hand-tightening
the Screw Nut
The connectors are keyed to
prevent reversed installation.
screw nut
 Loading...