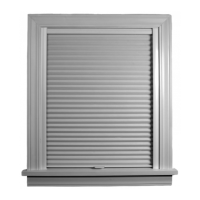
Attach the End Mount Brackets to the Window Jamb
■ Fully lower the shade.
■ Position the fully lowered shade in the window.
■ Gently push the fabric away from the end mount brackets to allow access to the
screw holes.
■ Mark the screw hole locations.
IMPORTANT: Check that the front edge of the shade is level and aligned.
■ Remove the shade from the window.
■ Drill the screw holes using a
3
/
32
" drill bit.
■ Install the shade by attaching the end mount brackets, using the screws provided.
Proceed to “Install the Arch Trim” on page 7.
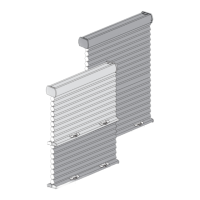
Install the Shade
Standard Brackets
■ Position the shade so the front fabric faces you.
■ Slip the rail into the installation brackets so the
front of the bracket slides under the front groove
on the bottom of the rail.
■ Gently roll the back of the rail down and push back
to snap into place.
■ Tighten the tab screw snugly. Do not overtighten.
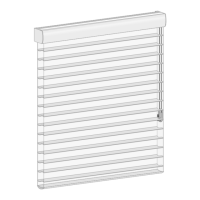
Swivel Brackets (Optional)
■ Place the swivel brackets in the open position.
■ Place the rail against the back of the swivel brackets.
■ Rotate the swivel arm to snap the locking tab under
the rail.
■ The shade is locked when the push tab is against the rail.
 Loading...