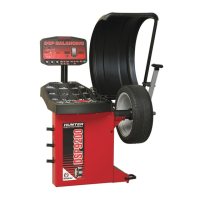
13
Optional Auto Outer Dataset® Arm (DSP9600 only):
NOTE: Requires Calibration Tool, 221-672-1
1. With the hood in the raised position, verify that the outer arm is in the “home” position and that the arm and
hood are not moving. Tap the foot pedal once or press “Enter.”
2. Place the calibration tool on the hub using the hub mounting slot as shown.
1
3
2
3. Place the outer Dataset® arm ball in hole position “1.” Tap the foot pedal once or press “Enter.”
4. Place the outer Dataset® arm ball in hole position “2.” Tap the foot pedal once or press “Enter.”
5. Place the outer Dataset® arm ball in hole position “3.” Tap the foot pedal once or press “Enter.”
6. Dataset® arm calibration is complete. “RDY” is displayed near the inner arm graphic to indicate that the inner
Dataset® calibration passed. “RDY --]” is displayed on the weight digits to indicate that the outer Dataset®
calibration passed.
Balancer Calibration:
1. Press the “Setup/Cal” button once. “CAL” is displayed.
2. Press the “Enter” button to begin calibration.
3. Do not install cal weight. Lower the hood and press “Start” to spin (if “Hood Autostart” is disabled).
4. Install cal weight on left side of hub faceplate in either hole, align cal weight at TDC, and press the “Enter”
button.
5. Spin.
6. Move cal weight to right side of hub faceplate in same hole.
7. Spin, display reads “CAL RDY.”
 Loading...