30
31
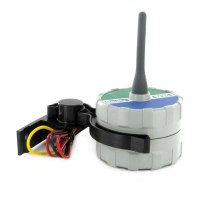
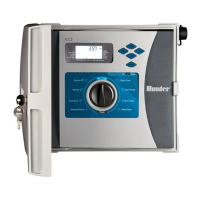
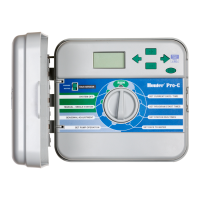
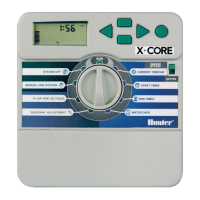
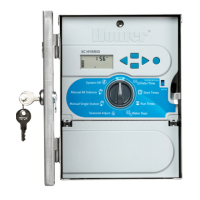
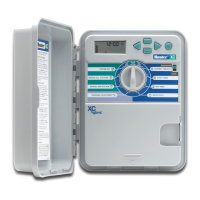
Wireless Valve System
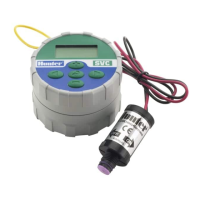
Setup the WVP
The WVP is simple to program. The easy-to-
understand
push button design allows you to
step through the process of programming and
activate manual watering with the press of a
button. Prior to performing any programming,
you need to set up your WVP with the current
date and time.
Setting the Date and Time
1. While in the programming
mode, press the button
until the Set Current Time/
Day icon is displayed.
2. Hours will be ashing.
Press the or button to change the
hour shown on the display. Press the to
proceed to setting the minutes.
3. Minutes will be ashing. Use the or
button to change the minutes shown on the
display. Press the to proceed to select
AM, PM or 24 hour time.
4. The time will be displayed, and the time of
day ashing. Press the or button to
select AM, PM or 24 hour. Press the to
proceed to setting the day of the week.
5. The number 1 will be ashing indicating
the rst day of the week. Press the or
buttons to select the day of the week
(1 through 7) corresponding to the day.
Your WVP is ready to use to program your
WVC.
Programming with the WVP
The WVP utilizes an independent station
programming method for programming
your WVC controllers. Independent station
programming requires that for each station
being programmed, you need to program Start
Time(s), Run Time and Water Day(s). The
button allows you to quickly navigate among
programming options.
Setting Watering Start Times
1. Push the button until the Start Watering
Times icon is displayed. The display will
show the station number, start time number
and the start time.
2. Press the button to
navigate to the station
number. Use the or
button to change the station
number.
3. Press the to navigate to the start time
number. Use the or button to change
the start time number.
4. Press the to navigate to the start time.
Use the or button to enter a start
time (the start time will advance in 15
minute increments). Hold either button
down for 1 second to change times rapidly.
Eliminating a Start Time
With the display in the
watering Start Time mode,
push the or button
until you reach 12:00 AM
(midnight). From here push
the button once to reach
the OFF position.
NOTE: If the WVC has all 9 start times turned off,
then the controller is off.
Setting the Run Time (Length of Watering)
1. Press the button until the Run Time icon
is displayed.
2. The display will show the
station number and the last
run time entered will be
blinking.
3. Use the or button to change the
station run time on the display from 1
minute to 4 hours.
4. Use the button to navigate the next
station.
5. Repeat steps 3 and 4 for each station.
Setting Days to Water
1. Push the button until the Water Days
icon is displayed.
2. For each station, the WVP will display
either specic days to water or interval
watering.