Built on Innovation
®
3
Setup
SETTING THE CURRENT DATE AND TIME
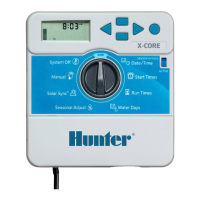
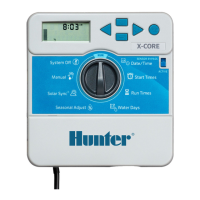
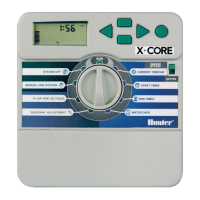
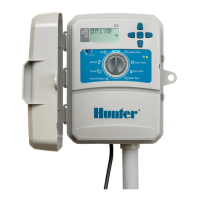
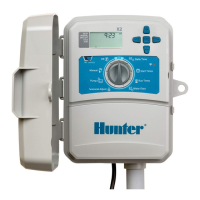
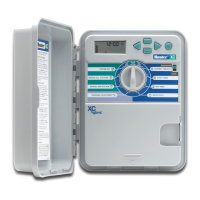
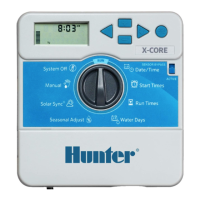
1. Turn the dial to the DATE/TIME position.
2. The current year will be ashing. Use the + and – buttons to
change the year. Push the ► button to proceed to setting
the month.
3. The month will be ashing. Use the + and – buttons to change
the month. Press the ► button to proceed to the day setting.
4. The day will be ashing. Use the + and – buttons to change
the day of the month. Press the ► button to proceed to the
time setting.
5. The time will be displayed. Use the + and – buttons to select AM,
PM, or 24 HR to display all times in 24–hour mode.
6. Press the ► button to move to hours. Use the + and – buttons to
change the hour shown on the display.
7. Press the ► button to move on to minutes. Use the + and –
buttons to change the minutes shown in the display.
8. Turn the dial to the RUN position. Date and time are now set.
IMPORTANT: The controller dial must be in RUN position to enable
automatic irrigation.
SETTING A PROGRAM START TIME
1. Turn the dial to the START TIMES position.
2. Use the PRG button to select program (A, B, or C).
3. Use the + and – buttons to change the Start Time. The Start
Time advances in 15-minute increments.
4. Press the ► button to add another Start Time, or PRG button
to set a Start Time for the next program.
5. Turn the dial to the RUN position.
ELIMINATING A PROGRAM START TIME
1. Turn the dial to the START TIMES position.
2. Press the right arrow to locate the desired START TIME.
3. Press the + or – buttons to reach OFF located between 11:45 PM
and 12:00 AM.
4. Press the PRG button to view/edit additional programs.
Repeat steps 1–3 if necessary.
SETTING A STATION RUN TIME
1. Turn the dial to the RUN TIMES position.
2. Use the PRG button to select program (A, B, or C).
3. Use the + and – buttons to change the station run time on the
display. You can set station run times from 1 minute to 4 hours.
4. Press the ► button to advance to the next station.
5. Repeat for each station.
 Loading...
