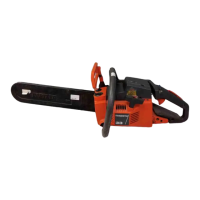
3. Put the main switch as shown in figure.
4. Assemble the product.
5.16 Control unit S/N -20151600245
5.16.1 To disassemble the control unit
Note: Look at how cables and other components are
assembled before you disassemble. Be careful when
you assemble and make sure that the cables do not get
caught between other parts.
1. Disassemble the drive wheel cover, saw chain and
guide bar. See
To remove the drive wheel cover and
guide bar on page 9
.
2. Disassemble the crankcase. See
To disassemble
the crankcase on page 9
.
3. Disassemble the motor. See
To disassemble the
motor on page 11
.
4. Remove and disconnect the connector from the
keypad. See
To disassemble the keypad on page
18
.
5. Remove the main switch and disconnect the
connectors. See
To remove the main switch on page
13
.
6. Disconnect the connector from the chain brake
sensor.
7. Remove the screw to the cable holder.
8. Remove the screws to the control unit and the
battery connector. Remove all control unit
components.
5.16.2 To assemble the control unit
1. Assemble the control unit and battery connection in
the crankcase.
2. Assemble the cables in their correct positions. Make
sure that no cables get caught between the
crankcase halves.
3. Attach the screws to the control unit (D) and the
battery connection (E).
4. Connect the connector to the keypad and put the
connector together with the cables in the crankcase.
521 - 002 - Repair instructions - 15

 Loading...