10
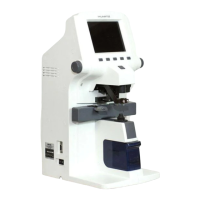
AUTO-LENSMETER
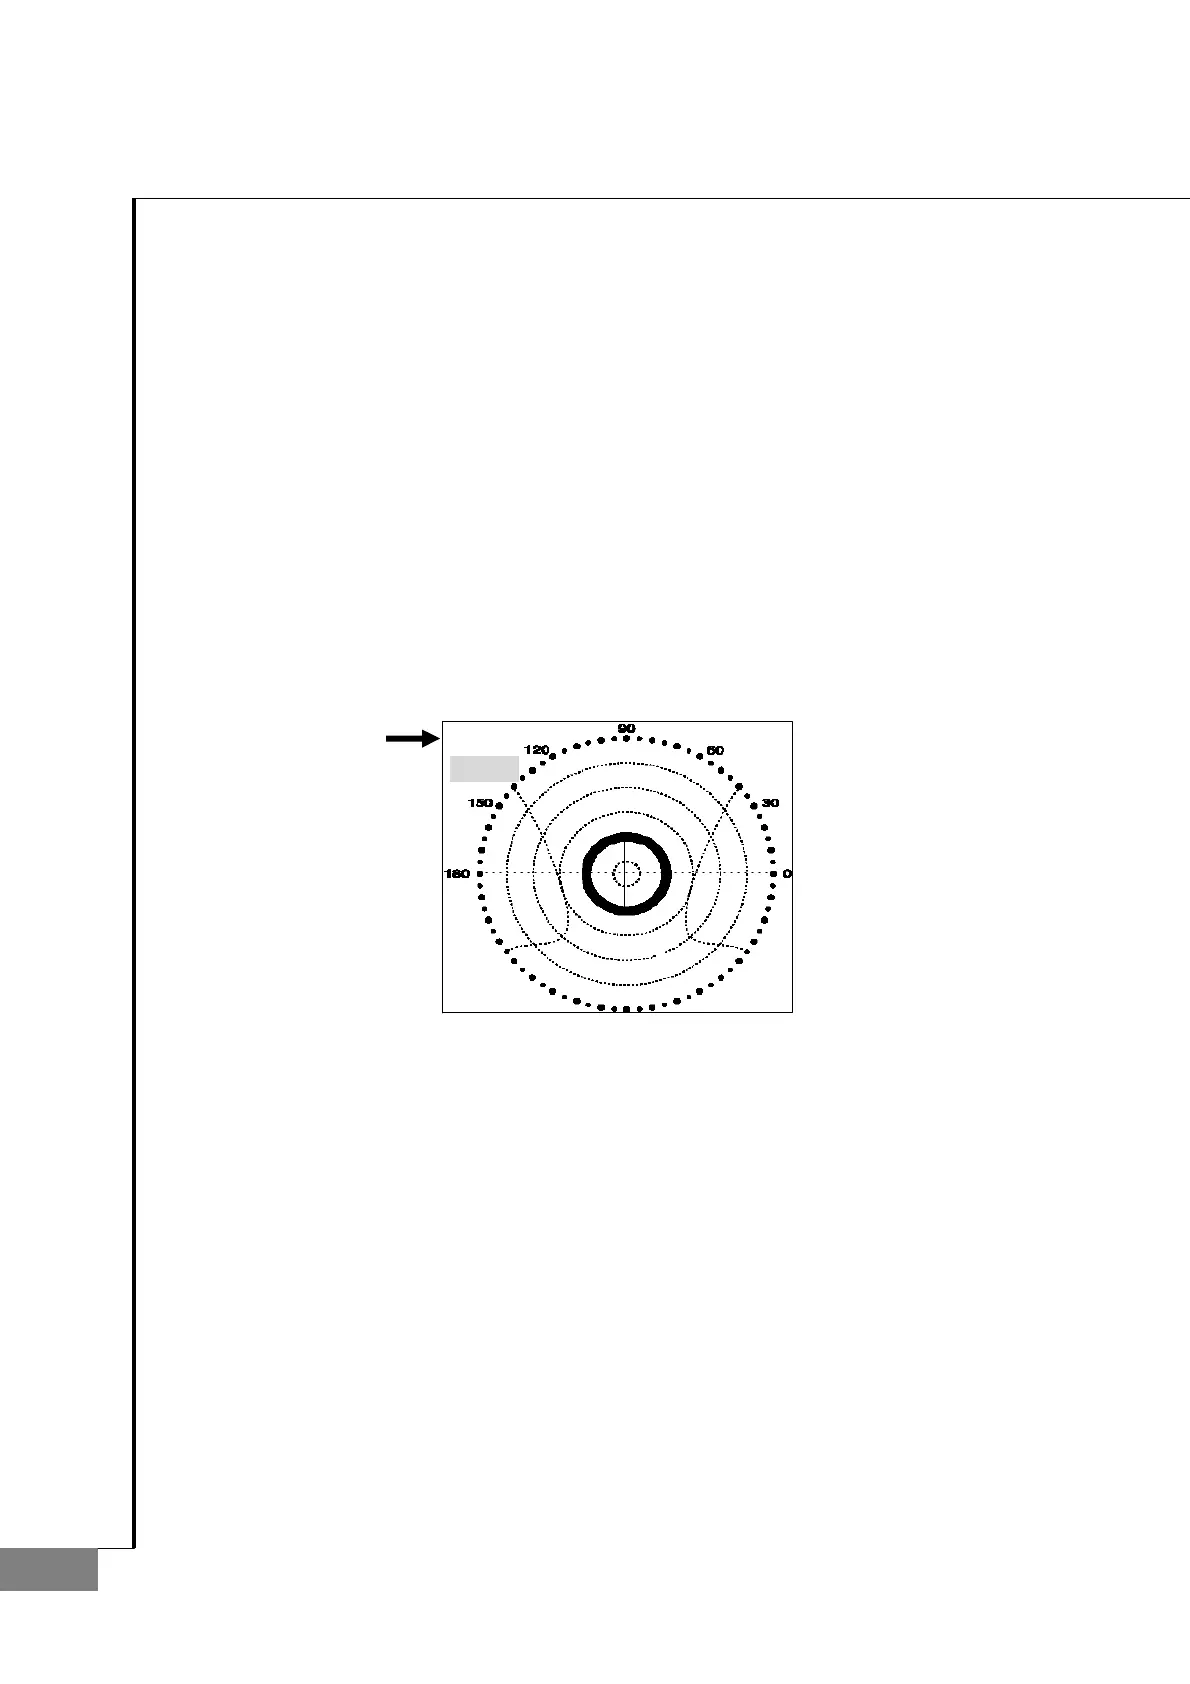
MARKING OK
2. Checking and Setup Method
2.1. Setup Order
When you turn on the power switch, you should hear the beep sound and see the ROM information. At this point, press the
three buttons in the right side one after another from the rightmost one. Then, after the beep sound, your lensmeter,
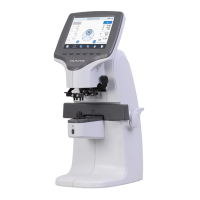
CLM3100P will start in setup and check mode. While this mode, ‘SETUP’ mark will flicker in the left-upper area of the centric
circles. The booting steps with ‘SETUP’ mode are as follows:
A. Turn on the power switch. Then you can hear the beep sound and see the ROM information.
B. Press the three buttons in the right side one after another from the rightmost one.
C. Check that ‘SETUP’ mark flickers in the left-upper area of the centric circle.
SETUP
Setting and Controlling can be processed only in SETUP mode; 0D, prism, diopter, and right/left switching position of PD. When
setting 0D or diopter, you should convert the display step (STEP) into 0.01. In case of prism, convert the prism display into P-B
format. Display step (STEP) and prism display format can be changed in ‘Setting the system variables’ screen. To enter the
mentioned ‘Setting the system variables’ screen, press the ‘MODE’ button for a while (2~3 seconds) in the basic
display screen.

 Loading...