14
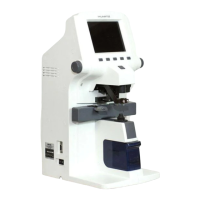
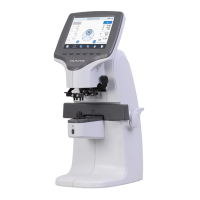
AUTO-LENSMETER
2.4. How to Set 12 standard lenses
If the measured value is not accurate, you should set the diopter variables again by using the standard lens-set: for all the 12
lenses in the standard lens set. Always keep the standard lens clean out of dust or stain.
S –D.00
C +0.00
A 180
P I 0.00
D 0.00
A. Set the diopter display step into 0.01.
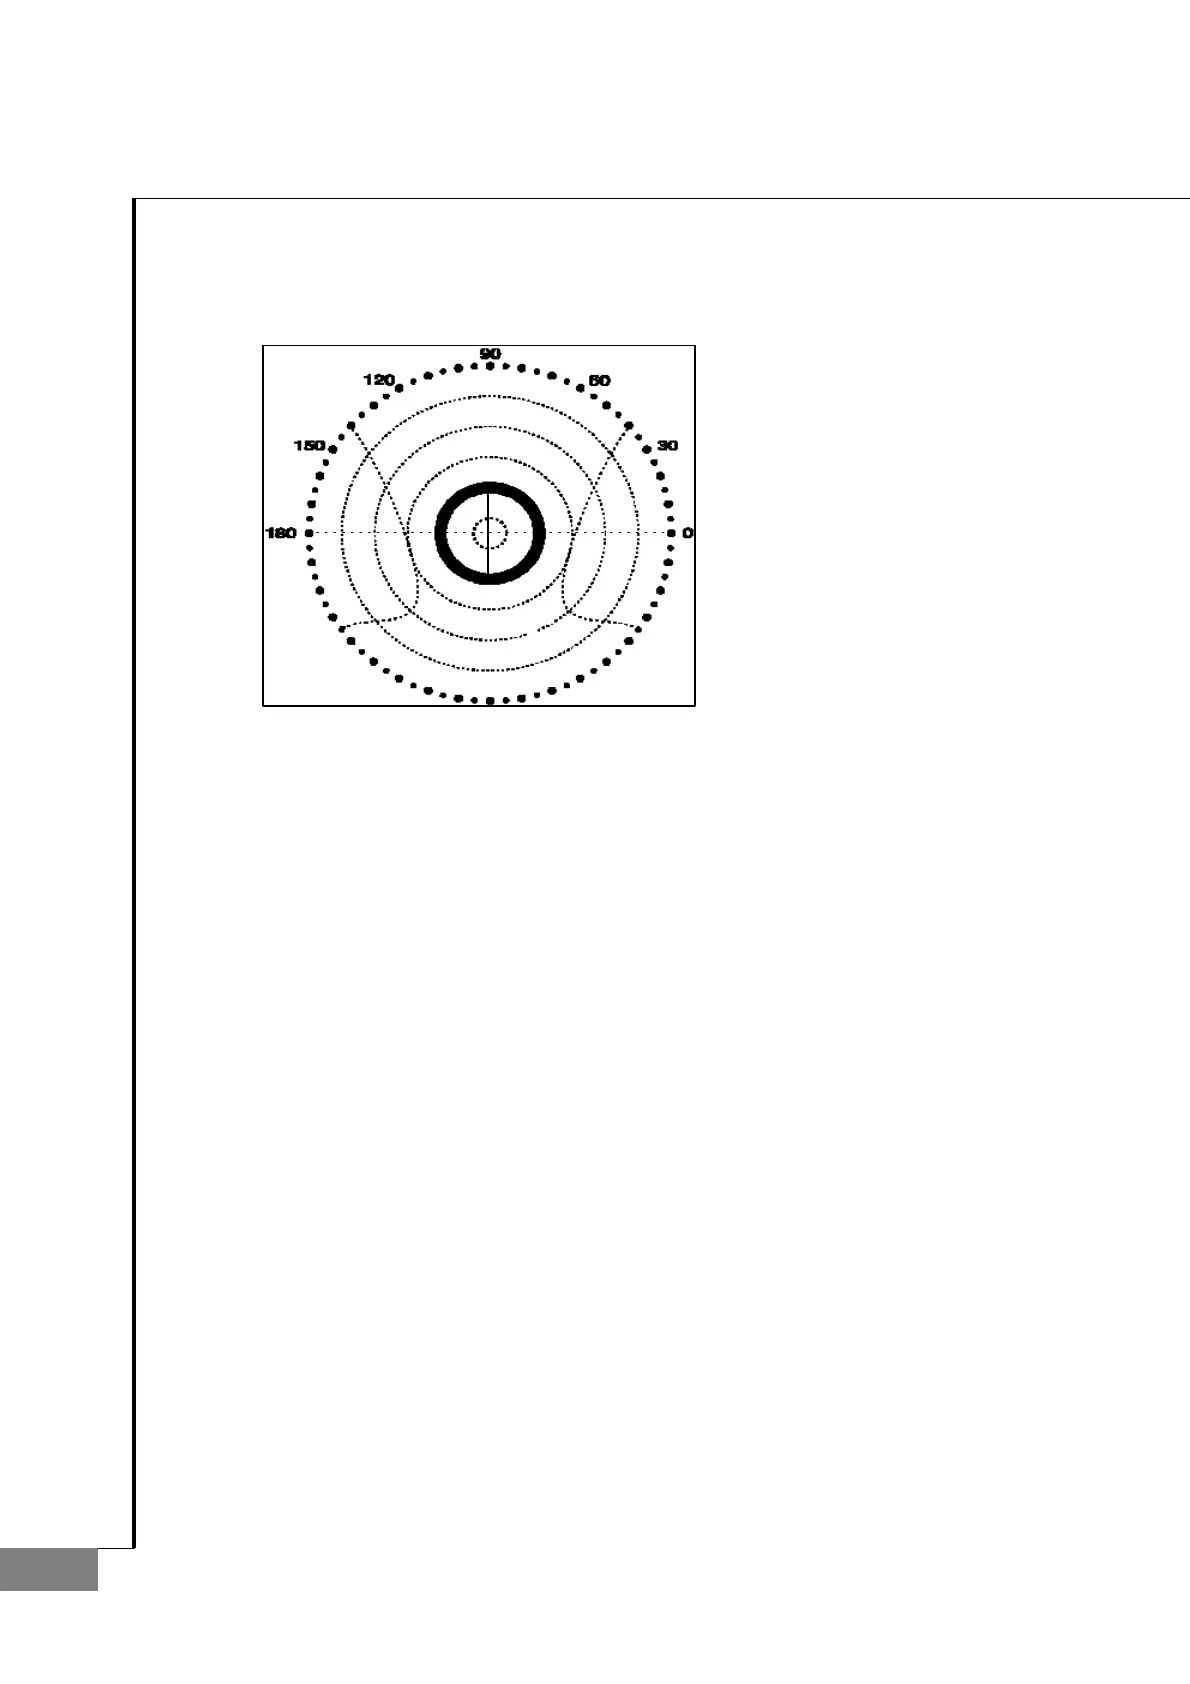
B. Place the standard lens and move it so that ‘Marking OK’ will appear and the prism X and Y become 0.
C. Press the ‘CLEAR’ button for a while.
D. Press the ‘MEASR’ button.
E. Using the two arrow buttons in the left side, set the diopter to the value of the lens to measure.
F. Go ahead and calibrate by using two arrow buttons in the right side by the given value in the standard model-eye
specification.
G. To save and exit, press the rightmost button.
H. Repeat the procedures from A to F for 12 standard lenses.
I. Finally, don’t forget to press the ‘PRGA’ button at the second page for a while.
J. After setting diopter, return the diopter display step to 0.25.
The information displayed in the ‘Setting Diopter’ screen is the same as that of ‘Setting 0D’ screen. After finishing setting up
12 lenes, press the ‘PRGA’ button for 2 seconds.
MARKING OK

 Loading...