30
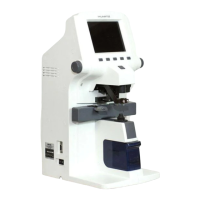
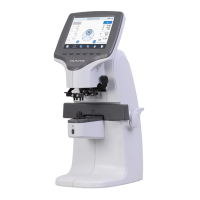
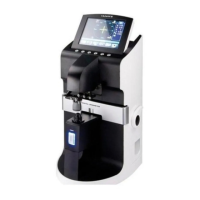
AUTO-LENSMETER
No
Component Removal method
1 Body rear cover(Lower)
2 Filter cover
3 Filter cover(Upper)
4 UV cover
5 Membrane switch
6 Membrane switch sticker
7
8
9
10
11
12
13
14
15
16
17
18
19
20
21
- First, remove 4 M3X10L screws at the 'Frame' and
separate the 'Body rear cover'.
- Remove the 'Filter cover 2', the 'Filter cover(Upper)'
and the 'UV cover' from the 'Body front cover'.
- Remove the 'Membrane switch' from the 'Body front cover'
through unscrewing M2X6L screws.
- Remove the 'Membrane switch sticker'. Clear the gluing
completely on the 'Body front cover'.
That doesn't make any problem when we stick again
the 'Membrane switch sticker'.
- Assembly is the reverse procedure of disassembly.

 Loading...