MAINTENANCE
3-36 powermax1000 Service Manual
1
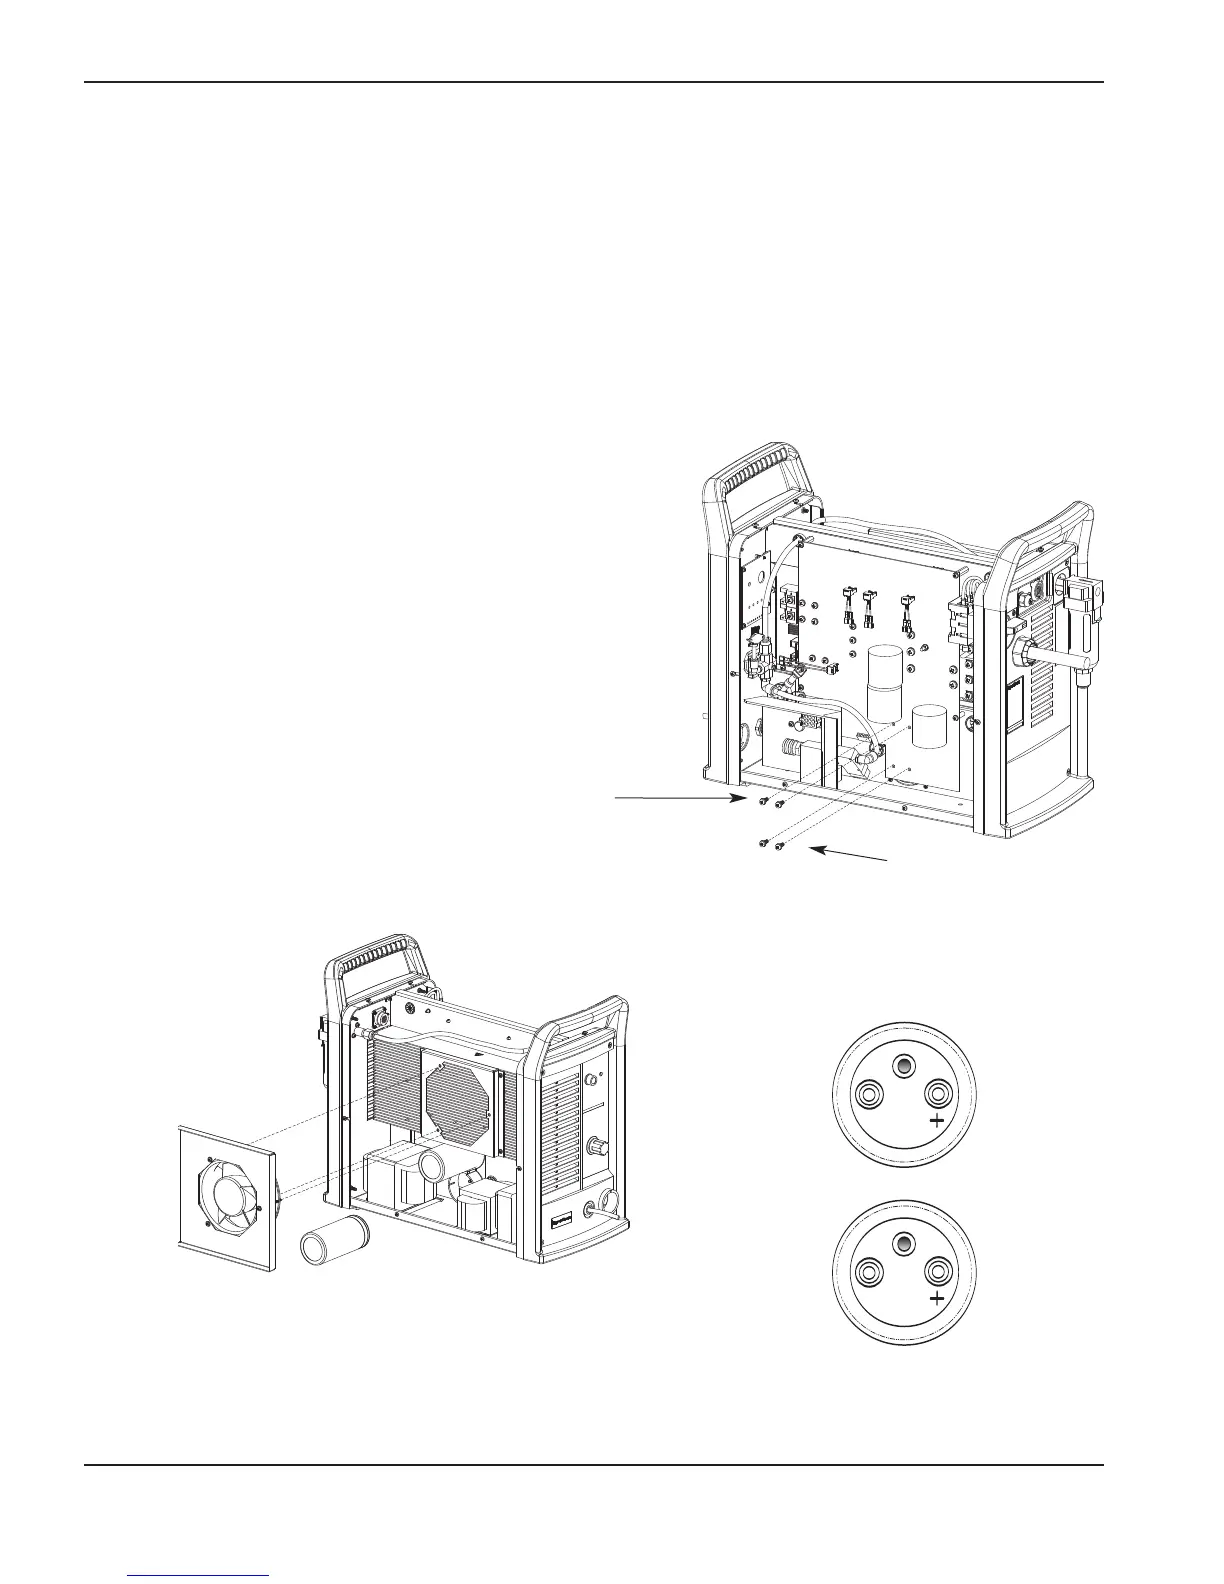
Capacitor replacement
Removal
1. Disconnect the electrical power and the gas supply, then remove the power supply cover.
2. Remove the two screws that secure the capacitor (either C94 or C98) to the PC board.
3. Remove the fan assembly.
4. Remove the capacitor from the fan side of the power supply.
Installation
1. Align the bleeder hole on the capacitor with the view hole
on the power board.
2. Install the new capacitor and secure it with 2 screws.
Tighten the screws to 20 in-lb (24 kg cm) of torque.
3. Install the power supply cover.
Remove and install
capacitors from fan side.
Correct installation
Remove and install screws
from power board side.
Screws
for C94
Screws for
C98

 Loading...


